99..00 FFuunnccttiioonn iinn ttiimmeerr mmoodduullee LLUUXXOORR 441144
• The runtime must be taught-in to enable run to correct position.
• The switching times are applied using the LUXOR 414.
• The target position is determined by LUXOR 414.
• LUXOR 414 assigns 8 switching channels to the shutter channels.
• Allocation of clock channels to the shutter channels is performed in tandem
with programming groups , G1 to G3.
• Astro switching and blocking times can be set using LUXOR 414.
• When running in position 100%, the blind does not turn automatically.
• When running in position 0.5-99.5 %, the turn is automatic
(with blinds).
1100..00 FFuunnccttiioonn iinn ccoommbb.. wwiitthh ooppeerraattiinngg ddeevviiccee LLUUXXOORR 442266
• If LUXOR 426 is set to clock, sensor functions (manual/automatic) the
mode on the shutter module 408 S is activated.
• Thepanic function can be activated via the LUXOR 426.
• The switching times are applied using the LUXOR 426.
• Semi-automatic function (awnings only):
Semi-automatic function is not possible as automatic runs are not permitted in
automatic mode.
• Manual/automatic function: Channels that are allocated to the manual/
automatic function can only be set to manual mode via clock, sensor function
(manual/automatic).
Unallocated channels are always in auto mode. There is no review when
switching from manual to automatic.
The coverings remain in the same position.
77..00 GGrroouupp ffuunnccttiioonnss ,, GG11 ttoo GG33
The group selector switch enables you to choose between the 4 groups , G1,
G2 and G3 .
Several channels can be taught-in as a group. A push button command on a
group will be carried out simultaneously by all participants in the group.
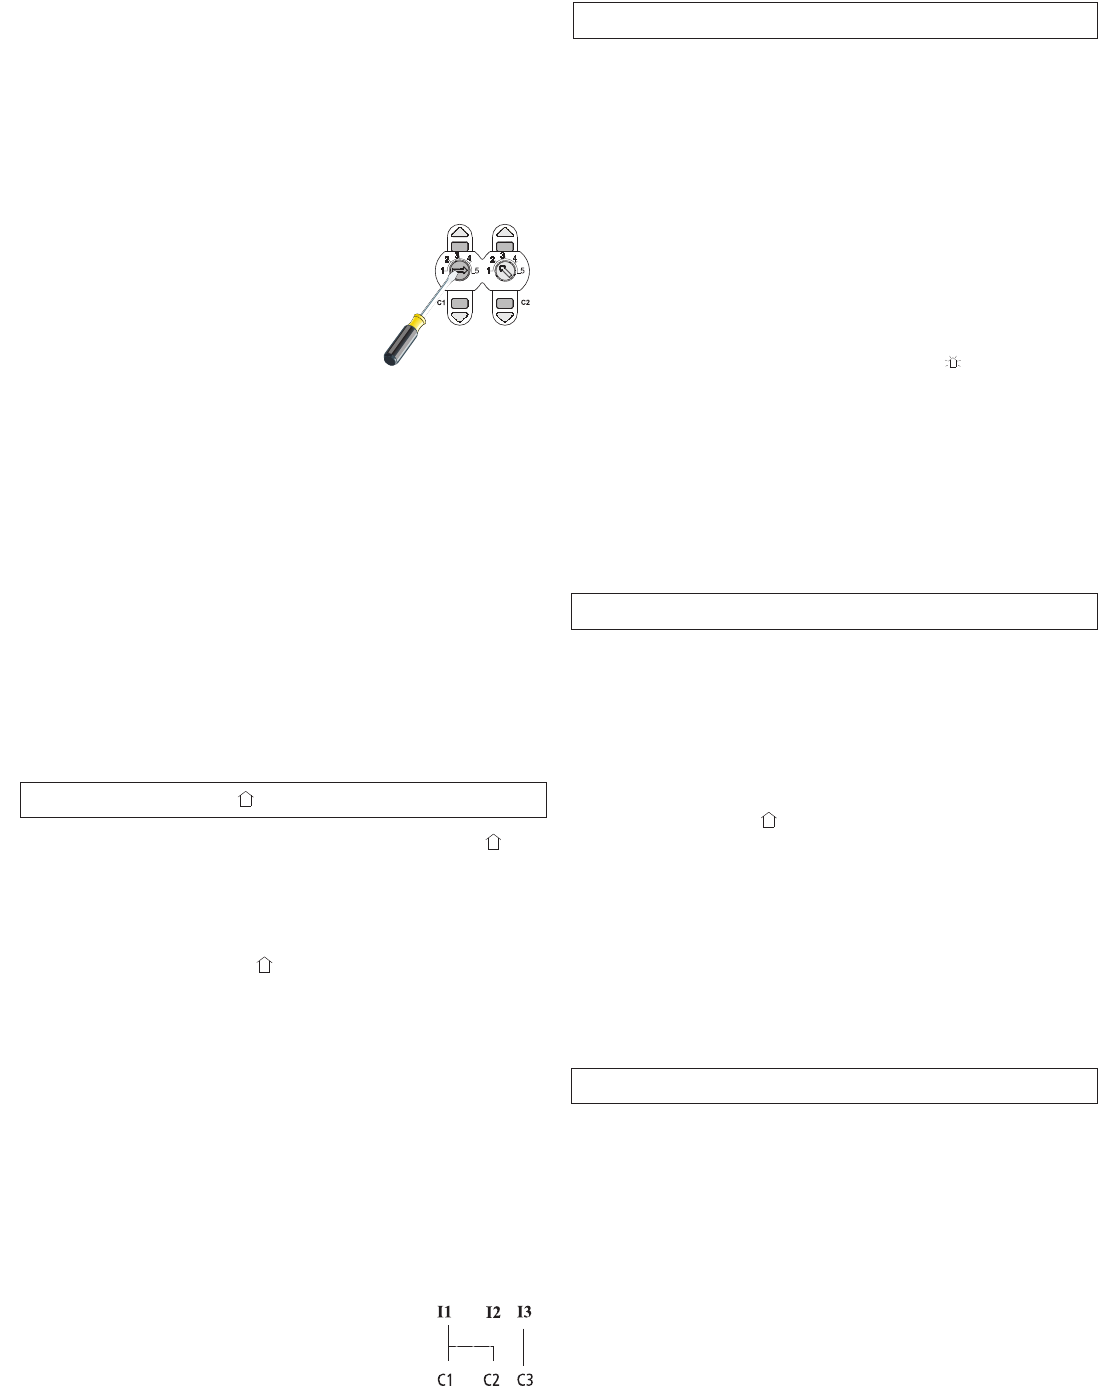
1. Start allocation
Set switch selecter to group , G1, G2 or G3.
2. Allocate channel to a group
One or more channels can be assigned to a group. By pressing the device
movement keys for a channel you can allocate the selected channel in the
group. The UP and DOWN LED are shown in the alloctaed channel.
3. Deselecting a channel from a group
Press device key again. The relevant channel is deselected.
The UP and DOWN LEDs go off.
4. End grouping
Reset selecter switch to Auto.
AAllllooccaattee sseevveerraall oouuttppuuttss ttoo aann iinnppuutt
1. Start allocation
Press DOWN push button of the channel that the
sensor is attached to for > 3 seconds (while the power
supply is switched on).
2. Allocate output to a channel
The channel LEDs for the allocated channels light up. These channels can
be selected or deselected by pressing the channel switch. An output can
only be allocated to one input, i.e. existing allaocations are deleted.
3. End allocation
Settings are stored when the power supply is switched off.
PPaanniicc ffuunnccttiioonn
••
Thepanic function can be activated via LUXOR 400.
••
The central OFF, central ON function and the presence simulation are not
available.
• All channels that have been allocated a panic function via LUXOR 400, move,
according to configuration (panic UP/DOWN) to the corresponding final position.
••
During the panic function the corresponding channels cannot be operated
manually (the block is indicated by a jerk).
SSeettttiinngg ““ppaanniicc”” ggrroouupp ffuunnccttiioonn
1. Set switch selecter on LUXOR 400 to panic. The LED set on
the shutter module must light up.
2. UP/DOWN
--
Press keys (panic function is set for individual channels C1 to C4.
If the UP LED (DOWN LED) lights up, the panic UP (DOWN) function is
allocated.
3. Reset switch selecter on LUXOR 400 to Auto.
88..00 FFuunnccttiioonn iinn ccoommbb.. wwiitthh bbaassiicc mmoodd.. LLUUXXOORR 440000
TTeeaacchhiinngg--iinn ttuurrnn iinnccrreemmeennttss ((ffrroomm ffrreeee cchhooiiccee ooff
iinntteerrmmeeddiiaattee ppoossiittiioonn))
Perform the same steps as above. To start and end the teach-in
process, use theexternal UP push button.
PPrrooggrraamm 55 ““TTeeaacchhiinngg--iinn ((LLEEAARRNN EENNDD))”” tthhee oovveerraallll
rruunnnniinngg ttiimmee aanndd tthhee ttuurrnn iinnccrreemmeenntt
In program 5 you can teach-in the running time and the turn increment.
TTeeaacchhiinngg--iinn tthhee rruunnttiimmee ((ffrroomm uuppppeerr ffiinnaall ppoossiittiioonn oonnllyy))
1. Set learning mode
Move selecter switch to position 5.
2. Start of teach-in process
Move to upper end position by holding down
the external UP push button.
3. Start of teach-in process
Double click the external DOWN push button.
The start of the teach-in process is
indicated by a jerk of the covering.
4. Define position
Use the external UP/DOWN push button to move to lower end position.
5. Store position
Double click the external DOWN push button. The end of the
teach-in operation is indicated by a jerk.
6. End
Put the selector switch back to the required covering.
Channel 1
Channel 2
EExx aammppllee