STEP FOUR - type a label
• Type a simple first label to try the
machine. Learn more about formatting in
the following pages.
STEP FIVE - print your label
• Press to print the label.
STEP SIX - cut the label
• Use cutter button E to cut the label –
see page 2.
Congratulations! You’ve printed your first
label!
Let’s go on to learn more about typing
and formatting.
Getting to know your
LabelPoint 100
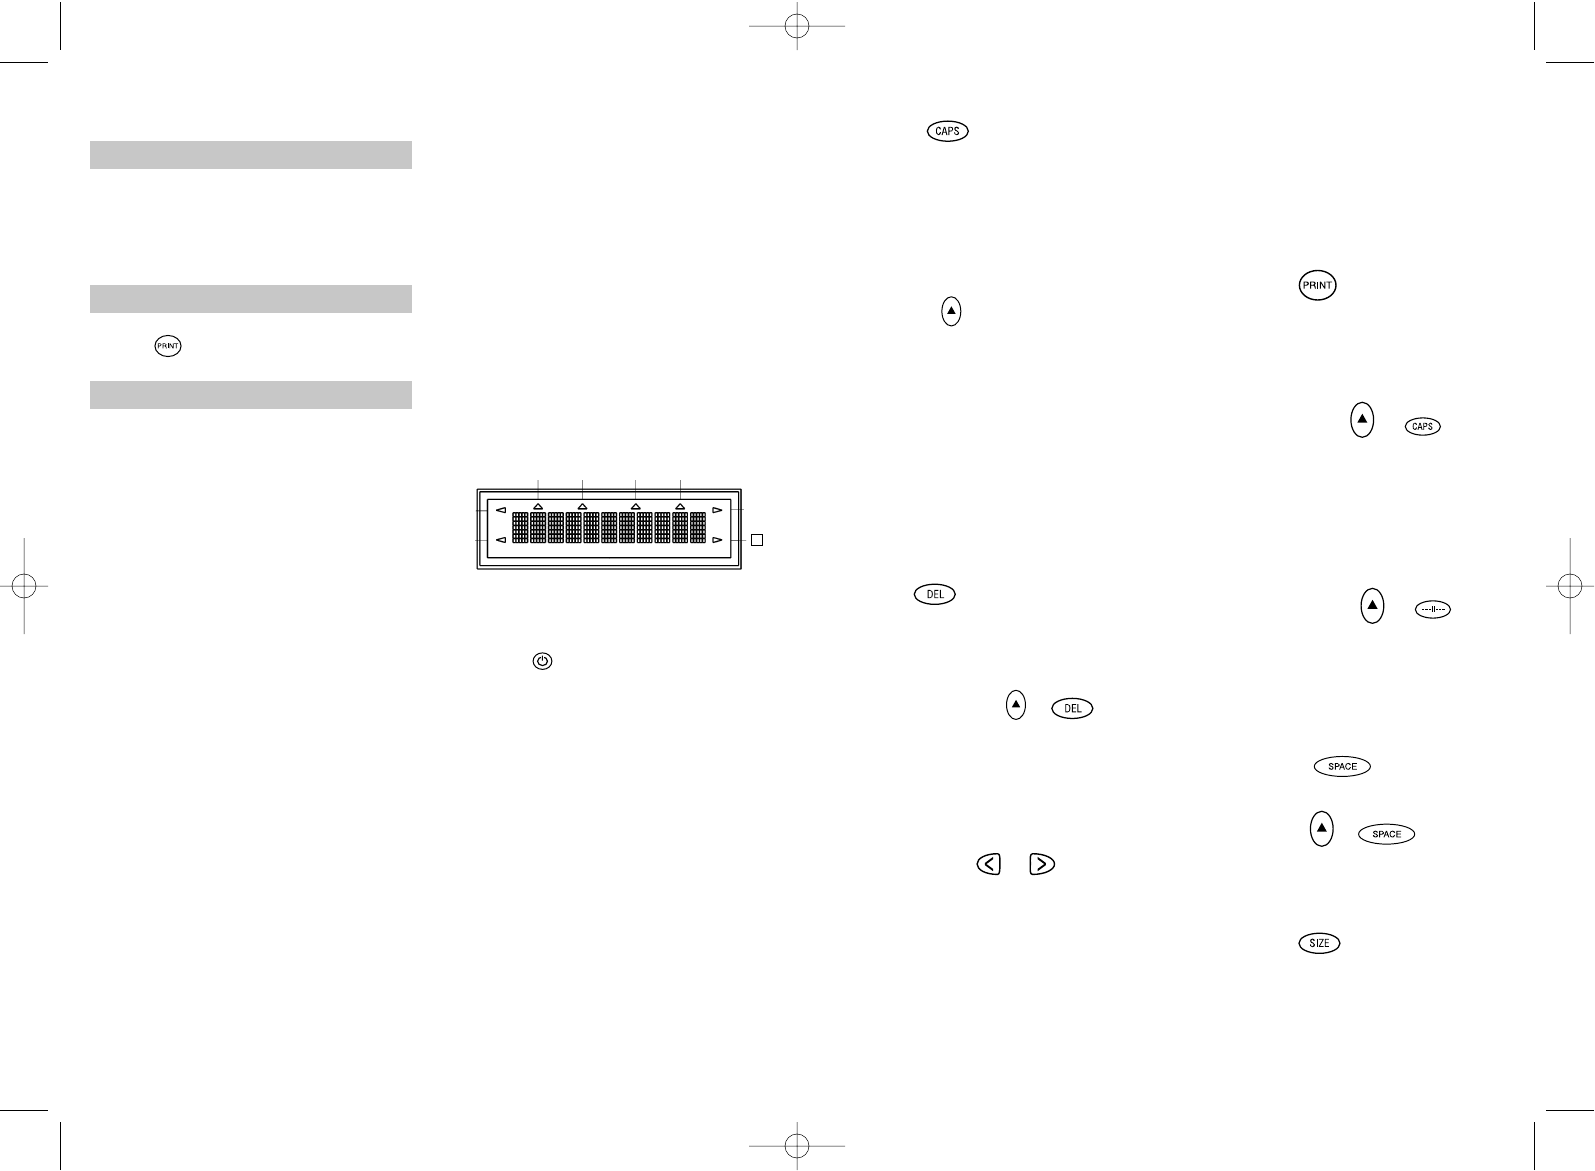
The Display
The display shows:
• Up to eleven text characters, at one time.
Use or to move along the text.
• 8 indicators – as shown below.
• The display will flash if you press
an incorrect key in a function sequence.
Function keys
ON/OFF
Switches the power on and off.
• Switches off automatically after two minutes
if no keys are pressed. The last label created
will be retained and displayed when next
turned on. Any stored last label settings
will also be retained.
Note: If the batteries are removed for more
than a few seconds, all text and settings will
be lost.
When power is restored, the display will
show a flashing cursor (no text) and the set-
tings will be full height standard width text
with H and all other settings off.
4
CAPITALS
• Press this button, and all subsequent cha-
racters will appear in UPPER CASE
(CAPITALS), as confirmed by the CAPS
indicator in the display.
• Press again to cancel and return to lower
case.
SHIFT KEY
This has a dual action: either press and hold
down or press and release to remain in
"shift" position"
Press H again to return to normal state.
• Use H before pressing an alphabet key to
produce an UPPER CASE (CAPS) character.
• For dual-purpose keys, press H first to
produce the legend above the key.
• Pressing H while CAPS is set will give a
lower case character.
DELETE
• Press to delete the character to the left of
the cursor, or to exit certain function key
operations.
CLEAR ALL TEXT +
• Press to clear all the current text and
cancel any fixed length setting, but leave
the text size and other settings unchanged.
Also use to exit or clear certain function
key operations.
CURSOR KEYS
• Press to move the cursor along the text,
one character at a time.
• Press and hold to scan quickly through
the text.
• Press H + or to move the cursor
to the beginning or end of the text.
• When used in conjunction with certain
function keys, use or to select
options.
• To insert characters into the text, use or
to position the cursor under the
character to the right of the insertion
point, then type in the characters required.
PRINTING
• Press PRINT to print the label.
(see extended memory)
• Use cutter button E to release the label –
see page 2.
PRINT PREVIEW +
Allows you to preview your selected label
before printing it.
• Press H + CAPS and the entire text of the
selected label will scroll across the display.
Note: with a 2 line label, the message will
be previewed as a single line message.
BUFFER PREVIEW +
• Press ---ll--- and the entire content of the
label storage buffer will scroll across the
display. (see extended memory)
Note: any 2-line label in the buffer will be
previewed as a single line message.
SPACE KEY
• Press SPACE to insert a space into the text.
SYMBOLS +
• Press H + SPACE to select a symbol character
– see Symbols and special characters
and the symbols table on page 2.
TEXT SIZE
• Press SIZE to display the six text print sizes:
l condensed full height
ı condensed half-height
l
normal full height
5
UNDLINE ITALIC LTH SET OUTLINE
CAPS VERT
H