Fingert ip Pu lse
USER MA NUAL
General Descrip
Oxygen on per cent age Oxyhem ogl obin HbO
2
) capac ity, pounded th ox ygen, co mbinat ive he mog lob in
(Hb ) capac ity in bloo d. In othe r words, it is con sisten cy of Oxyhe mog lo in blood. It is a very impo rtant pa ramete r fo r the
Respiratory Circulat ion Syste m. Many resp irato ry diseases can resu lt in ox ygen satu rat ion be ing lowered in hu man blood.
Add itiona lly, the fo llow ing fa cto rs can edu ce ox ygen satu rat ion: uto mat ic regu laon of gan dysfun ction caused by ne sthe sia,
Intensi ve toper ati ve au ma, es aused ed ical exa mnat ions.
hat tuat ion ght esu lt gh theadedne ss,
astheni a, and vomiti ng. her efor e, it is very im por tant to now the oxygen aturati on of a pati ent so that doctors can nd pr oble ms
in a t imely manne r.
The finge rtip pu ls oximete r featu res low powe r consu mpt ion, on ven ient ope rat ion and po rtab ility. ace one finge rtip into the
photoelectric s ensor for di agnosis and the pulse r ate and oxy gen satur ati on will appear on the display. It has been prov en in clinical
experim ents that i t als o featur es hi gh precisi on and r epeatabili ty.
Mea suremen tnc iple
Princ iple of the oete r is as fo llow s: A mathe mat ical fo rm is estab lished making use of La mbe rt Bee r La w ac cording to
Spe ctrum bso rpt ion Cha racte ristics of Redu ctive he mog lob inRHb ) and Oxyhe mog lob in Hb O
2
) and nea r-inf rared one s.
Ope ration principle of the ns trumen t: Photoe lect ric xyhe mog lob in Inspect ion Techno log y is ado pted in ac cordan ce th Capac ity
Pulse Scann ing and Reco rding Techno logy, so that two bea ms of diffe rent wave length of lights (660n m red and 940n m nea r
inf rared light ) can be fo cused onto a hu man na il th rough a clamping finge rpe
sen sor. A mea sured signa l obta ined by a
photos ensitive elem ent, will be s hown on the oxim eterth rough proces s in electron ic cu its and microp rocess or sho wn on
the oxim eter’s display thr ough electr onic c ir cuits and a micr opro ssor.
Diagram of Operation Principle
1. Red and Infrared-ray Em ission Tub e
2. Red and Infrared-ray Recei pt T ube
Precau tions Fo r Use
1. Befo re u se, carefu lly read the manua l.
2. Ope ration of the f inge rtip pu lse ox imete r may be affected by the use of an e lectosu rgical un it (ESU ).
3. Pulse Oximete rs equ iuff icient blood flow to obtain pr oper ead ings. Poo r blood circulat ion an resu lt in nac curate read ing s.
If you r hand s you have poo r circu lat ion, you r hands by ubb ing the m togethe r or use anothe r method befo re
attem pti ng to obtain eadi ng. A
read ing s.
4. Do not use the fingertip pulse oximeter in an MRI or CT environment.
5. Do not use the fingertip pulse oximeter in stuat ions whe re alarms are requ ired. The de vice ha s no
alarms . It is not fo r
continuous monitoring.
6. Do not use the fingertip pulse oximetern an e xplos ive at mosphe re.
7. The nge rtip pu lse ete r ntended on ly an ad jun ct pat ient sessment. It be ed on junct ion othe r
method s of as ses sing clinical sign s and sy mpto ms.
8. In de r to en sure sen sor align ment and nteg rity, the app licat ion at ng le site fo r ou r de vice
should be less than ha lf an hou r.
9. Do sterilize ng, ethy lene de ste rilizing, mm ersing the de vice qu id. The de vice no t
intended fo r ste rilizat ion .
10. local ordinan ces and recy cling inst
ruction s rega rding dispo sal or recycling of the de vice and de vice co mponents,
inc lud ing batte ries.
11. equ ipment complies with 6060 1-1-2:20 07fo r agnet ic fo r ed ical ect rica lequ ipmen t and/o r
systems. However, because of equen cy trans mitt ing equ ipment and other s ourc es of electrical noi se
in health care and othe r env iron ments, it is poss ibthat high levels of such inte rfe rence due to close prox imity or strength of a
source might disrupt the performance of this device.
12. tab le an d mob ile RF comm unicationsequ ipmen t can affe ct med ical elect rica l equ ipment .
13. s equ ipmen
t is no t intended fo r u se du ring pat ient t ran spo rtouts ide the hea lth care fac ility
14. equ ipment shou ld not be used ad jacent to o r stac ked with othe r equ ipment .
15. It may be unsafe to:
—use ac cesso ries、 detachab le pa rts and mate rials not des cribed in the instruct ion s fo r u se.
—inte rconnect th is equ ipment with othe r equ ipment not de scribed in the instruct ion s fo r u se
—disass emble, repa ir o r mod ify the equ ipmen t
16. hese mate rials that contact with the pat ien t’s skin contain medical silicon e and ABS plastic en closu re are all pa ss the
ISO1099 3-5 Tests fo r inv itro c ytoto xicity and ISO1099 310 Test s fo r irritat ion and de layed-type h ype rsens itivity.
17. hen the s igna l is not stab le, the read ing may ina ccu rate. ease do not refe renc e.
Rx on ly: “Caution : Federal la
w (USA ) res tric ts this device to sale by or on the order of a lice nse drac titioner. ”
Contr aind ica tion
It is no t fo r continuous mon ito ring .
Inaccu rate measu reen ts may be caused by
1. Sign ificant levels of dysfunct iona l he mog lob in (su ch a s he mog lob in o r methe mog lob in).
2. Int ravasc ular dye s such a s indoc yan ine g reen o r meth ylene b lue
3. High a mbient ligh t. Shield the sen sor a rea if nece ssa ry
4. Excess ive pat ient move men t.
5. High-frequen cy e lectrosurgical inte rfe rence and def ibrillato rs
6. Venous pu lsat ion s.
7. Place ment of a senso r on an ext remity w ith a b lood p ressu re cuff, a rte rial cathete r, o r int ravas cular line
8. The pat ient ha s hypoten sion, se vere vaso const rict ion, se vere ane mia, o r hypothe rmia
9. The pat ient is in cardiac a rrest o r is in sho c
10. Fi nger nail poli sh or fal se fi nger nails.
11. W eak pulse quality (low per fus
ion ).
12. Low hem ogl obin.
Produc t Fea ture
1 Simple to ope rate and con ven ient to ca rry.
2 Sm all vo lume, light we ight and low powe r con sumpt ion .
3 Dual color OLED displays S
2
, PR, P I, Pul se bar , and wav eform.
4 2 d isp lay direction .
5 2pcs AA A-size a lka line batte ries; batte ry-low nd icato r.
6 Wireless Bluetooth fo r data t rans mission .
7 When no or low signa l is detected, the pu lse ox imete rpo wer off auto mat ically in 8 second s
8 Compat ible with a-rival App.
Intended Us e
Finge rtip pu lse oximete rhandhe ldno n-invasivedev ice ntende d fo r spot-checkingxyge n te rial he mog lob in
(SpO
2
) an d pu lse rat e of adu lt an d ped iat ric pat ient shosp ita ls, hosp ita l-type fac ilities.
Operati on Instruc tion s
1 Insta ll t wo AAA batte ries a cco rding to the Batte ry In sta llat ion inst ruct ions .
2 Place one of you r f inge rs into the rubbe r open ing of the pu lse ox imete r.
3 Pres s the sw itch button one t ime on f ront pane l to tu rn the pu lse o ximete r on .
4 Keep you r ha nds fo r the ead ing. not hake ou r finge r du ring the te st. mmended that you do not ou r
body whil e taki ng a r eadi ng.
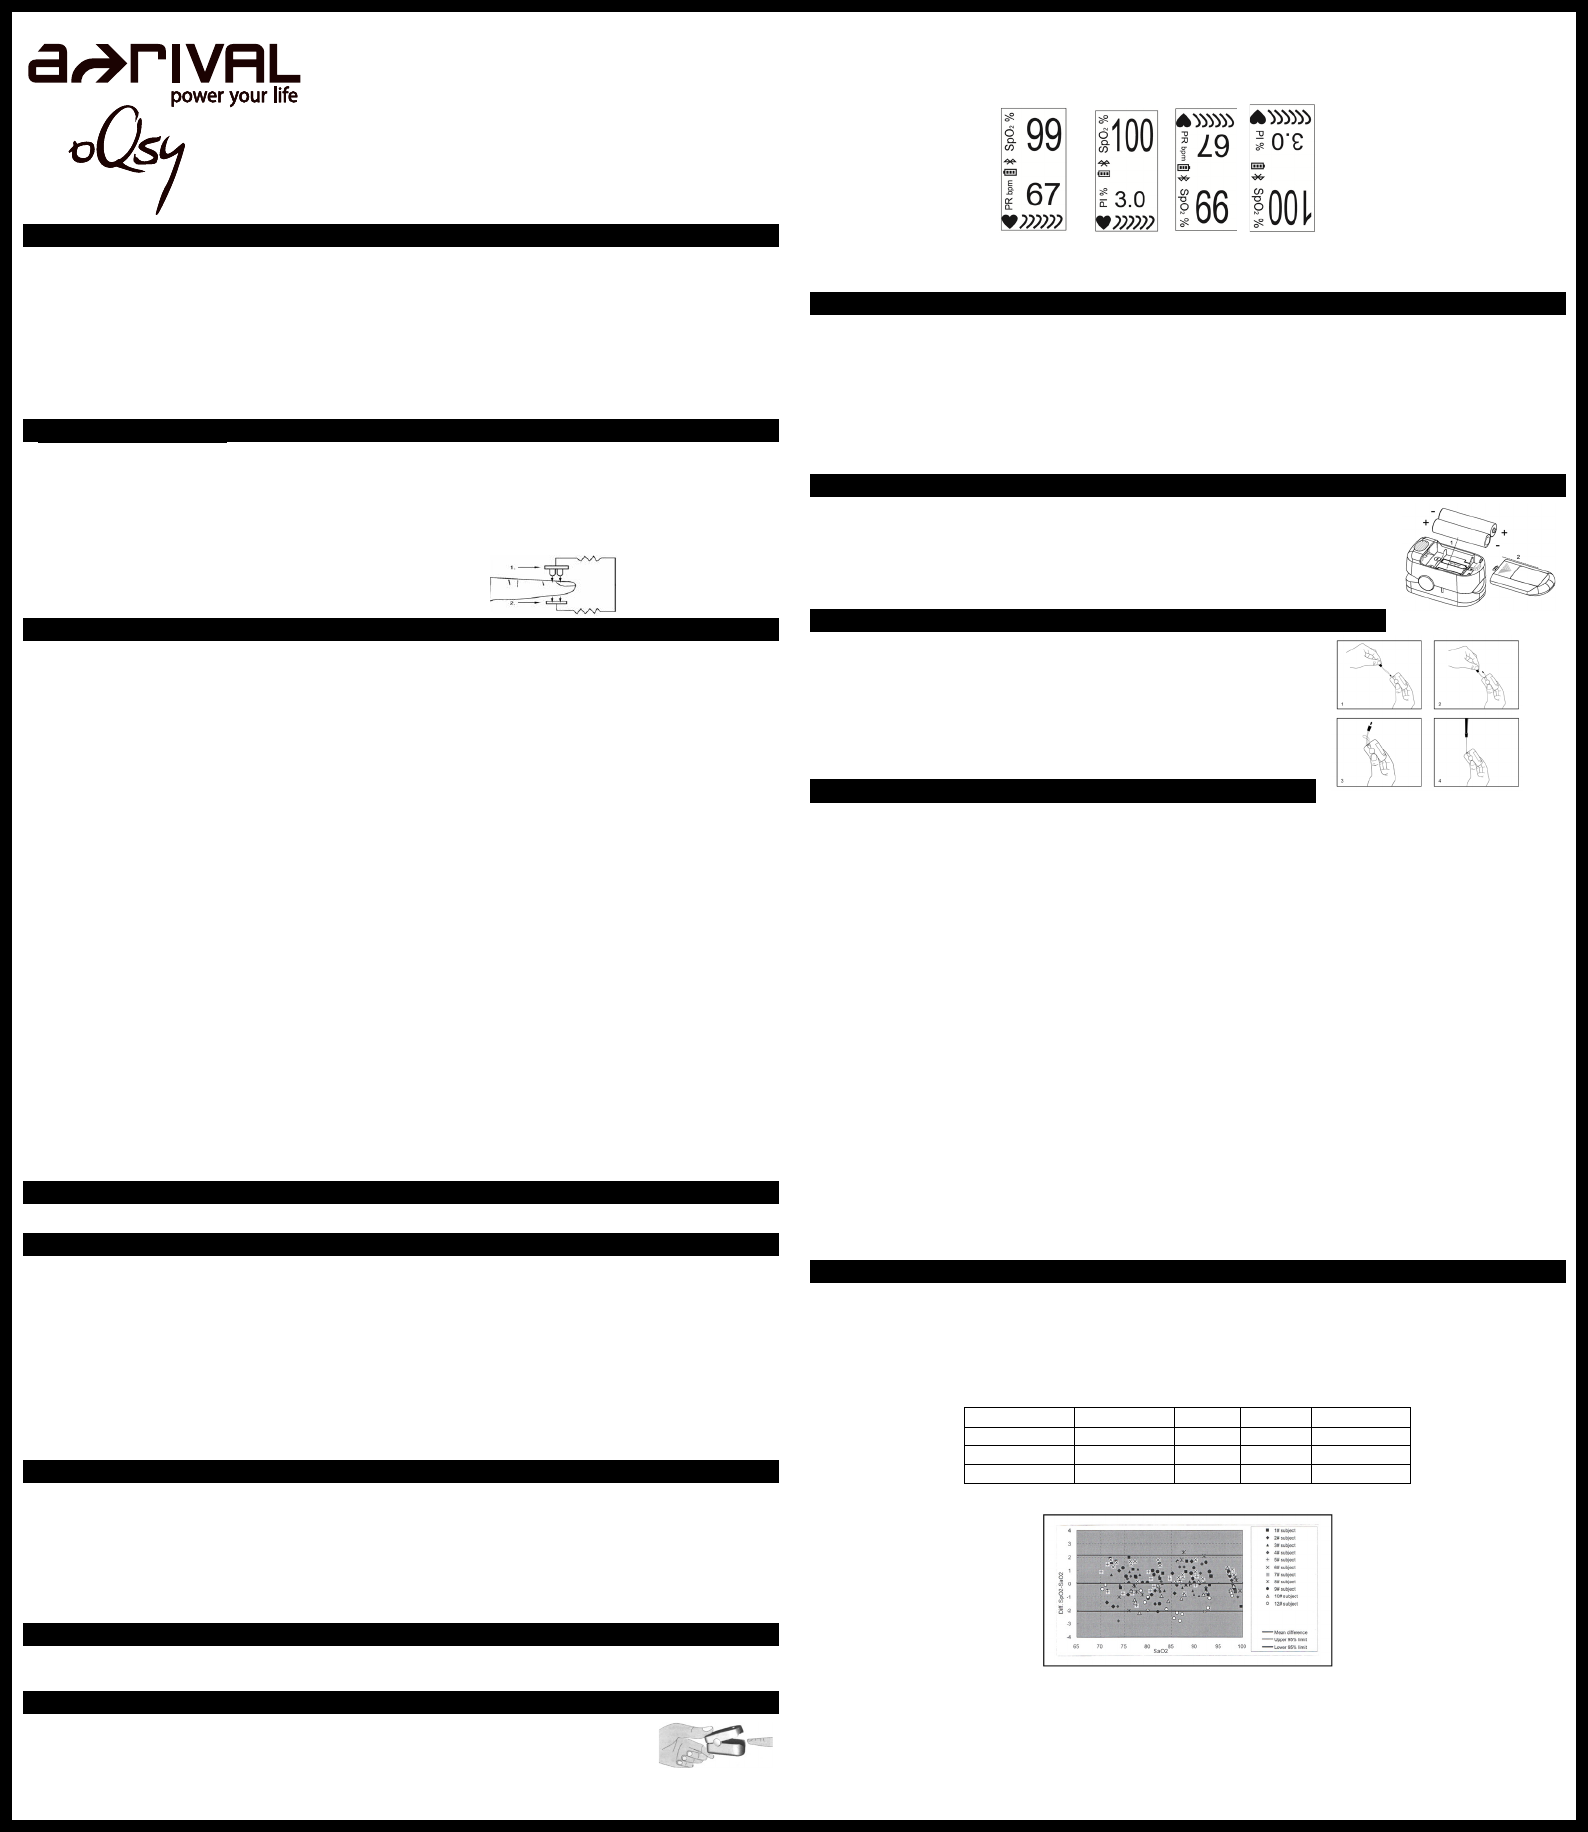
5 Read th e data from the display s cree n
After on xi meac h ou ess pow er Oxi meter ill no ther is play mod e.
There are 2 dis play direc tions a nd 2 dis playe d pahown as follow s:
Notes:
1. Sho rt p r
ess the power button to swi tch the scr een display ori entation
2. Long p res s the po wer button to s witch the d isp layed pa ramete rs (Sp
2
&PR, SpO
2
&PI).
Data Trans mss ion
1. Turn on the de vice, the Bluetooth icon ash ing. fte r syn c successfully, the Bluetooth icon is ght on. Or
icon still in the f lashing status. When you tu rn off the de vice, the Bluetooth will b rea k auto mat ica lly.
2. The current mea surement will transm it to the App auto mat ically. Afte r data trans mission successfully, the mea sureent
flashing fo r 8s, then the dev ice will po wer off auto mat ica lly po wer off. If the re is no Bluetooth conne ction ove r 1min, the de vice
will power off automatically and the data will not be stored.
3. If the re is no d igit appea r, the dev ice will po wer off auto mat ically.
Notes:
1. With the Bluetooth 4.0 to t ransm it the data to App .
2. The t ransm ission d istan ce is 10 m at most .
Batt ery I ns tall ation
1. Insta ll two AAA batteries the batte ry gn s
in the compa rtment. If the po larities a re not mat ched, da mage may be caused to the ox imete r.
2. Slide the batte ry doo r cove r ho rizonta lly a long the a rrow sho wn a s the p ictu re.
Notes:
Pea se remove the batte ries f the pu lse oximete r w ill not be u sed fo r long pe riods of time.
Pea se rep lace the batte ry when the powe r ind icato r sta rting f lickering .
Using the Lan ya
1. Thread th inne r end of t he lan yard th rough the hang ing ho le.
2. Thread th ick er end of the lan yard th rough the thr eaded end before pulli ng it ti ghtly.
Warnings !
Keep the oxim eter away young children. Sm all ite ms such as the battery door,
battery , and l anyar d ar e c hoki ng hazards.
Dno t han g th e lanya rd froth e dev ice ’s electrica l wire.
Pea se not ice that the lanya rd wh ich is ted to the ox imete r may cau se
strangulation due to excessive length.
Mainten ance and S
1. Replace the batteries in a t imely manne r when low vo ltage lamp is lighte d.
2. Clean surface of the fingertip oximeter before it is used in diagnosis for patients
3. Remove the batteries if the oete r is no t ope rated fo r a long t ime.
4. It is best to sto re the p roduct in -20℃ ~+ 55℃ an d ≤ 93% hu midity.
5. Keep in a d ry p lace. Ext reme moistu re may affect ox imete r fet ime and may cau se da mage .
6. Dispose of battery properly; follow any applicable local battery disposal laws.
Cleaning the finger tip pulse oxi meter
Plea se use med ica l alcoho l to clean the silicone tou ching the finge r ins ide of oximete r with a soft cloth da mpened with 70 %
isop rop yl a lcoho l. Also clean the be ing tes ted f inge r u sing a lcoho l befo re and afte r each te st.
Do not pour
do not allow e. Allow the ox imete r to
dry tho rough ly befo re reu se.
The finge rtip pu lse o ximete r requ ires no rout ine ca librat ion o r maintenance othe r than rep lace ment of batte ries .
The use life of the de vice is five yea rs when it is used for 15 measu remen ts every day an10 minu tes per on e
meas urement. Stop using a nd c on tac t l ocal se rvice ce nter i f one of the foll ong cases occ urs:
An e rror in the Possible Prob lems and solut ion s is d isplayed on screen .
The ox imete r cannot be po wered on in an y ca se and not the reasons o f batte ry.
The re is a crack on the o ximete r o r da mage on the d isp lay resu lting read ing s cannot be ident ified; the spring is inva lid.
A funct iona l teste r
cannot be used to ass ess the of a pu lse oxim eter m oni tor or s ensor. Clinical testi ng is used to es tabli sh
the
2
cy . he ea sured te rial he mog lob in atu rat ion value
2
) of the sen sors co mpa red to te rial he mog lob in
oxygen (SaO
2
) value, dete rmined ood sa mples with a abo rato ry CO-ox imete r. The cu racy of the senso rs in pa rso n to
the CO-oxim eter sampl es m easur ed over the S
2
range of 70%~100 %. Accu rac y data is calculated using th eoo t-mea n-squared
(Arms ue ) fo r ub jects, pe r SO 9919:2005, ed ical ect rical qu ipmen
t– Particular equ irements fo r the ba sic safety
essent ial pe rfo rman ce of pu lse ox imete r equ ipment fo r med ica l use .
A funct iona l teste r ed to easu re how ate ly nge rtip ete r ep roduc ing the pec ified at ion cu rve and
the PR ac cur acy.
The mode l of fun ctiona l te ste r is Index 2 FLUKE s imuato r an d the ve rsion is 2.1.3 .
Specificati ons
1. Display T ype
OLED d isplay
2. SpO
2
Measu remen t range : 70%~10 0%
Accuracy: 70%~10 0%: ±2%; 0 %69 % no def inition
Resolution: 1%
A
RMS
Val ue Anal ysi s
Item 70-- 100 90-- 100 80--<90 70--<80
#pts 231 82 89 60
Bias 0.0 3 -0.0 6 0.0 7 0.1 2
A
RMS
1.0 7 0.9 2 1.1 3 1.1 8
Bland-Altman plot anal ysis osample d data po ints on all subjec ts as bel ow
3. Pulse Rate
Measu re rang e: 30bp m~250bp m
Accuracy: 3 0bp m~99bp m, ±2bp m; 100 ~235bp m
Resolution: 1bp m
4. PI
Measu re rang e: 0.2%~20.0 %
Accuracy: 0.2%~1.0 %, ±0.2d igits; 1.1%~20.0 %20 %
Resolution: 0.1 %
power