Indoor relative
humi
Indoor relative
humidity %
2. Using the + button, set the time z
2h to +5h in consecutive 1 hour intervals.
3. Confirm with the SET buTime reception
ON/OFF setting”.
TIME RECEPT
In areas where no DCF-77 time
possibility to deactivate the DCF reception m
clock will then w
1. The symbol “ON” will be flashing on the LCD.
2. Use the + button to deactivate (OFF) the tim
function.
3. Confirm with the SET bu12/24-Hour
Display setting”.
Note:
If the time reception function is deactivate
clock will not attempt any reception of the r
(DCF time) as long as the time reception OFF function
activated (ON) again. If the time reception is deactiv
the DCF symbol disappears.
12/24 HOU
1. “24h” will be flashing.
2. Press the + button to select the “12h” or “24h”
3. Confirm with the SET buM
setting”.
MANUAL TIME SETT
In case the device is not able to attemp
(disturbances, transmit
set. The clock will then work
To set the clock:
1. The hour digits will be flashing on the display.
2. Use the + button to adjust the hours.
3. Press the SET button to go to the mi
4. Use the + button to adjust the minutes. Press and hold th
button in the setting m
5. Confirm with the SET buC/ºF temperature
unit setting”.
Note:
By a successfully reception of the DCF signal
reception is activated (ON), the m
During the reception the DCF sym
is not successful received, the DCF sym
attempt will still
°C/°F TEMPERATURE SETT
The default temperature is set to °C (degree Ce
(degree Fahrenheit):
1. During “ºC” will be flashing, use the + button to toggle betw
“ºC” and “ºF”.
2. Once the desired temperature unit has been cho
with the SET button and enter the “
Factory setting
” or press
the MAX/MIN / RESET button to exit the m
FACTO
To reset the temperature station to the factory
1. Press and hold the + button for about 3 seconds to reset the
m
2. Once the factory setting is done, all segments of the LCD will
light up briefly, then the time, indoor temp
will be displaye
Important:
•
During factory setting, all signals from
In order to receive the transm
transmitters, please refer to “Setting up ” abo
initial reception signal again.
TO EXIT
To exit the manual setting mode any
press the MAX/MIN / RESET button.
OUTDOOR
SEARCH MODE
If the transmitters are lost due to disturbances,
transmitting distance, etc., a manual transm
started.
1. Press the + button to select the transmitter.
2. “LEARN” appears in the display of the selected transmitter.
3. Press the SET button to start the search.
4. The reception symbol will be flashing.
5. As soon as the transmitter is found, the temperature appears
and the reception sym
INDOOR T
DATA
The indoor temperature and humi
displayed on the second section of the LCD.
To display the dew point tem
button 3 times.
DEW POINT appears in the display.
The device will automatically quit the dew point mo
pressed for a lengthy period (30 seconds) or press the MAX/MI
RESET button again to return to the actual display.
Note:
The dew point value is based on calculation of the indoor
temperature and humidity data.
OUTDOOR
TEMPE
The last two LCD section shows the outdoor tem
temperature and reception signals.
TOGGLING AND RESETT
TO VIEW T
1. Press the MAX/MIN / RESET button the indoor tem
and humidity and the outdoor temperature and pool
temperature (MIN) appear.
2. Press the MAX/MIN / RESET b
indoor temperature and humidity
and pool temperature (MAX) appear.
3. Press the button MAX/MIN / RE
appears (DEW-POINT).
4. The instrument will automatically quit the MAX/M
button is pressed for a lengthy period (30 seconds) or press
the MAX/MIN / RESET button again to return to the actual
display.
TO RESET
Press and hold MAX/MIN button for 3 seconds to reset
all the indoor, outdoor and pool values to curren
same time.
TRANSMITTE
The outdoor data are measured and transmit
The range of the transmitter is may
temperature. At cold temperatures the transm
decreased. Please bear this in mind w
868 MHz RECEPT
If the outdoor data are not being received wi
setting up (or outdoor display alw
sections of the temperature station during nor
check the following points:
1. The distance of the temperature station or transmitters should
be at least 2 meters away from any
as computer monitors or TV sets.
2. Avoid placing the transmitters onto or in the imm
proximity of metal window
3. Using other electrical products such as headphones or
speakers operating on the 868MHz-signal frequency may
prevent correct signal transmission or reception. Neighbors
using electrical devices operating on the 868M
frequency can also cause interference.
Note:
When the 868MHz signal is received correctly,
battery cover of either the transm
batteries may spring free from the contacts and force a
Should this happen accidentally then reset all units (see Setting up ”
above) otherwise transmission problem
The transmission range is around 100 m
station to the outdoor transmitter (in open space) and 25 m
the pool sensor (in water). However, this depends on the surrounding
environment and interference levels. If no reception is possible
despite the observation of these factors, all system
reset (see “Setting up ” above).
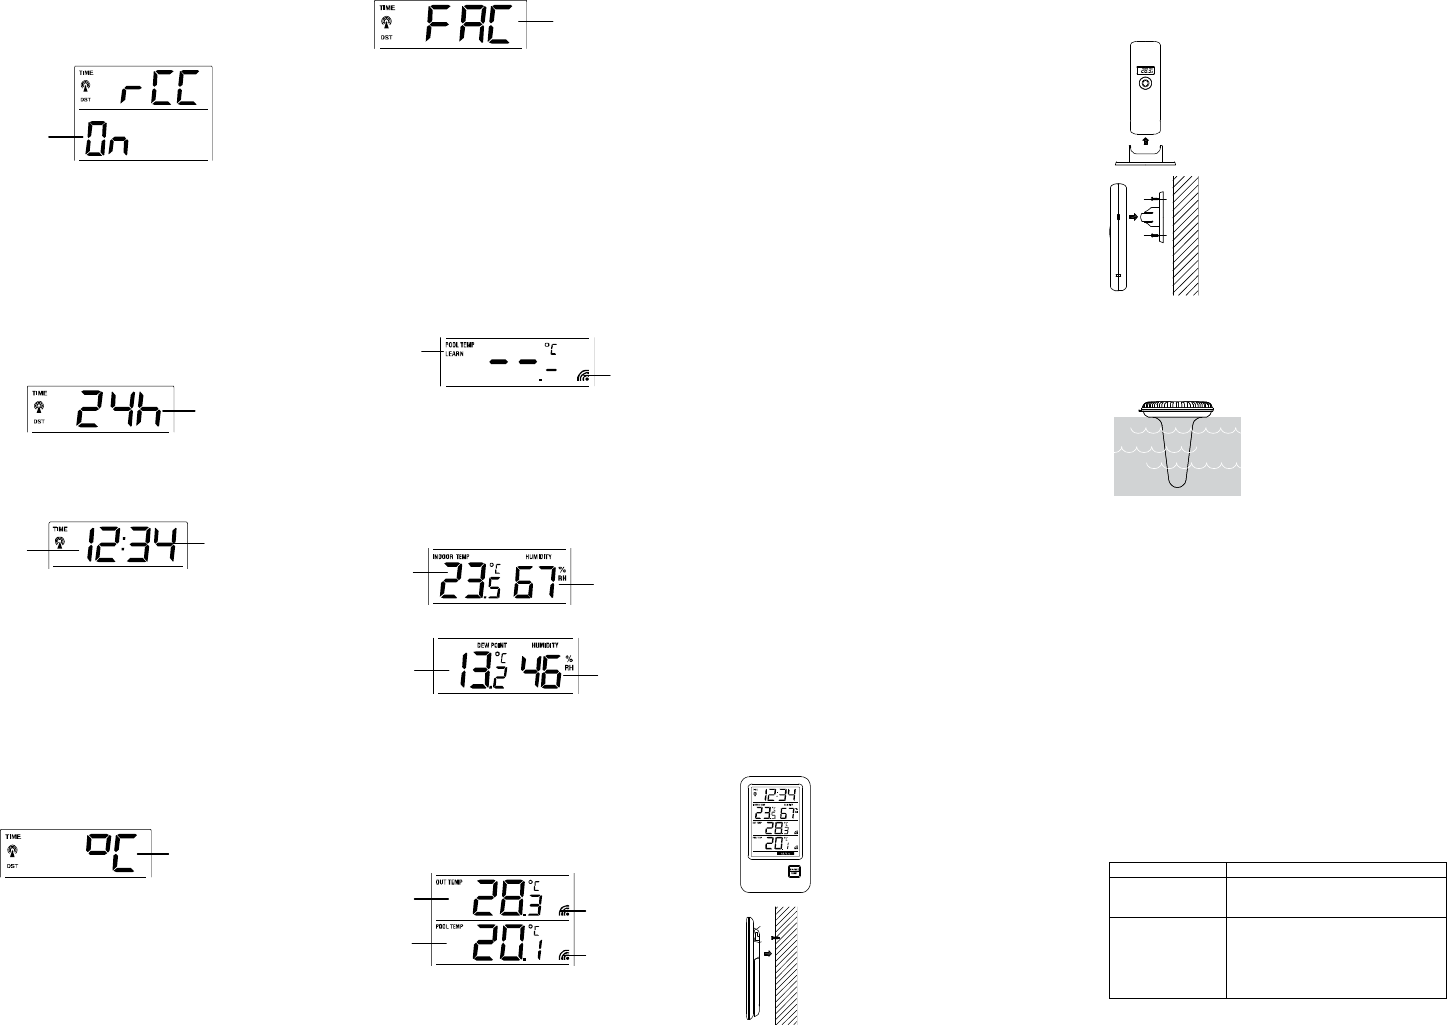
POSITIONING T
The temperature station comes attached with a
provides the option of table standing or wall mounting the
wall mounting, please check that the outdoor tem
received from the desired locations.
Foldout table stand:
The foldout table stand leg is located on the
backside. Pull the stand out from the bottom
center edge of the temperature station, below
the battery compartment. Once the foldout table
stand is extended, place the temperature station
in an appropriate location.
To wall mount:
1. Fix a screw (not supplied) into the desired
wall, leaving the head extended out by
about 5mm.
2. Place the temperature station onto the
screw, using the hanging hole on the
backside. Gently pull the tempe
screw into place.
POSITIONING TH
Mount the transmitter at a sheltered place. Avoid
direct rain and sunshine.
The outdoor transmitter is supplied with a holder
that may be attached to a wall wi
supplied. The outdoor transmitter can also be
position on a flat surface by securing the stand to
the bottom to the outdoor transmitter.
To wall mount:
1. Secure the bracket onto a desired wall
using the screws and plastic anchors.
2. Clip the outdoor transmitter onto the
bracket.
Note:
Before permanently fixing the outdoor
transmitter wall base, place all units in the
desired locations to check that the outdoor
temperature readings are receivable. I
received, relocate the rem
slightly as this may help the signal reception.
POSITIONING TH
Place the pool sensor in any pool or pond to d
temperature.
Note:
In event that the signal is not received,
relocate the remote pool sensor or
move it slightly as this may help the
signal reception.
CARE AND M
• Clean the instrument and the transmi
cloth. Do not use solvents or scouring agents. Protect from
moisture.
• Remove the batteries if you do not use the product for a
lengthy period.
BA
• Replace the batteries of the tempe
battery symbol appears in the indoor values di
• Replace the batteries of the outdoor transm
battery symbol appears in the outdoor tem
the temperature station and/or in the display of the outd
transmitter.
• Replace the batteries of the pool sensor when th
symbol appears in the pool temperature display
temperature station and/or in the display of th
Please note:
When the batteries are changed, the contact betwe
transmitter, pool sensor and basic station mus
so always insert new batteries into the three de
manual transmitter search.
• The manuals settings will remain unchanged.
MALFUNCTION
Problems Troubles
No indication on
the temperature
station
•
Ensure batteries polarity are correct
• Change batteries
No transmitter
reception
Display "---"
• Start a manual transmi
• Check batteries of external
transmitters (do not use
rechargeable batteries!)
•
Restart the transmitters and
temperature station as per the
Temperature
transmitter
reception
signal
in °C/°F
in °C/°F
Minutes
(flashing)
(flashing)
Flashing
Flashing
Flashing
Pool sensor
reception
signal
Reception
signal flashing