4. The DVD key is now ready to be programmed for your second TV.
(See
Setting up your components
.)
To re-assign other device keys, repeat steps 1 through 4 by substituting
the key sequence from the below chart for the most popular compo-
nents:
To Re-Assign Key Sequence Perform
VCR as 2nd TV key: SET - 9 - 9 - 2 - TV - VCR
VCR as 2nd CBL key: SET - 9 - 9 - 2 - CBL/SAT - VCR
VCR as 2nd SAT key: SET - 9 - 9 - 2 - CBL/SAT - VCR
VCR as 2nd DVD key: SET - 9 - 9 - 2 - DVD - VCR
VCR back to VCR: SET - 9 - 9 - 2 - VCR - VCR
DVD as 2nd TV key: SET - 9 - 9 - 2 - TV - DVD
DVD as 2nd CBL key: SET - 9 - 9 - 2 - CBL/SAT - DVD
DVD as 2nd SAT key: SET - 9 - 9 -
2 - CBL/SAT - DVD
DVD as 2nd VCR key: SET - 9 - 9 - 2 - VCR - DVD
DVD back to DVD: SET - 9 - 9 - 2 - DVD - DVD
When a re-assignment is done, the LED will blink twice to confirm your
choice.At that time,you will need to program the remote control for the
new device (see
Setting up your components
).
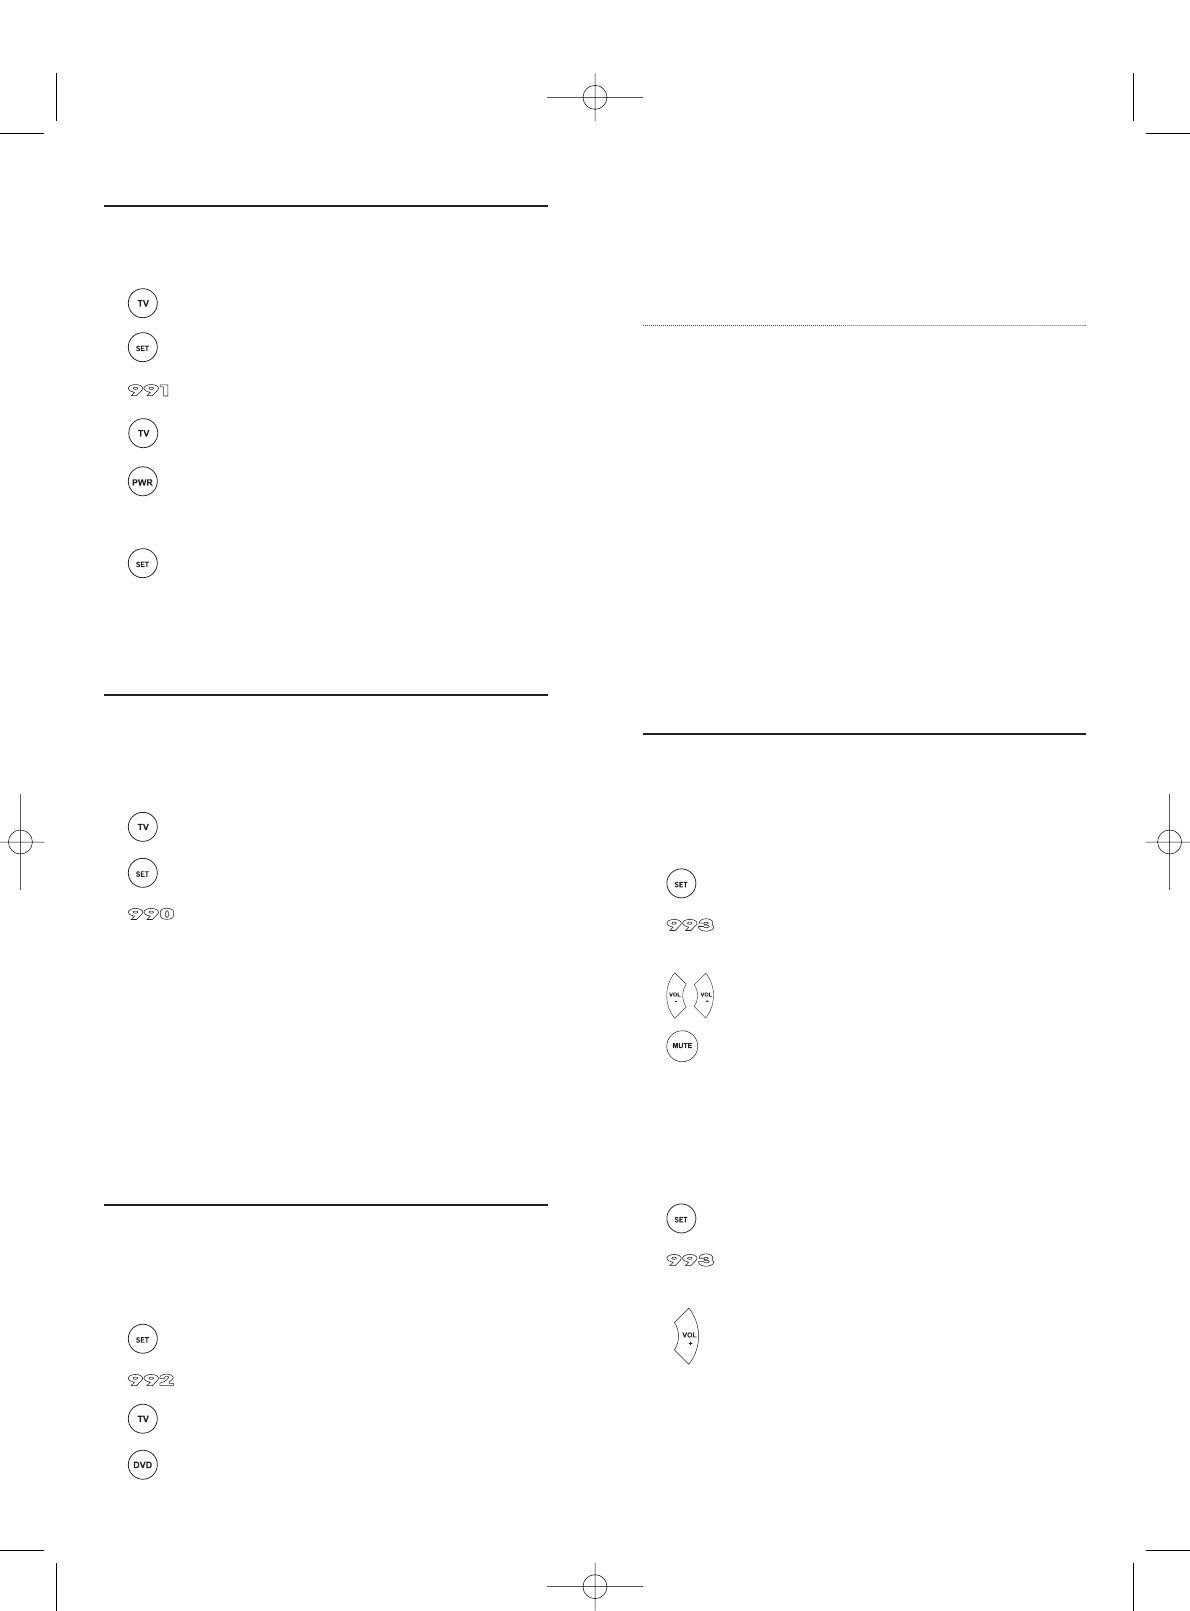
CHANGING VOLUME LOCK
The One For All 4 Devices is set to control the volume of your TV in the
TV,VCR,CBL/SAT, and DVD modes. If you want the volume to be con-
trolled by a mode other than TV (e.g., CBL/SAT),change the Volume
Lock as follows:
To Change Volume Lock To Another Mode:
1. On the remote control, press and hold SET until the LED
blinks twice, then release
SET.
2. Enter
9 - 9 - 3 and then press any mode key once (except
TV). The LED will blink twice.
3. Now, whenever you press
VOL+, VOL–,or MUTE,volume will
be controlled by your mode choice.
Unlocking Volume Control:
NOTE: Perform these instructions when you want independent volume control for
each
programmed device (e.g., TV volume control in TV mode, CBL/SAT volume control
in CBL/SAT mode, etc.)
1. On the remote control, press and hold SET until the LED
blinks twice, then release
SET.
2. Enter
9 - 9 - 3 and then press VOL+. The LED will blink four
times.
3. Volume will again be controlled according to its default states.
8
SEARCHING FOR YOUR CODE
If your device does not respond to the remote control after trying all
codes listed for your brand, or if your brand is not listed at all, try
searching for your code. For example, to search for a code for your TV:
1. On the remote control,press
TV once.
2. Press and hold
SET until the LED blinks twice, then release
SET.
3. Enter
9 - 9 - 1. The LED will blink twice.
4. Aim the remote control at the TV and slowly alternate
between pressing
POWER and TV. Stop when the TV turns
off.
NOTE: In the search mode, the remote control will send IR codes
from its library to the selected device, starting with the most popular
code first.
5. To lock in the code, press and hold SET until the LED blinks
twice, then release
SET.
6. To search for the codes of your other devices, repeat steps 1 through
5, but substitute the appropriate device key for the device you are
searching for.
CHECKING THE CODES
If you have set up the remote control using the
Searching For Your Code
procedure, you may need to find out which four-digit code is operating
your equipment:
For example,to find out which code is operating your TV:
1. On the remote control,press
TV once.
2. Press and hold
SET until the LED blinks twice, then release
SET.
3. Enter
9 - 9 - 0.The LED will blink twice.
4. To view the code for the first digit, press
1 once.Wait 3 seconds,
count the LED blinks (e.g., 3 blinks = 3) and write down the num-
ber.
NOTE: If a code digit is “0”, the LED will not blink.
5. Repeat step 4 three more times for remaining digits. Use 2 for the
second digit,
3 for the third digit, and 4 for the fourth digit.
6. To check for codes of other devices,repeat steps 1 through 5, but
substitute the appropriate device key for each device you are check-
ing.
RE-ASSIGNING DEVICE KEYS
The One For All 4 Devices can be set to control a second TV,VCR, or
DVD player.
For example,to control two TVs, a VCR, and a cable box,you will need
to re-assign the unused
DVD key to operate the second TV as follows:
1. On the remote control, press and hold
SET until the LED
blinks twice, then release
SET.
2. Enter
9 - 9 - 2. The LED will blink twice.
3. Press
TV once, then press DVD once.
7