NETGEAR, the NETGEAR logo, and Connect with Innovation are trademarks and/or registered
trademarks of NETGEAR, Inc. and/or its subsidiaries in the United States and/or other countries.
Information is subject to change without notice. © NETGEAR, Inc. All rights reserved.
NETGEAR, Inc.
350 East Plumeria Drive,
San Jose, CA 95134 USA
December 2013
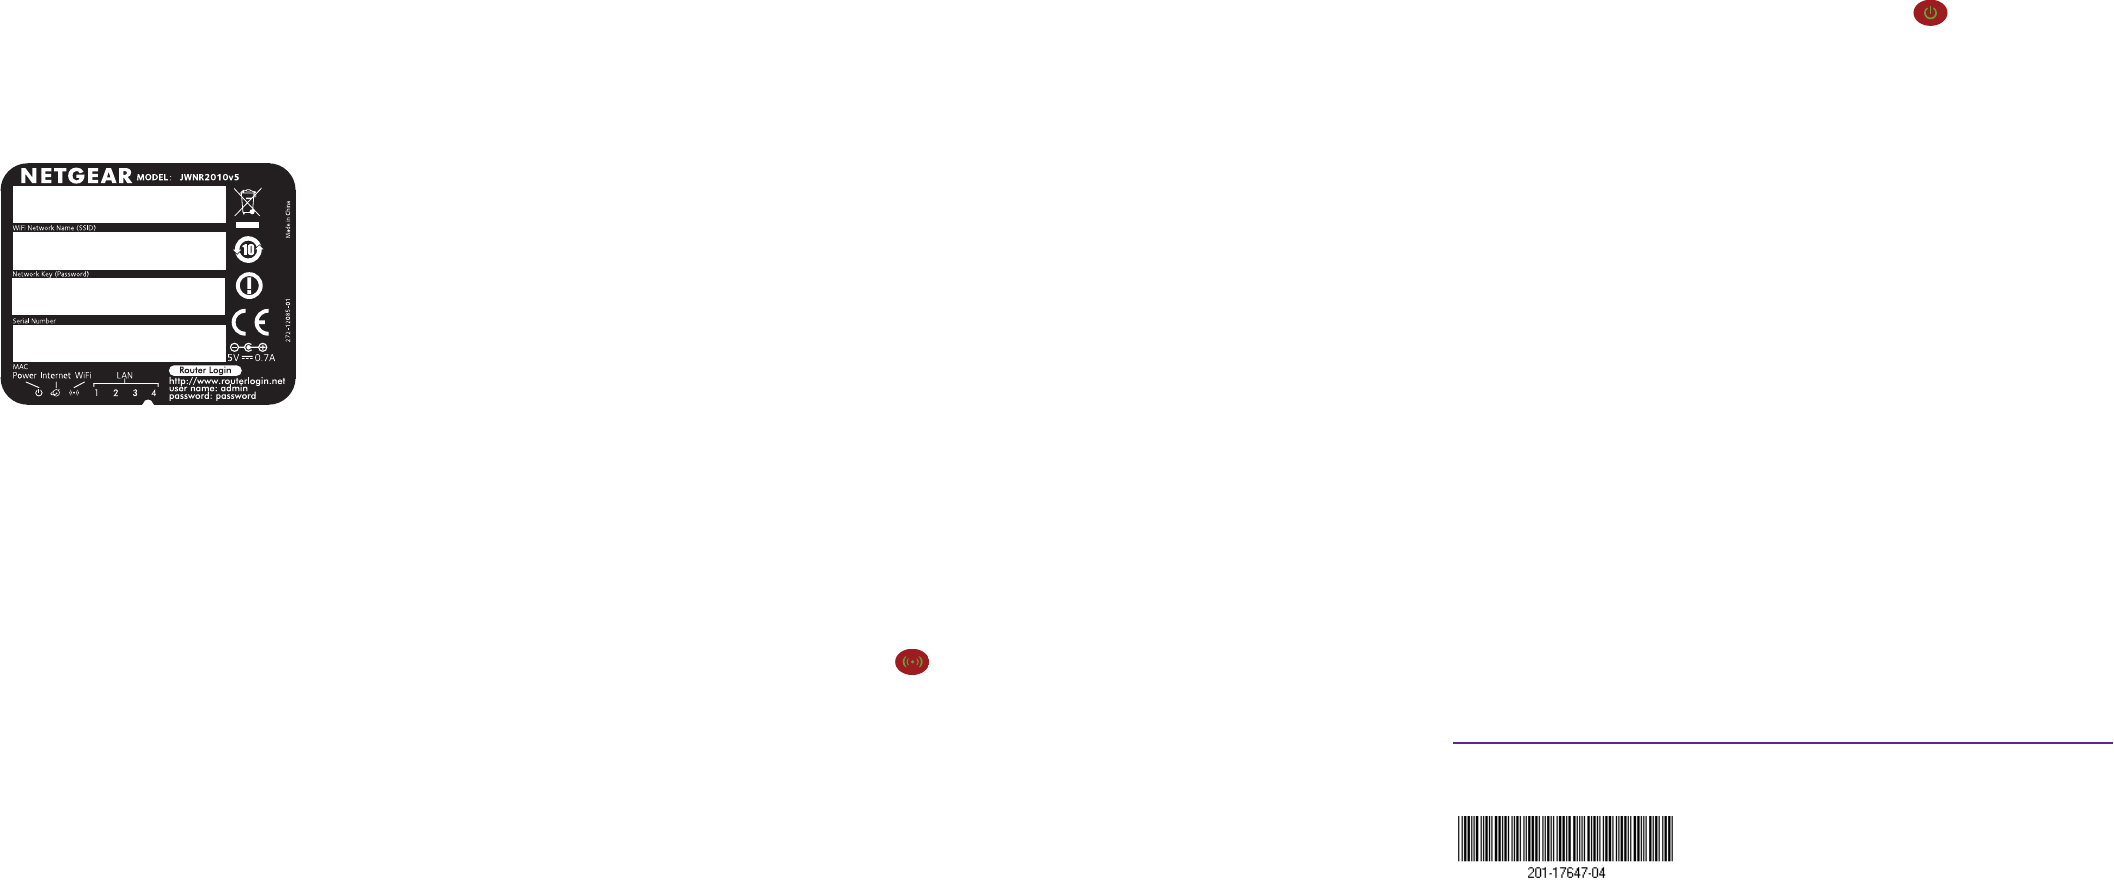
Preset Wireless Security
This product has a unique WiFi network name (SSID) and network key
(password). The default SSID and password are uniquely generated for
every device (like a serial number) to protect and maximize your wireless
security. This information is located on the product label.
NETGEAR recommends that you do not change the preset SSID or
password. If you do change the settings, the information on the product
label does not apply.
Find the preset wireless settings on your router and record them here:
WiFi network name (SSID) _______________________________
Network key (password) _________________________________
If you change the preset wireless settings, record them here:
WiFi network name (SSID) _______________________________
Network key (password) _________________________________
If necessary to retrieve or update your password, enter
http://www.routerlogin.net in a web browser and log in using the default
user name (admin) and password (password).
Select Wireless Settings to locate your wireless password.
Join the Router’s WiFi Network
To connect your computer or wireless device (such as a smart phone or
gaming device) and join the router’s WiFi network, you can use either the
manual method or Wi-Fi Protected Setup (WPS).
Manual Method
1. Open the software utility that manages your wireless connections on
the computer or wireless device that you want to connect to your
router.
This utility scans for all wireless networks in your area.
2. Find and select your wireless network name (SSID).
The SSID is located on the product label.
3. Enter the network key (password).
The password is located on the product label.
4. Click the Connect button.
WPS Method
If your computer or wireless device supports WPS (Wi-Fi Protected Setup),
you can use WPS to join the router’s WiFi network. NETGEAR calls WPS
Push ‘N’ Connect.
Note: WPS does not support WEP security. You cannot use WPS to
connect a WEP client to the router’s WiFi network.
To use WPS to join the router’s WiFi network:
1. Press and hold the WPS/Reset button on the back of the router with
the end of a paper clip or a similar object for one to three seconds.
The WiFi LED blinks.
2. Within two minutes, press the WPS button on the computer or
wireless device.
The computer or wireless device connects to the router’s WiFi
network.
Note: For help with the WPS button on the computer or wireless
device, check the instructions or online help that came with that
computer or wireless device.
Reset Router to Factory Settings
You can return the router to its factory settings. Use the end of a paper clip
or a similar object to press and hold the WPS/Reset button on the back of
the router for at least four seconds. The Power LED blinks. The router
resets and returns to the factory settings.
Support
Thank you for selecting NETGEAR products.
After installing your device, locate the serial number on the label of your
product and use it to register your product at https://my.netgear.com.
You must register your product before you can use NETGEAR telephone
support. NETGEAR recommends registering your product through the
NETGEAR website. For product updates and web support, visit
http://support.netgear.com.
NETGEAR recommends that you use only the official NETGEAR support
resources.
You can get this installation guide in multiple languages and the user
manual online at http://downloadcenter.netgear.com or through a link in the
product’s user interface.
For the current EU Declaration of Conformity, visit
http://support.netgear.com/app/answers/detail/a_id/11621/.
For regulatory compliance information, visit
http://www.netgear.com/about/regulatory/. See the regulatory compliance
document before connecting the power supply.