Radio Listening
23
There are two ways to select radio stations: one is manual tuning and the other is
presetting radio stations then selecting the preset channels.
Tuning Stations
1. Press TUNER to select the desired
band.
[PRESET NO FREQUENCY]
2. Press TUN.PRESET until “PRESET”
disappears in the machine’s display.
Station select mode will be changed from
PRESET to Manual Tuning.
3. Press
to change the frequency.
To find weak station too, press
repeatedly while tuning.
If this button is held continuously for more than
0.5 seconds, the frequencies are scanned
automatically.
When a broadcast is received, scanning stops.
1. Tune in the radio station you wish to
preset(see steps on the left).
2. Press MEMORY.
“MEMORY” indicator lights up in the
machine's display.
3. While the MEMORY indicator is lit in the
machine’s display, press
to select
the preset number to which you wish to
register the radio station.
4. Press ENTER or MEMORY.
The radio station is registered to the preset
number.
To register another preset station, repeat
steps 1 to 4.
Programming Station Preset
Before selecting preset stations, you need to
preset the radio stations.
1. Press TUNER to switch the input source
to the tuner.
“FM” or “MW(AM)” appears in the machine's
display. The band selected in this step will
not affect the next step.
Selecting Preset Stations
You can store up to 30 stations.
You can preset radio stations only with the buttons on the
remote controller.
2. Press TUN. PRESET repeatedly until the
PRESET indicator appears in the
machine’s display.
3. Press
repeatedly until the desired
preset number appears.
Notes : Tuning in a weak frequency (only
for FM stations)
When you tune in a stereo FM station, the
“STEREO” indicator lights up if the signal is
normal.
If the signal is weak, you may not be able to
tune to the station.
In this case, tune in as follows.
Press FM MODE to select FM Mono.
The “STEREO” indicators turn off. At this time,
the station will be in mono and interstation
noise will be heard. Select the station to which
you want to listen.
22
1. Press the number button(s) to enter the
track number for the desired track.
e.g. To select track 12
2. Press ENTER.
The machine starts playback from the
selected track.
Locating a specific track directly
Locating a specific chapter, track or MP3
file consecutively
Press or (repeatedly) to select the
chapter, track or MP3 file you wish to start
playing
Press once to start playback from the
beginning of the current chapter, track or MP3
file.
Press repeatedly to select the former
chapters, tracks or files in reverse order.
Press repeatedly to select the next
chapter, track or MP3 file in order.
Notes
Some title may not display chapter numbers.
This location method is available only on a disc that contains
the numbers corresponding to the titles and chapters.
To cancel the entered title and chapter numbers, press
CLEAR before pressing ENTER.
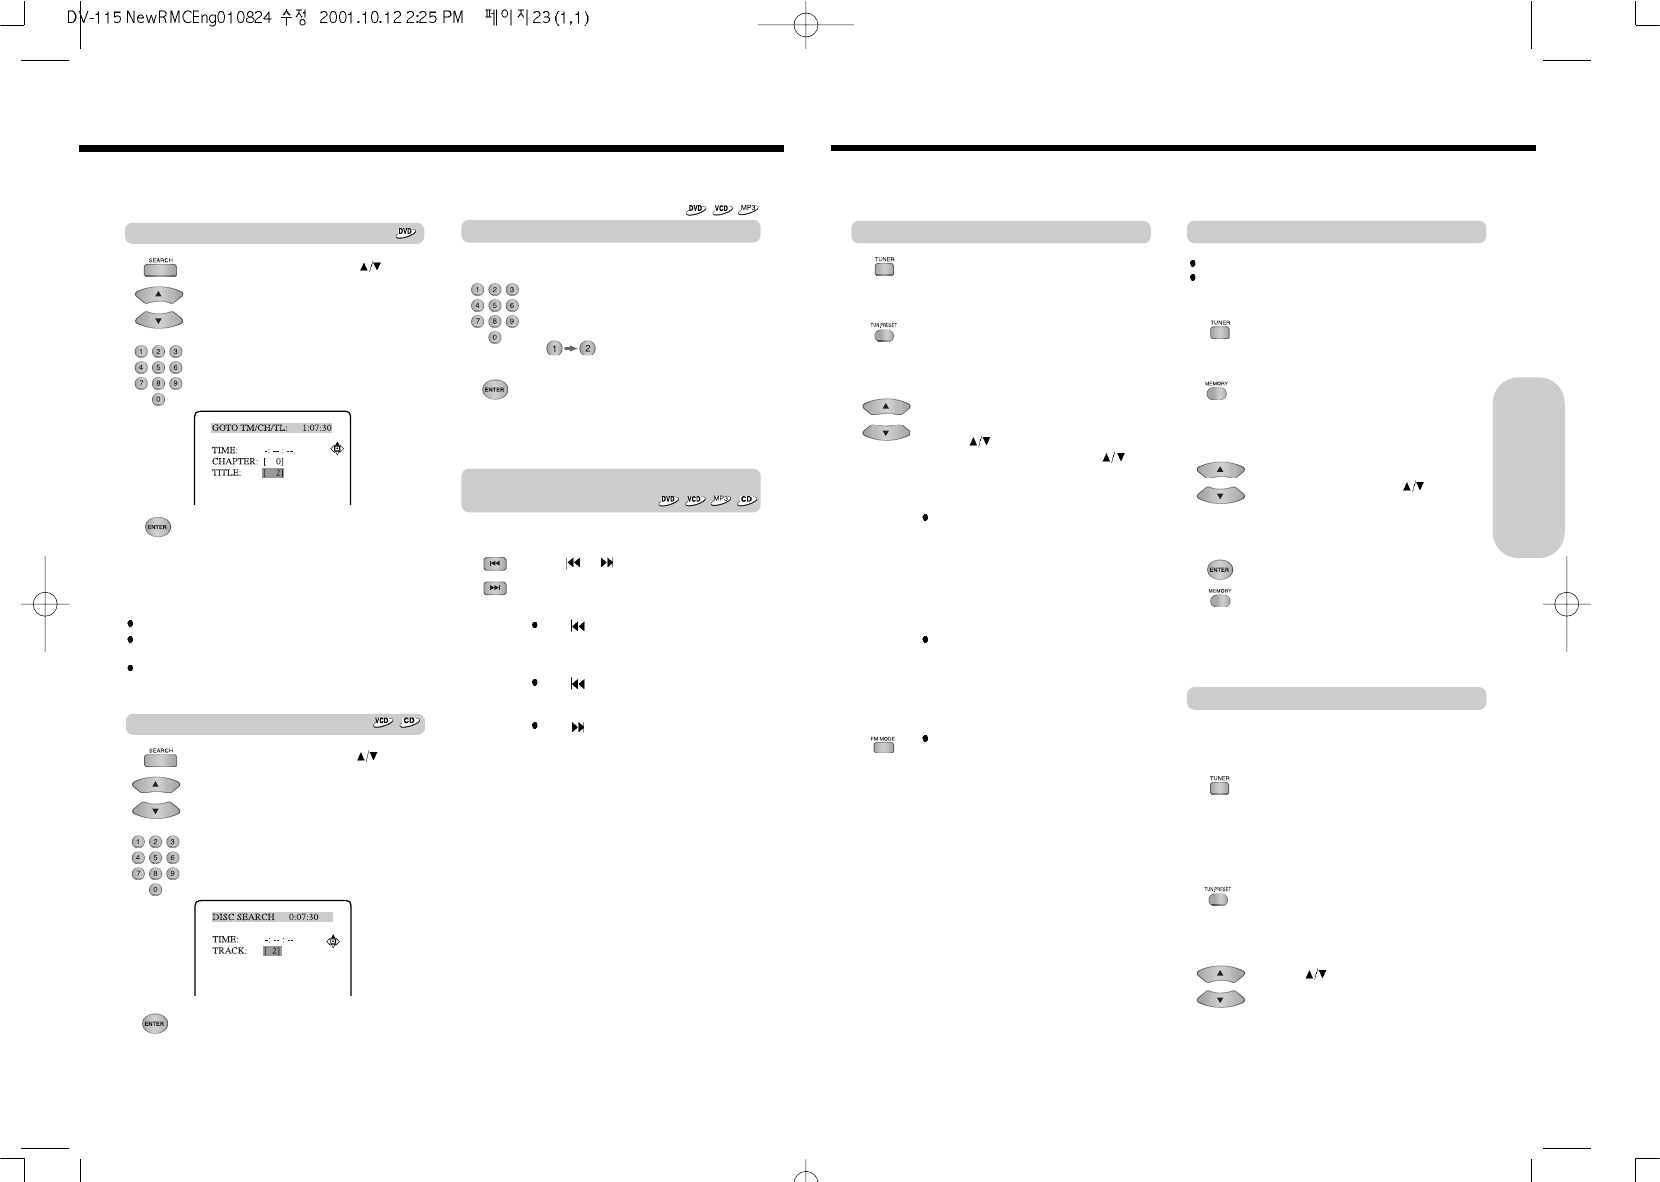
1. Press SEARCH, then press
to select TITLE.
Make sure that the number next to “TITLE”
is highlighted.
2. Press the number button(s) to enter the
chapter number for the desired chapter.
e.g. To select title 2
3. Press ENTER.
The machine starts playback from the
selected chapter in the selected title.
You can locate consecutive chapters, tracks or MP3 files.
You can locate the desired track by entering the number.
Locating a Specific Title/Chapter/Track/MP3 File/Location
Basic Operation
1. Press SEARCH, then press
to select TRACK.
Make sure that the number next to
“TRACK” is highlighted.
2. Press the number button(s) to enter the
track number for the desired track.
e.g. To select track 2
Locating a specific track
3. Press ENTER.
The machine starts playback from the
selected track.
Locating a specific title