NL
Description de l’indicateur lumineux
Clignote une fois
vers le tableau de commande.
Clignote une fois toutes les 2 secondes : pile presque épuisée.
Veuillez remplacer les piles immédiatement.
Description de la carte de circuit imprimé
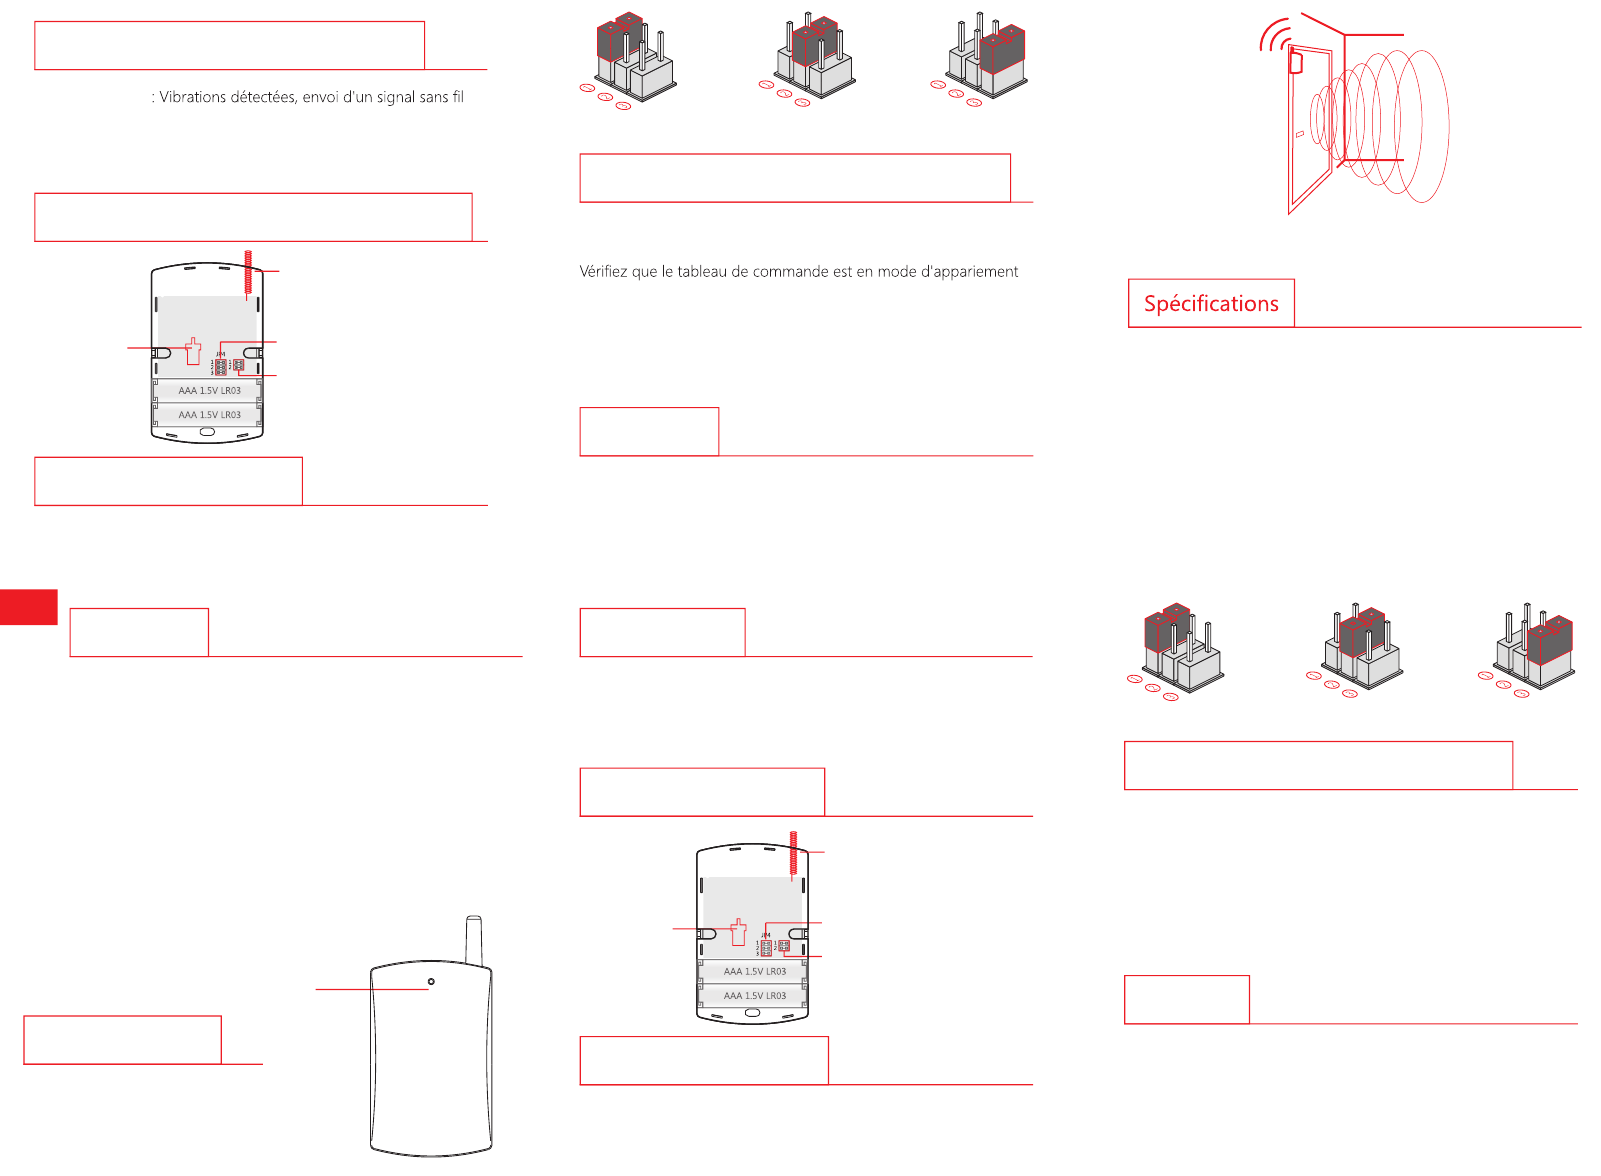
Antenne
Réglage de la sensibilité
Réglage du mode
Contact anti-
sabotage
Réglage de la sensibilité
Retirez le capot arrière avec un tournevis et positionnez le cavalier
noir de réglage de la sensibilité sur le niveau souhaité.
Forte sensibilité Sensibilité moyenne Faible sensibilité
Connexion avec le tableau de commande
Veuillez connecter le détecteur avec le tableau de commande
avant utilisation :
1.
(veuillez consulter le mode d’emploi correspondant).
2. Cognez brièvement la surface du détecteur pour simuler une
alarme (l'indicateur clignote une fois). Lorsqu’un bip sonore retentit
depuis le tableau de commande, alors l'appariement a été effectué
avec succès.
Installation
1. Retirez la bande isolante ; le détecteur entrera en mode de
fonctionnement normal.
2. Nettoyez la surface d'installation.
3. Fixez le détecteur au centre de la surface avec du ruban adhésif
double-face et dressez l'antenne.
Remarque : La détection d'une vibration dépend non seulement de la force de frappe
mais aussi de la fréquence et de la durée de vibration exercée sur la surface d'installation.
Alimentation : 3 V CC (2 piles AAA ou LR03 1,5 V)
Intensité statique : < 29 µA
Intensité en alarme : < 22,2 mA
Distance de transmission : < 80 m (en zone dégagée)
Fréquence radio : 868 MHz
Matériau du boîtier : Plastique ABS
Conditions de fonctionnement :
Température : 0°C ~ +55°C
Humidité relative : < 80 % (sans condensation)
Dimensions du détecteur (L x l x H) : 54 x 14,5 x 107 mm
Introductie
De draadloze vibratiedetector is gebaseerd op de theorie van
trillingen, aanrakingen en bewegingen. Op het moment dat
de vibratiedetector trillingen detecteert, zal deze automatisch
draadloos een signaal naar het bedieningspaneel sturen voor het
slaan van alarm.
De trillingsgevoeligheid kan op drie niveaus worden ingesteld
en kan daardoor effectief een vals alarm voorkomen.
Twee stuks AAA 1,5 V LR03-batterijen worden in de detector
meegeleverd, die 12 maanden stand-by mogelijk maken.
Productoverzicht
LED-indicator
LED-indicatie
Knippert één keer: Trilling gedetecteerd, verzenden van een
draadloos signaal naar het bedieningspaneel.
Knippert elke 2 seconden: Lage batterijspanning. Vervang
onmiddellijk de batterij.
Overzicht binnenzijde
Antenne
Gevoeligheid instellen
Modus-instelling
Sabotageschakelaar
Gevoeligheid instellen
Maak met een schroevendraaier de achterkant van de behuizing
los en zet de zwarte jumper op de jumper van de gewenste
gevoeligheid.
Hoge gevoeligheid Gemiddelde gevoeligheid Lage gevoeligheid
Verbinden met het bedieningspaneel
Verbind vóór gebruik de detector met het bedieningspaneel:
1. Zorg ervoor dat het bedieningspaneel in de verbindingsmodus
staat (zie de desbetreffende gebruikershandleiding).
2. Klop eenmaal op het oppervlak van de detector om een alarm te
simuleren (LED knippert één keer). Wanneer u een pieptoon hoort
vanuit het bedieningspaneel, betekent dit dat de koppeling is
geslaagd.
Installatie
1. Verwijder de isolerende strook; de detector zal in de werkingsmodus
gaan.
2. Reinig het oppervlak van object dat wordt geïnstalleerd.
3. Bevestig de melder met dubbelzijdig plakband op het midden
van het oppervlak van het object en zorg ervoor dat de antenne
omhoog is gericht.