3/4USER’S GUIDE (Basics)
You can split
left and right sid
The Duet Mode is the ay to con
the teacher playing
same song on the right
■ Pedal Operation when
• If you are using the
Unit, the left outer
pedal, while the r
damper pedal. Only t
keyboard supports half
• To use the supplied
affects
it cr DAMPER PEDAL jack.
is not supported in t
■ To use the Duet Mode
1.
Hold down thebp^ button until “[FUNCTION]”
appears on the display.
This enters the FUNCTION mode
2.
Use the bk U and bl I buttons to display
“KEYBOARD” and then touch bm ENTER .
3.
Use the bk U an bl I buttons
and then touch bm ENTER .
4.
After confirming that “Duet Mode” is displayed,
touch bm ENTER .
5.
Use the bk – and bl + buttons t
Mode setting.
• To use the Duet Mod
for this settin
normal keyboard play, select
6.
To exit the FUNCTION Modbp EXIT
until “[FUNCTION]” disappears from the display.
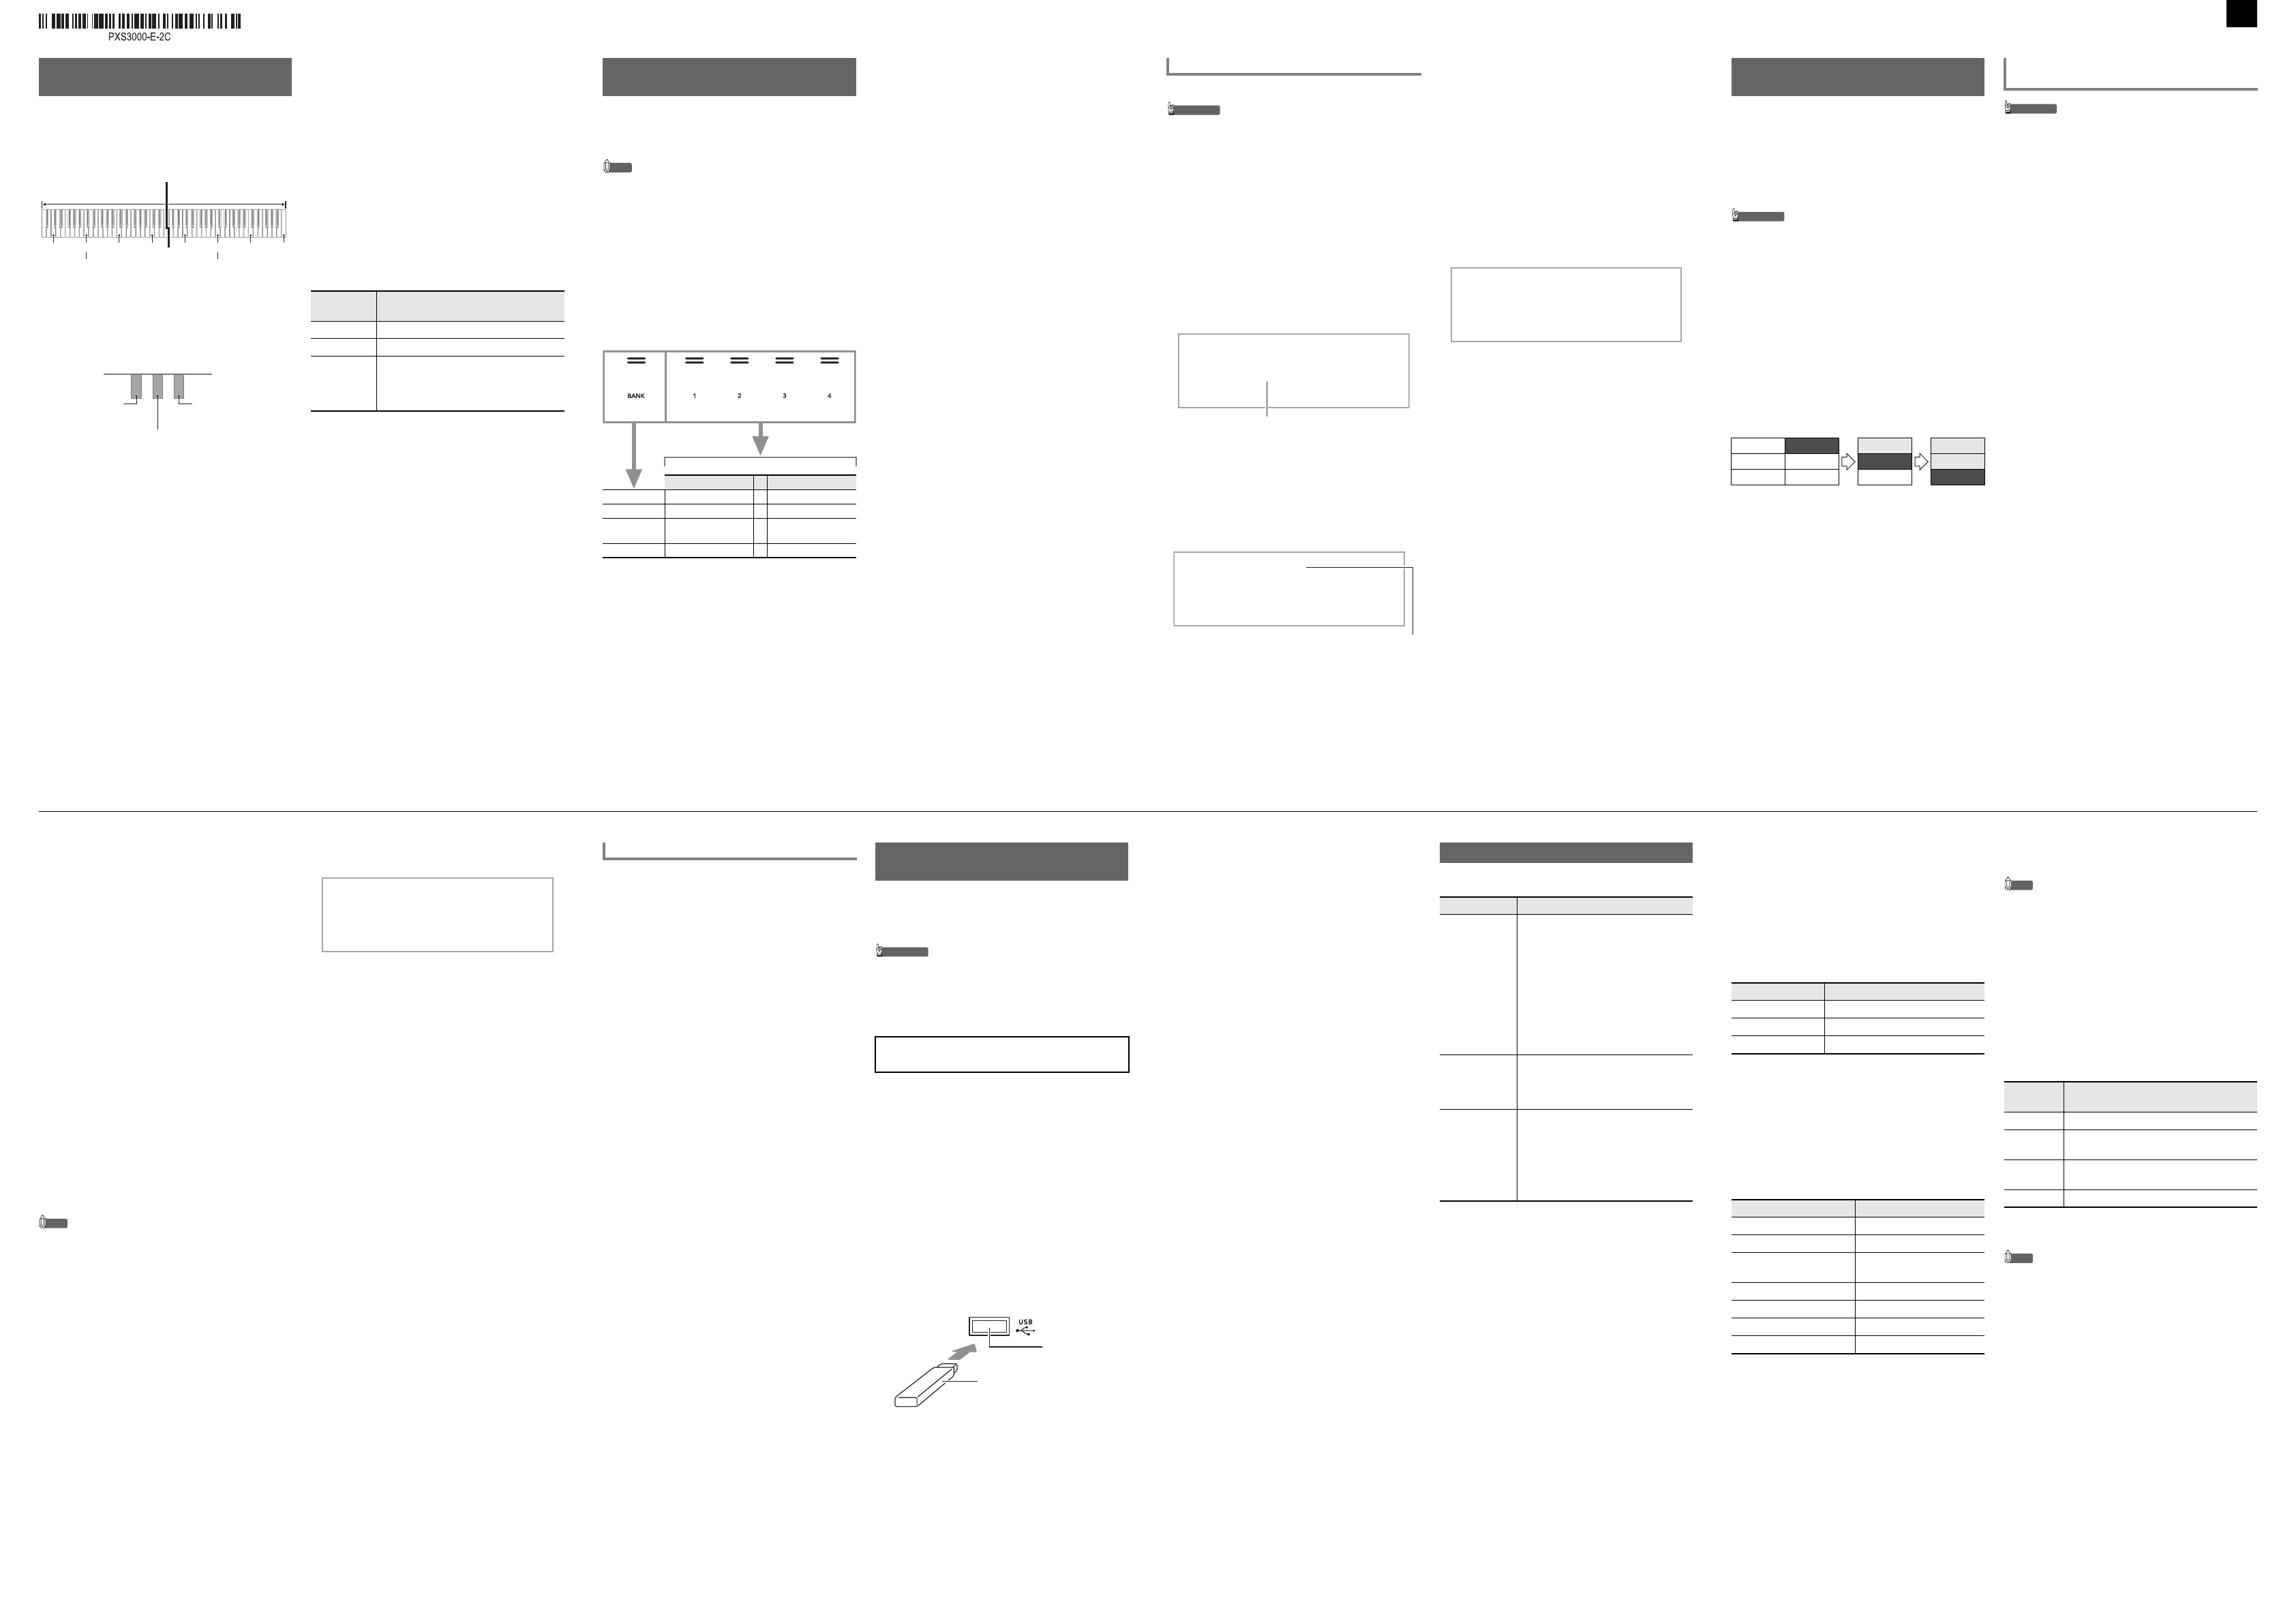
Splitting the Keyboard for Duet
Play
Split po
Left keyboard Right keyboard
(middle C) (middle C)
Left side damper
pedal
Left and right
damper p
Right side da
(Half-pedal o
supported)
This setting
(displayed):
Does this:
Off Exits the Duet Mode.
On Enters the Duet
Pan Outputs left-side keyboard
left speaker
from the right
Mode.
You can t
the Digi
recall a registered
song, etc.
NOTE
• Registration opera
RHYTHM Mode or ACCOMP Mode.
• Registration opera
SONG Mode, or while demo
setting operati
■ Setup Storage Locat
Setup registrati
divided into 2
which
areas).
• Use the bq BANK button to specify a b
• Specify an area usibr Area 1 to ck Ar4
buttons.
■ Registration Memory Setting Items
• Rhythm number, mode
RHYTHM Mode), synchro
Accompaniment setting
Accompaniment volume)
•T
• Tone numbers
disable, Split
keyboard volume setting, pat settings (volume, octave
shift, fine tune
• Split point
• Auto harmonize
settings)
• Transpose
• Scale settings
scale)
• Touch Response sett
• Chorus type, brilliance settings
• Hall simulator/
surround (enabl
• Damper pedal functi
function, pitch
damper pedal, expression/
wheel)
• Knob settings
■ Saving to an External Device
Setups saved using
flash drive in bank “USB Flash Drive” (page 4/4).
Registering and Restoring a
Setup (Registration)
Area 1
…
Area 4
Bank 1 Setup 1-1
…
Setup 1-4
Bank 2 Setup 2-1
…
Setup 2-4
.
.
.
.
.
.
Bank 24 Setup 24-1
…
Setup 24-4
■ To register a setup
• Specifying a bank and
stored to it in
recorded data to be deleted. For information about
banks and areas, see “Setup Stor
1.
Use the 3 mode selector button to cycle through
settings until the “RHYTHM” or “ACCOMP”
indicator is lit.
2.
Configure the
to register.
3.
Use the bp^ button to cycle
the “^ REG.” indic
lit.
4.
Select bank you want to use
destination.
•Tbq BANK to cycle to the ne
• Use the bk – and bl + buttons to select
number.
5.
Select the area where you want to store the setup.
While holding dowcl STORE , touch an
from br Area 1 to ck Area 4.
This causes “Sure?
• To exit setup registrbk –.
6.
To register the setup, touch bl +.
This completes the regi
“Complete”.
■ To recall a registered setup
1.
Use the 3 mode selector button to cycle through
settings until the “RHYTHM” or “ACCOMP”
indicator i
2.
Use the bp^ button to cycle through settings until
the “^ REG.” indica
lit.
3.
Use bq BANK , or bk – andbl + to selec
of the setup you want to recall.
4.
Touch one of the buttons from br Area 1
ck Area 4 to select
want to recall i
This recalls the setup.
• This causes
accordance with the setup
Registering and Recalling a Setup
[
RE I S I O
]
Ba : 0
[
ST
]
2-1
–
NO Y
+
Su r e
Bank number
[
RE I S I O
]
ARE 1
Ba : 0
The MIDI recorder record
MIDI data. Reco
numbers 11 through
• You can have up
• Three-track multi-tr
song.
• A
tracks) can be recorded for each
• CASIO COMPUTER CO., LTD. takes no responsibility
for any da
parties
to malfunction, repair, or for any other r
■ Recorder Tracks and Recorded Data
The MIDI recorder of t
track recorder.
R
and the data t
type.
• System T The system track ca
keyboard play using Auto Accompanyer, split,
and other keyboar
• Solo Track 1, S A s
record keyboard p
These tracks can be overd
■ Saving to an External Device
After you cr
save the resulting dat
Flash Drive” (page 4/4).
• When the remaining recordable
lower during recording, the bo REC0 button w
flash. The bo REC0 button light will stop fl
and turn off
count becomes ze
• Should power fail duri
the track you are
■ Getting Ready to Use t
Your Digital Piano has
an audio
Digital he
Audio Mode, per
MIDI Mode. Note t
under initia
necessary if
1.
Hold down the bp^ button until “[FUNCTION]”
appears on the display.
This enters the FUNCTION mode.
2.
Use bk U a bl I
and then touch bm ENTER .
3.
After confirming that “Song Type” is displayed,
touch bm ENTER .
4.
Use the bk – and bl + buttons to change the
setting to “MIDI”.
5.
To exit the FUNCTION Mode, hold down bp EXIT
until “[FUNCTION]” disappears from the di
Using the MIDI Recorder to
Record Perform
System Record Playback Playback
Solo 1 (Empty)
Record Playback
Solo 2 (Empty) (Empty)
Record
Recording and
Play
■ To record to the system
1.
Configure the tone, rhythm, effects, tempo, and
other settings you want to use during recording.
2.
Touch bo REC0.
This enters rebo REC0
flashing red.
• To cancel recording, touchbo REC0 again.
• If the MIDI recorde
allowable number of
“Data
Piano will exit record
3.
To start
This causes bo REC0 to stop flashin
red, which indicates that
• Instead of playing
start rhythm pla
8 START/STOP. In t
recorded until
4.
To stop recorbo REC0.
• This will automatically enter the SONG Mode, with
what you just recorded
5.
To play back the song you just recorded, touch
8a.
■ To overdub record a
recorded system track
NOTE
• If you are perfo
following the procedur
track”,
a song. Therefore,
1.
Use the 3 mode selector button to cycle through
settings
lit.
2.
Use the bk – and bl + buttons to select the song
number of a MIDI r
to the system track.
• Song
with the MIDI re
8a to play back the song and che
contents.
3.
Configure tone and other settings you want to use
for recording.
4.
Touch bo REC0.
This enters rebo REC0
flashing red.
5.
Hold down the bo REC0 button until “[MIDI REC
SETTING]” appears on the di
6.
After confirming tha
touch bm ENTER .
7.
Use the bk – and bl + buttons to select a track.
• The
on the solo tck you select.
8.
To start
This simultaneously
and recording to
above.
This caubo REC0 to stop flashing and rema
red, which indicates tha
• Instead of playing on
start system
by touching 8 START/STO. In this cas
are inserted at t
you start playing something
9.
To stop recording, touch bo REC0.
10.
To play back the song you just
8a.
• This will play back the contents of both the system
track and the so
• If you want to overdub
perform step
remaining (unr
[
M
IDI
]
–
Sy t e
m
+
Re T a
1.
Use the 3 mode selector button to cycle through
settings
lit.
2.
Use the bk – andbl + buttons to select the song
number of the MIDI recorder song you want to
delete.
• Song
with the MIDI re
8a to play back the song and ch
contents.
3.
Hold down the bo REC0 button
appears on the display.
4.
Touch bm ENTER .
This causes “Sure?” t
5.
To delete the song, touch bl + . To exit this
operation without deleting anything, touch bk –.
The audio recorder record
audio data. Recording
PCM, 16bit, 44.1
Digital Piano’s USB flash
• Use a USB flash
exFAT.
• Never remove the US
Recorder
so can corrupt the data on the USB
damage the USB flash drive port.
■ To prepare to use the audio reco
1.
Perform the steps below to put the Digital Piano
into the Audio Mode.
(1) Hold down the bp^ button until “[FUNCTION]”
appears on
This enters the FUNCTION mode.
(2) Use the bk U and bl I buttons to display
“SONG” and thenbm ENTER .
(3) After confirming thSong
touch bm ENTER .
(4) Use the bk – and bl + buttons to change t
setting to “
(5) To exit the FUNCTION Mode, hold down bp EX
until “[FUNCTION]” disappears f
2.
Insert t
cq USB flash drive port.
• Carefully push the USB flash drive in a
go. Do not use u
flash drive.
• When the Digit
the message “MOUNTING” will
display. Do not perform
message is displ
Deleting a MIDI Re
Using the Audio Recorder to
Record Perform
For precautions when handling a
see “USB Flash Drive”
cq USB flash dr
port
USB flas
■ To record
flash drive
1.
Perform the procedure under “To prep
the audio recorder”.
2.
Touch bo REC0.
This enters record bo REC0
flashing red.
The Digital Piano will e
time if it is in t
• To cancel recording, bo REC0 again.
3.
To start
This caubo REC0 to stop flashing and rema
red, which indicates tha
• Instead of playing on
start rhythm play an
8 START/STOP .
4.
To stop recording, touch bo REC0.
• This will store the recording a
USB fl
• The Digital Pianomatically switch to the
SONG Mode with th
playback.
5.
To play back the song you just
8a.
■ To select
audio recorder
1.
Perform the procedure under “To prep
the audio recorder”.
2.
Use the 3 mode selector button to cycle through
settings
lit.
3.
Use the bk – and bl + buttons
want to play.
4.
To start playback, touch 8a.
• Playback stops automatically when
file is reached. To
touch 8a.
Your Digital Piano
MIDI file types describe
Listening to Songs (MIDI Player)
Song Type Description
User songs You can add
Piano memory as user songs
Number 1 through
song data (up
data that i by this Digital
Piano), stor
device an
to Digital Piano
see “USB Flash Drive”
“Linking with a Smart
Function)” (page
MIDI recorder
songs
Songs recorded
MIDI recorder. See “Using t
Recorder to Record Performa
(this page).
USB memory
songs
Standard
CASIO MIDI files (CMF format
on a USB flas
about how to
“Using a Computer t
Song
4/4).
■ To select and play back a so
1.
If you want to play a song stored on a USB flash
drive, inser
cq USB flash drive port.
2.
Use the 3 mode selector button to cycle through
settings
lit.
3.
Use the bk – and bl + buttons to select a song
number.
• Selecting
to be displayed. This
loaded.
4.
To start playback of the
8a.
• The yellow and 8a button
will flash in time
for the remaining
• The op
playback is in progress.
■ To play a song wit
(for practice of the mut
• This proce
a USB flash dr
1.
Perform steps 1 a
back a song”.
2.
If you
adjust the tempo” (page 2/4) to specify the tempo.
3.
Use 4 PART
to mute.
• Each touch of 4 PART cycles through t
playback part settings. The currently sele
playback part(s) is indicated by t
indicators that appear
display.
4.
To start playback, touch 8a.
• Play the muted part a
• When playing back a
stored
the left-hand
right-hand part
Song Number Song Type
1 to 10 User songs
11 to 15 MIDI recorder songs
16 to 999 USB memory son
To do this: Perform this
Stop pl To8a .
Pause playback Touch 7 k.
Change playback tempo
(speed).
See “To adjust the
(page 2/4).
Skip forward one Touch 6d.
Fast forward Hold down 6d.
Skip back one measure. Touch 5s.
Fast bac Hold dow5s.
This
indicator
Means this:
LR Both the left- and right-hand
LR
Just the left-hand par
hand part muted
LR
Just the right-hand
hand part muted
Both the left- an
Continued on the back
PXS3000_A2_EN.fm 3