remedie
Trek de binnenste ring met een
schroevendraaier naar
beneden (zie illustratie).
Let op: het glas ligt hier los in!
Trek het halogeenlampje uit de
fitting en vervang het door een
nieuw 20 W (wandkappen) of
10 W (eilandkappen)
halogeenlampje. Pak het
nieuwe lampje met een schoon
doekje vast.
Verander het afvoerkanaal
(zie installatievoorschrift).
Bel de Servicedienst.
Bel de Servicedienst.
Bel de Servicedienst.
oorzaak
Lamp defect.
Let op:
Gebruik uitsluitend dezelfde
lampen met aangegeven
wattage.
Afvoer te lang of te veel
bochten in het kanaal.
Motor defect.
Motor of bediening defect.
Aansluitsnoer defect.
storing
Verlichting brandt niet.
Afzuigkap maakt lawaai.
Geen afzuiging.
NL 5
storingen
Wanneer het toestel niet goed werkt, betekent dit niet altijd dat het defect is. Probeer het euvel
eerst zelf als volgt te verhelpen. Wanneer onderstaande adviezen niet helpen, bel dan de
servicedienst.
Wanneer het aansluitsnoer beschadigd is moet het vervangen worden door de serviceafdeling van
de fabrikant of gelijkwaardig gekwalificeerde personen om gevaarlijke situaties te voorkomen.
Let op: Maak het toestel spanningsloos voordat met reparatie wordt gestart. Bij voorkeur door de
stekker uit het stopcontact te halen of de werkschakelaar op nul te zetten.
NL 4
ventilator (vervolg)
afzuigcapaciteit regelen
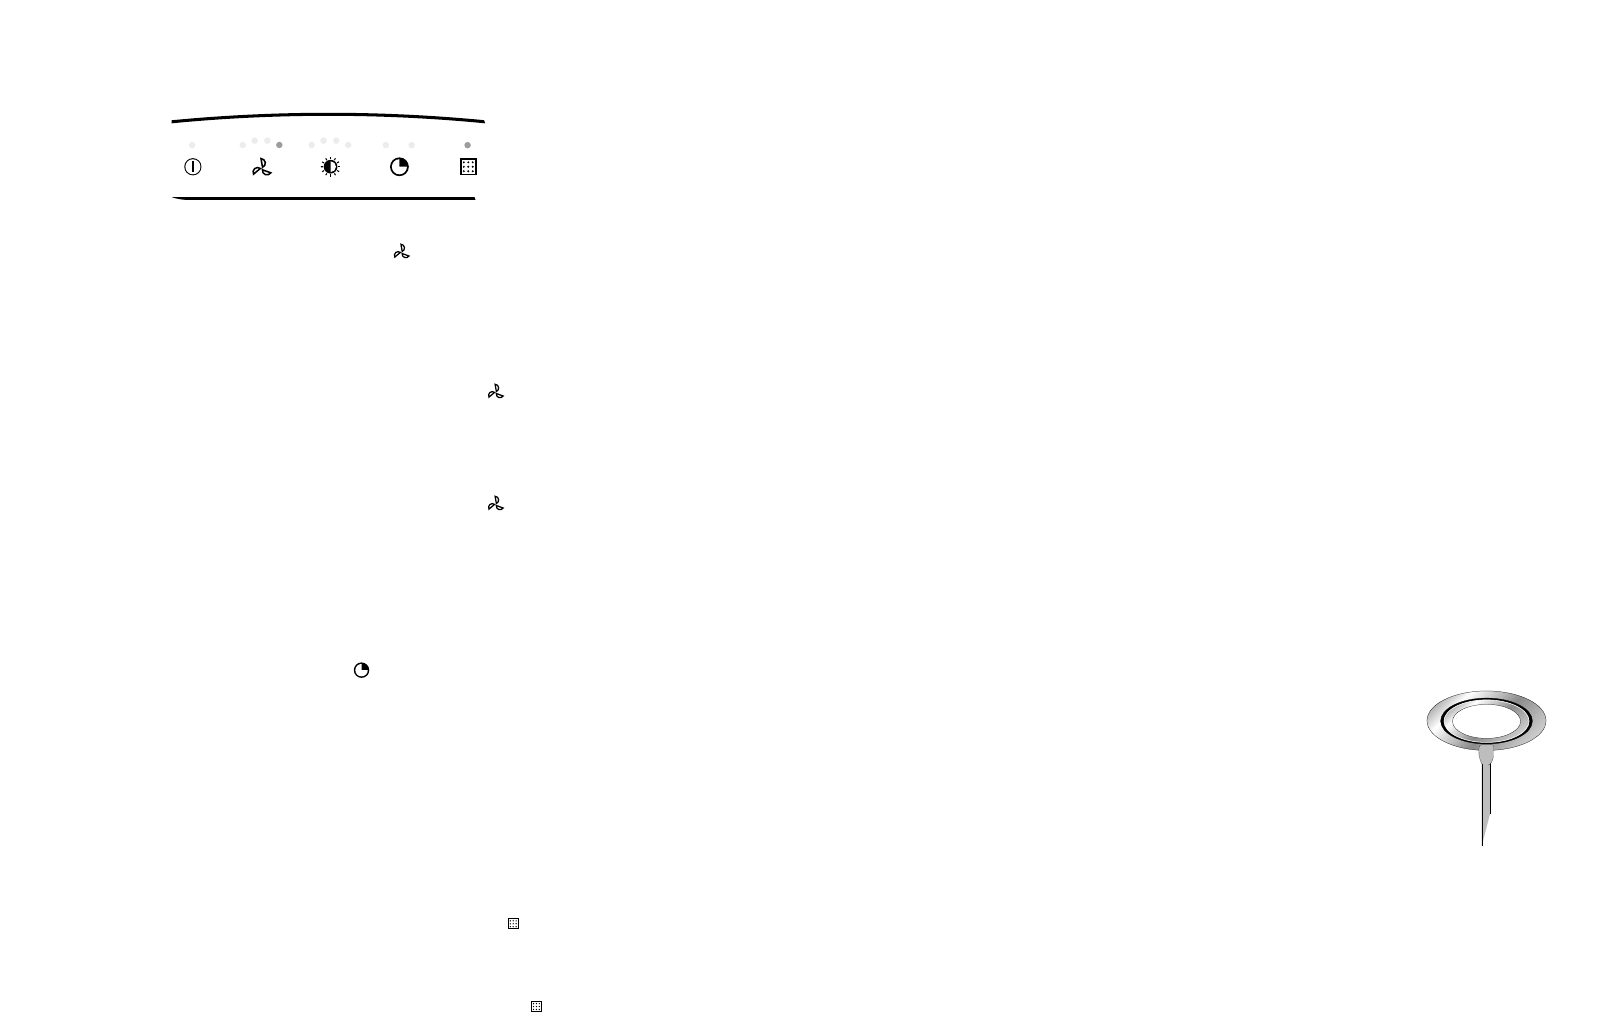
Door het -symbool aan te raken wordt de volgende stand
ingeschakeld. De nieuwe stand wordt aangegeven met
oplichtende indicatielampjes (0-4).
intensiefstand
Leg een vinger op het -symbool totdat 4 indicatielampjes
oplichten. Laat de toets los en de stand wordt ingeschakeld.
ventilator uitschakelen
Leg een vinger op het -symbool totdat alle
indicatielampjes gedoofd zijn. Als u de toets loslaat schakelt
de kap uit.
automatisch nadraaien
Kies eerst de gewenste ventilatorstand. Leg een vinger op
het -symbool. U kunt kiezen of de afzuigkap na 10 of na
20 minuten uit moet schakelen. Het lampje bij de gekozen tijd
licht op.
De afzuigkap schakelt automatisch terug van de ingestelde
stand naar 0. Als de verlichting tijdens het automatisch
nadraaien ingeschakeld was blijft deze ingeschakeld.
vetfilter reinigen
Als het vetfilter-symbool ( ) brandt, het filter direct reinigen.
Plaats het gereinigde filter terug en wis het elektronisch
geheugen door het symbool aan te raken tot het
indicatielampje dooft.