Modications not approved by the party responsible for compliance
could void user’s authority to operate the equipment.
This equipment has been tested and found to comply with the limits
for Class B digital device, pursuant to part 15 of the FCC Rules. These
limits are designed to provide reasonable protection against harmful
interference in a residential installation. This equipment generates and
can radiate radio frequency energy and, if not installed and used in
accordance with the instructions, may cause harmful interference to
radio or television reception, which can be determined by turning the
equipment on and o.
The user is encouraged to try to correct the interference by one or
more of the following measures:
• Reorient or relocate the receiving antenna.
• Increase the separation between the equipment and the receiver.
• Connect the equipment into an outlet on a circuit different from that
to which the receiver is connected.
• Consult the dealer or an experienced radio/TV technician for help.
Radiation Exposure
Statement
The product comply with the FCC portable RF exposure limit set forth
for an uncontrolled environment and are safe for intended operation
as described in this manual. The further RF exposure reduction can be
achieved if the product can be kept as far as possible from the user
body or set the device to lower output power if such function is
available.
RC Watch
Quick Start Guide
SET
SETUP
OK
BINDING
RF
SELOKSTOP
SET button
PHOTO button
Charging port
MODE/SLEEP
button
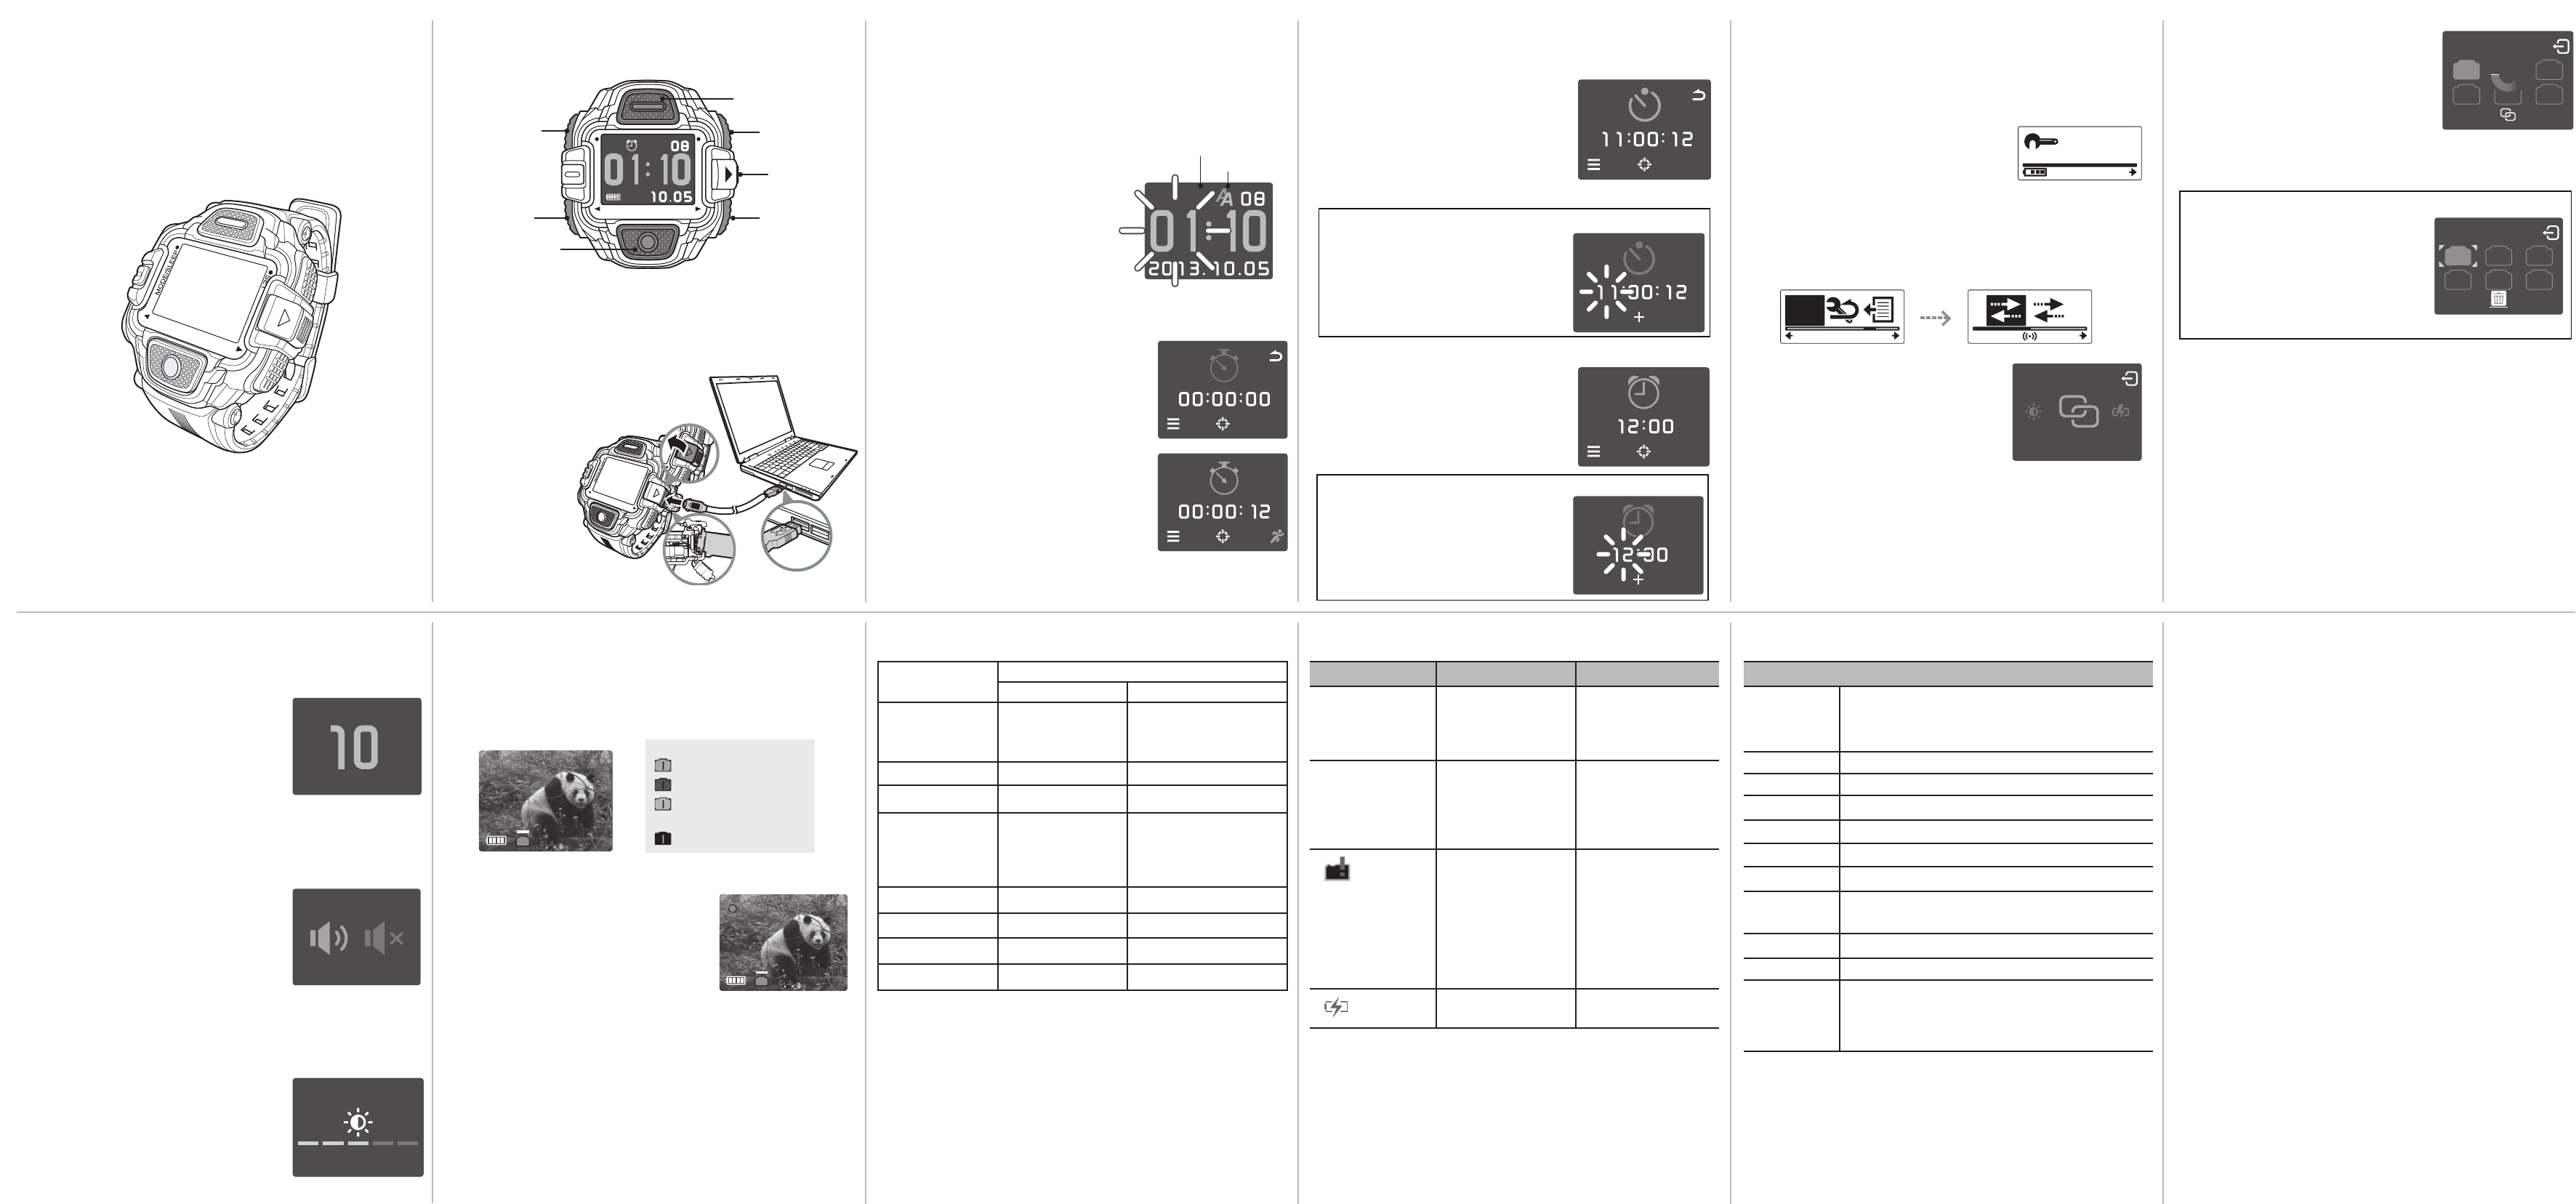
Charging Battery
When the battery power is running low, do the following to charge the
battery:
1. Open the charging port cover.
2. Connect one end of the Pogo cable to
the charging port of your watch.
3. Connect the end of
the Pogo cable to
the USB port of
a computer or
AC adapter to
charge battery.
LEFT button
VIDEO button
RIGHT button
Clock Mode
In this mode, this watch can be used as a clock, stopwatch, countdown
clock, and alarm clock.
Set Date and Time
1. Press and hold the SET button to enter the setting mode.
2. Press the RIGHT button repeatedly to
select the field that you want to adjust.
3. Use the VIDEO or PHOTO button to
adjust the value or set time format or the
color of the LED clock display.
4. Repeat steps 2-3 to adjust other fields.
5. Press the SET button to save your changes.
Stopwatch
1. Press the LEFT button repeatedly to switch to
Stopwatch mode.
2. Press the VIDEO button to start the timer.
3. To record a lap while the timer is running,
press the RIGHT button. It displays the last
lap time.
• Repeat this step to create a new lap. You can
record up to 12 laps.
4. To stop the timer, press the VIDEO button.
5. To reset the timer, press the SET button.
Countdown Clock
1. Press the LEFT button repeatedly to switch to Countdown Clock
mode.
2. To start the countdown, press the VIDEO
button.
3. To pause the countdown, press the VIDEO
button.
• To resume, press the VIDEO button
again.
• To reset the countdown, press the SET button.
Setup Mode
In this mode, it allows to pair with a camera, set auto power off,
enable/disable sound, and adjust the brightness setting.
Pair with Camera
1. On your camera, press the Mode button
repeatedly to change to SET mode.
2. Press the Shutter button to enter SET mode.
3. Press the Mode button to highlight MORE. Then press the Shutter
button to enter the MORE menu.
4. Press the Mode button to highlight BINDING.
5. Press the Shutter button to enter the BINDING submenu. The
camera RF antenna is enabled and ready for pairing.
6. On your RC watch, press the MODE button
to switch to Preview mode.
Then press and hold the SET button to
enter to SET mode.
7. Use the LEFT or RIGHT button to
select Pairing and press the VIDEO button
to enter Pairing menu.
8. Use the LEFT or RIGHT button to select the
preview window that you want to pair with
your camera and press the VIDEO button
to start pairing.
9. When pairing is complete, press the SET
button to return to SET mode. Then press
the SET button to switch to Preview mode.
10. Repeat Step 7~9 to add more cameras. You can pair up to 6 cameras.
Alarm Clock
1. Press the RIGHT button repeatedly to switch
to Alarm Clock mode.
2. To activate an alarm, press the VIDEO button
to select ON.
To set the countdown time, do the following:
a. Press and hold the SET button. Then
press the RIGHT button repeatedly to
select the field that you want to adjust.
b. Use the VIDEO or PHOTO button to
adjust the value.
c. Press the SET button to confirm.
To set the alarm time, do the following:
a. Press and hold the SET button. Then
press the RIGHT button repeatedly to
select the field that you want to adjust.
b. Use the VIDEO or PHOTO button to
adjust the value.
c. Press the SET button to confirm.
To unpair or remove the paired camera, do the following:
a. In SET mode, use the LEFT or RIGHT
button to select Pairing and press the
VIDEO button to enter Pairing menu.
b. Use the LEFT or RIGHT button to
select the assigned preview window
that you want to unpair.
c. Press the VIDEO button to confirm.
Set Auto Power Off
1. Press the MODE button to switch to Preview mode.
Then press and hold the SET button to enter to SET mode.
2. Use the LEFT or RIGHT button to select
Auto off and press the VIDEO button to
enter Auto Power Off menu.
3. Use the LEFT or RIGHT button to select
the desired setting and press the VIDEO
button to confirm.
Enable/Disable Sound
1. Press the MODE button to switch to Preview mode.
Then press and hold the SET button to enter to SET mode.
2. Use the LEFT or RIGHT button to select
Sound and press the VIDEO button to enter
Sound menu.
3. Use the LEFT or RIGHT button to enable/
disable sound and press the VIDEO button
to confirm.
Adjust Brightness Level
1. Press the MODE button to switch to Preview mode.
Then press and hold the SET button to enter to SET mode.
2. Use the LEFT or RIGHT button to select
Bright and press the VIDEO button to enter
Brightness menu.
3. Use the LEFT or RIGHT button to select the
brightness level and press the VIDEO button
to confirm.
Number color
Time format
PM
ON
PM
Pairing
OK
Pairing
123
456
123
456
Pairing
AutoOff
sec
OK
Bright
OK
Sound
OK
Specifications
General
Function Remote control
Living View
Basic time function: Time, Stopwatch ,Timer, Alarm
Working Range 3m
RF Module 2.4GHz
IO TerminalsPoGo pin USB
Status OLED1.29”, 128.96 dot
Power SourcePolymer Battery 370mAh, 3.7V dc
Stream FormatMotion JPEG 128*96 pixel, 8fps
Video Aspect 4:3
Ratio
Power SavingAuto Sleeping in 5/10/30/60s/never
Charging TimeApprox. 2 hours
Battery LifeLiving living view continuously: 1.5 hours
Time without sleeping: 6 hours
Standby time in sleeping mode: up to 6 months
Troubleshooting
Problem Possible Cause Solution
A black screen
appears on the
screen and all
buttons are inactive.
The screen appears
unusually and all
buttons are inactive.
The battery is running
out.
The watch is shutting
down.
The micro SD card is
not inserted.
The battery is running
out.
Connect pogo cable
and the battery will
start charging after 10
seconds.
Connect the end of the
Pogo cable to the USB
port of a computer.
After 10 seconds, the
watch will restart.
Insert a micro SD card
into camera card slot.
(Note: If you use
internal memory to
record video, the live
view will disappear
when you start
recording.)
Connect the pogo
cable to charge battery.
Live View Mode
When the devices are paired, the live view appears on the screen and
you can use this watch as a remote control to record videos or capture
photos.
1. Press the MODE button to switch to Preview mode. The live view
appears on the screen.
2. Do the following:
• To record videos:
Press the VIDEO button to start recording.
Press the VIDEO button again to stop video
recording.
• To capture photos:
Press the PHOTO button.
1
1
(orange) - card full
(blue) - recording
(gray)- standby (already
connected to camera)
(black)- disconnected
Live view icon indicators
Video button and Photo button in Live view mode
RC Watch
Video Button Photo Button
Video
Photo
Burst
Time Lapse @ video
Time Lapse @ photo
Self Timer
Looping
Set up/Wi-Fi…
Note: With PIV (Photo In Video) feature, you can take a photo when you
are recording a video.
Video
Video
Video
Start/Stop
Start/Stop
Video
Looping start/stop
Video
Photo
Note: “PIV” is available when
camera is recording.
Photo
Burst
Photo
Note: PIV is available when
camera is processing Time
Lapse @video.
Photo
Self Timer
N/A
Photo
Action Cam Mode
Need help? Post your question in this forum.
Report abuse
Libble takes abuse of its services very seriously. We're committed to dealing with such abuse according to the laws in your country of residence. When you submit a report, we'll investigate it and take the appropriate action. We'll get back to you only if we require additional details or have more information to share.
Product:
Forumrules
To achieve meaningful questions, we apply the following rules:
First, read the manual;
Check if your question has been asked previously;
Try to ask your question as clearly as possible;
Did you already try to solve the problem? Please mention this;
Is your problem solved by a visitor then let him/her know in this forum;
To give a response to a question or answer, do not use this form but click on the button 'reply to this question';
Your question will be posted here and emailed to our subscribers. Therefore, avoid filling in personal details.
Register
Register getting emails for WASPcam 9995 Gideon Remote at:
new questions and answers
new manuals
You will receive an email to register for one or both of the options.
Get your user manual by e-mail
Enter your email address to receive the manual of WASPcam 9995 Gideon Remote in the language / languages: English as an attachment in your email.
The manual is 0,22 mb in size.
You will receive the manual in your email within minutes. If you have not received an email, then probably have entered the wrong email address or your mailbox is too full. In addition, it may be that your ISP may have a maximum size for emails to receive.
If you have not received an email with the manual within fifteen minutes, it may be that you have a entered a wrong email address or that your ISP has set a maximum size to receive email that is smaller than the size of the manual.
The email address you have provided is not correct.
Please check the email address and correct it.
Your question is posted on this page
Would you like to receive an email when new answers and questions are posted? Please enter your email address.