SCOOPER plays the recorded audio input as a loop phrase, and adds an eect such as SCATTER.
Recording
SCOOPER can record one loop phrase of up to
10 seconds.
*The recorded phrase disappears when you
power-o the unit.
1.
Press the [REC/PLAY] button to start
recording.
*During recording, the [REC/PLAY] button
blinks, and the center indicator is lit red.
2.
Press the [REC/PLAY] button once again
to stop recording.
When recording stops, the recorded sound
plays repeatedly.
*During playback, the [REC/PLAY] button
is lit, and the center indicator blinks
blue.
Stop
1.
While the recorded sound is playing back,
press the [REC/PLAY] button.
*If there is input at the INPUT 1/2 jacks,
the output switches from the recorded
sound to the audio input.
Playback
1.
While stopped, press the [REC/PLAY]
button.
*If there is input at the INPUT 1/2 jacks,
the output switches from the audio
input to the recorded sound.
Delete
1.
During playback or while stopped, hold
down the [REC/PLAY] button.
When the recorded sound is deleted, the
center indicator blinks yellow/red. Then the
SCATTER status is indicated (on: green, o:
unlit).
*You can also delete by holding down
the [SYNC TRIG] button and pressing the
[REC/PLAY] button.
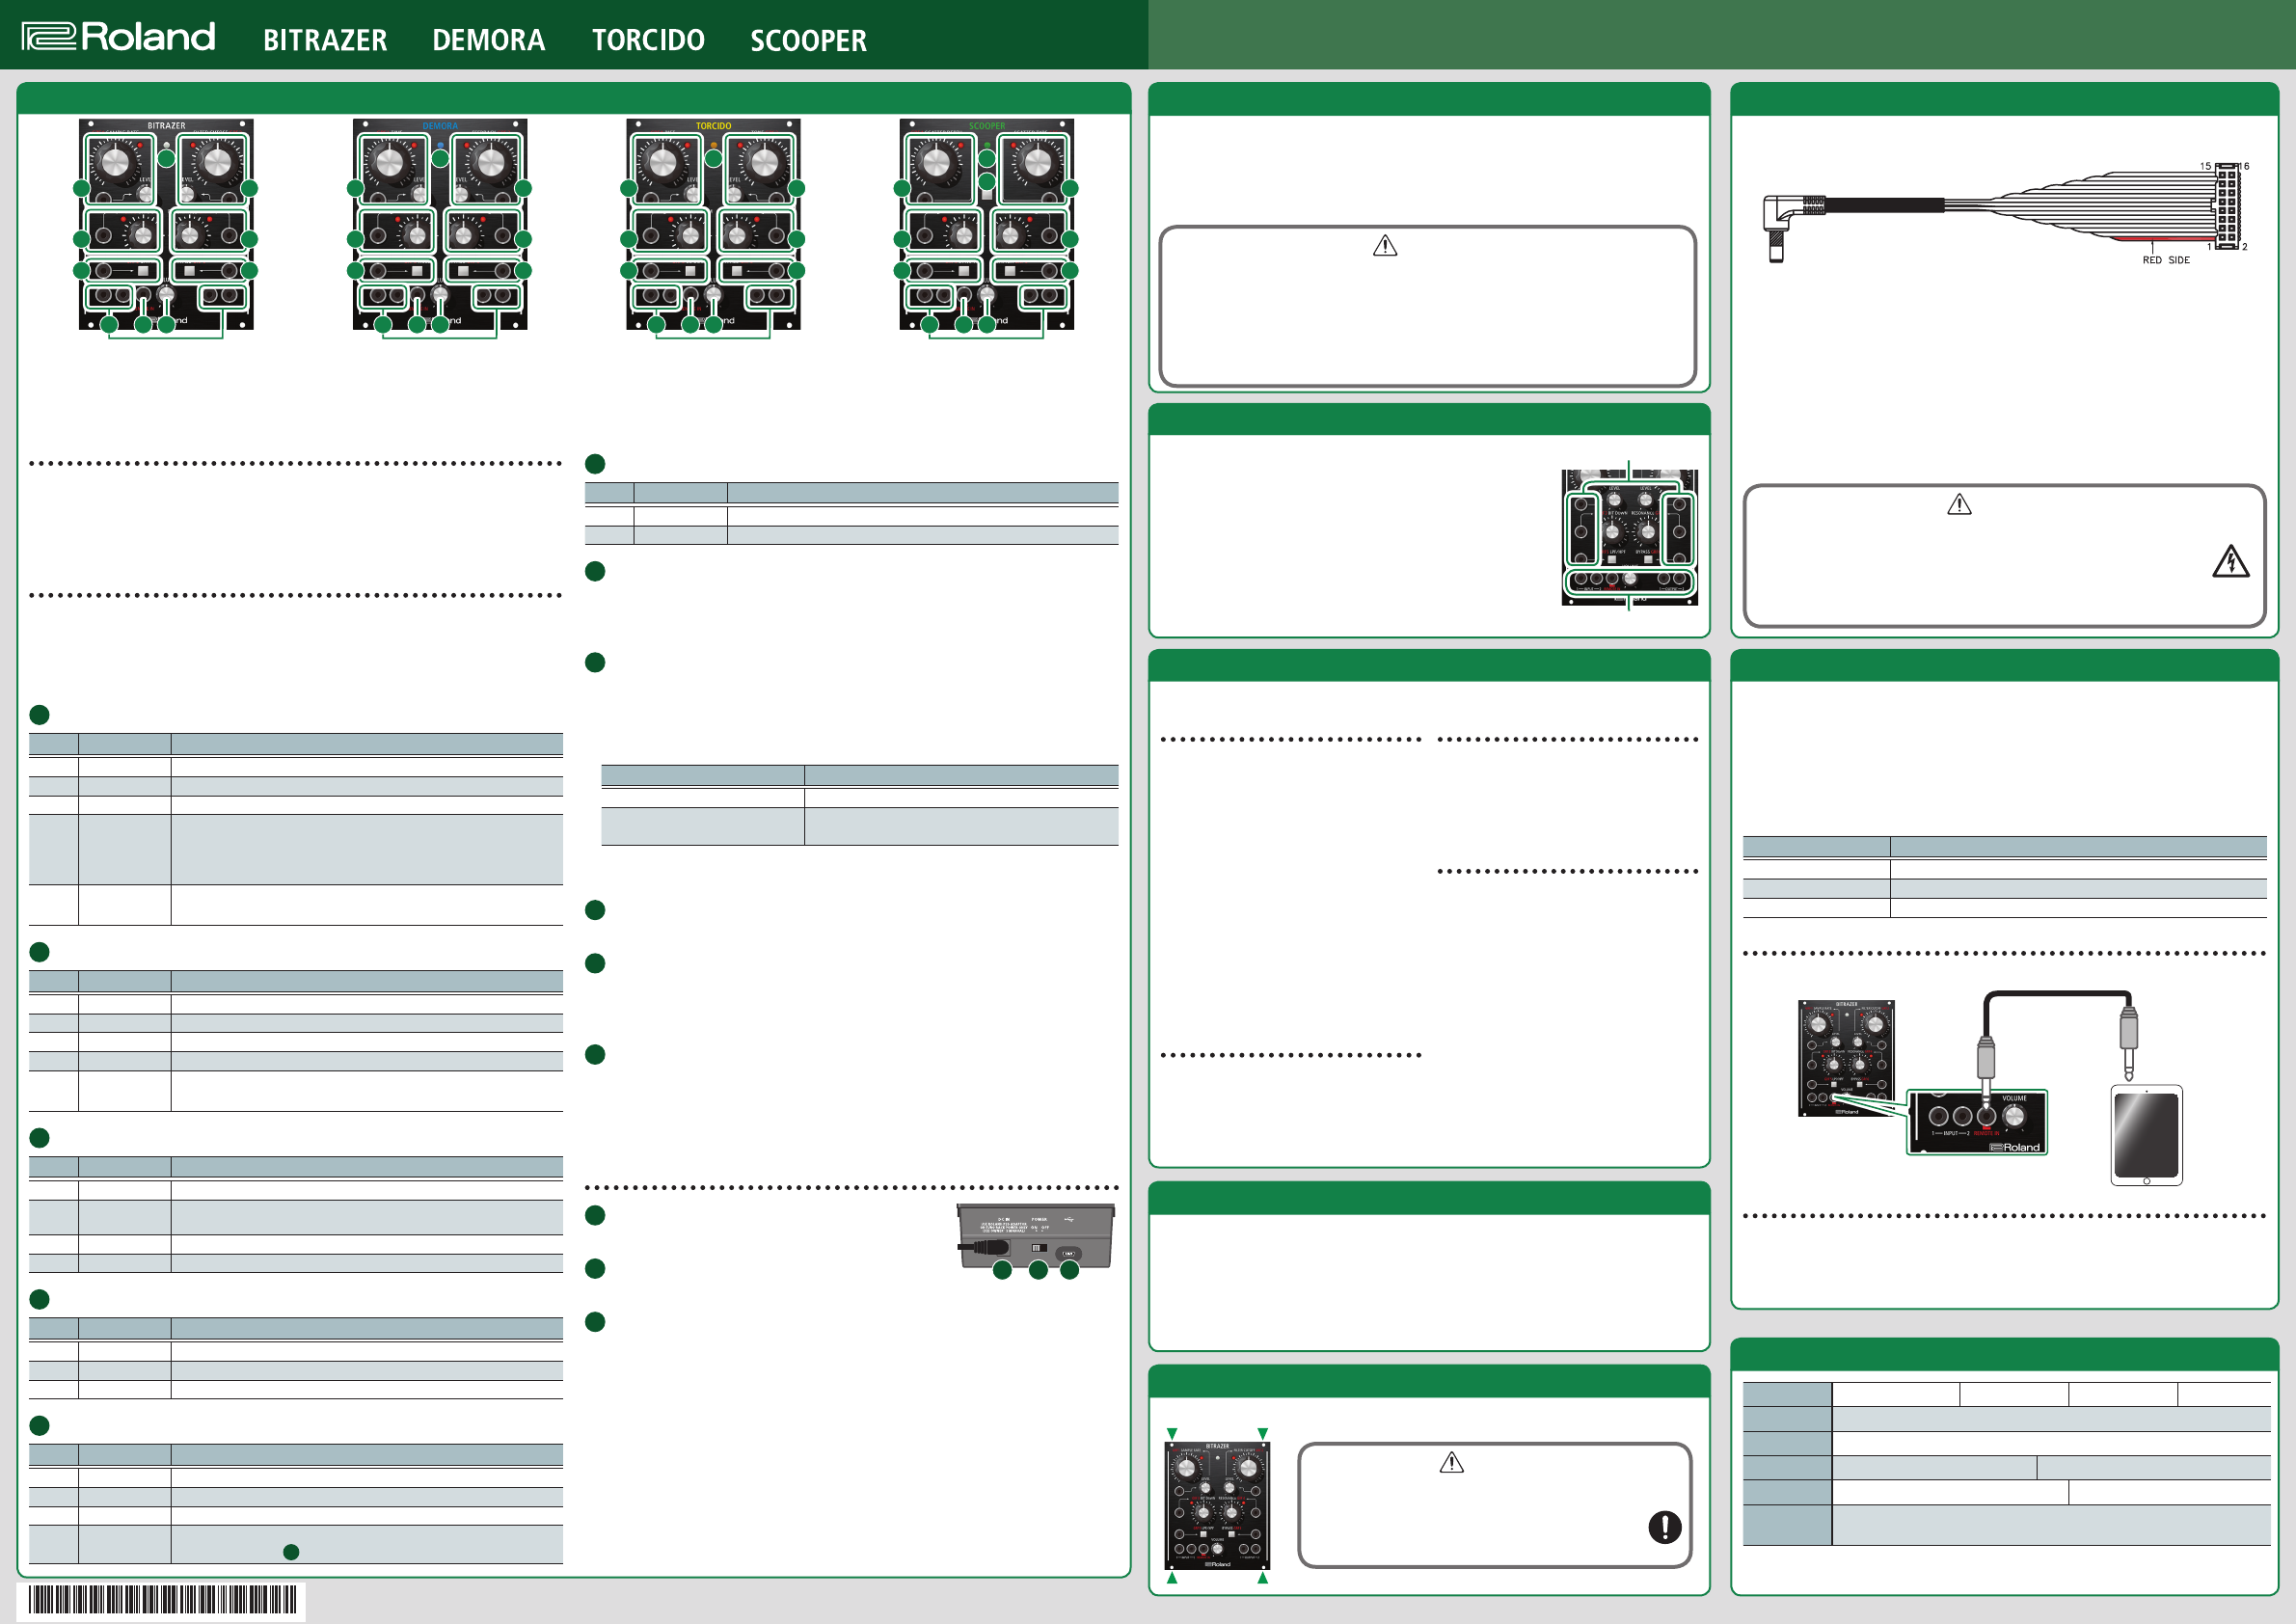
“BITRAZER” (bit crusher eect processor)
lowers the sampling rate and bit depth to
digitally roughen the sound, giving it a lo-
character.
“DEMORA” (delay eect processor) layers a
time-delayed sound with the original sound,
producing an echo eect.
“TORCIDO” (distortion eect processor)
intentionally distorts the audio input, creating
an intense and deeply distorted sound.
“SCOOPER” (looper and scatter eect
processor) records the audio input (phrase)
for several seconds and repeatedly plays it
back or slices it, transforming it into a dierent
phrase.
1.
To the [DC IN] jack, connect the AC adaptor or a Eurorack power supply cable. (&“Using
a Eurorack Power Cable”)
2.
Observing the cautions listed below, turn on the rear panel [POWER] switch.
*This unit is equipped with a protection circuit. A brief interval (a few seconds) after turning
the unit on is required before it will operate normally.
CAUTION
*After you’ve made connections correctly, be sure to turn on the power in the order of
the eect processor rst, and then the connected system. Powering-on in the incorrect
order may cause malfunctions or damage. When turning the power o, power-o the
connected system rst, and then the eect processor.
*Before turning the unit on/o, always be sure to turn the volume down. Even with the
volume turned down, you might hear some sound when switching the unit on/o.
However, this is normal and does not indicate a malfunction.
Turning the Power On
CV stands for “Control Voltage,” an electrical signal (control voltage)
that modies the behavior of an analog synth or Eurorack module.
GATE is a trigger signal that controls the beginning and end of an
envelope or other control voltage.
*This unit can receive CV in the range of “-10 – +10 V.” Adjust your
output device to stay within this range that can be received. You
must input a gate voltage of “+3 V” or higher.
*Use patch cables with monaural mini-plugs to connect other
equipment.
CV / GATE Input
CV / GATE inputs
Audio inputs / outputs
Installing in a Eurorack case
Use the included screws (4 pcs.) to attach the unit to your Eurorack case at the locations indicated.
CAUTION
7
Keep small items out of the reach of children
To prevent accidental ingestion of the parts listed below,
always keep them out of the reach of small children.
5
Included Parts: Eurorack installation screws
*5100047583-02*
Need help? Post your question in this forum.
Report abuse
Libble takes abuse of its services very seriously. We're committed to dealing with such abuse according to the laws in your country of residence. When you submit a report, we'll investigate it and take the appropriate action. We'll get back to you only if we require additional details or have more information to share.
Product:
Forumrules
To achieve meaningful questions, we apply the following rules:
First, read the manual;
Check if your question has been asked previously;
Try to ask your question as clearly as possible;
Did you already try to solve the problem? Please mention this;
Is your problem solved by a visitor then let him/her know in this forum;
To give a response to a question or answer, do not use this form but click on the button 'reply to this question';
Your question will be posted here and emailed to our subscribers. Therefore, avoid filling in personal details.
Register
Register getting emails for Roland Demora at:
new questions and answers
new manuals
You will receive an email to register for one or both of the options.
Get your user manual by e-mail
Enter your email address to receive the manual of Roland Demora in the language / languages: English as an attachment in your email.
The manual is 1,61 mb in size.
You will receive the manual in your email within minutes. If you have not received an email, then probably have entered the wrong email address or your mailbox is too full. In addition, it may be that your ISP may have a maximum size for emails to receive.
If you have not received an email with the manual within fifteen minutes, it may be that you have a entered a wrong email address or that your ISP has set a maximum size to receive email that is smaller than the size of the manual.
The email address you have provided is not correct.
Please check the email address and correct it.
Your question is posted on this page
Would you like to receive an email when new answers and questions are posted? Please enter your email address.