You can connect (register) up to 5 wireless handsets
to the PDX-315. With multiple registered handsets,
you can call each other for free in and around the
house and forward calls or even call with three
people.
If the phone has been delivered with one handset,
u can purchase extra handsets (*), which you shall
register rst (see the concerning instructions further
in this user manual). If the phone has been delivered
with multiple handsets, you can make internal calls
and forward calls directly.
* Pay attention to the fact that these shall be ‘GAP
COMPATIBLE’ handsets. GAP means that handsets
and base stations of other types and/or brands are
interchangeable.
Intercom:
1. Press the key C.
2.2 handsets in use:
In case 2 handsets have
been registered with your
phone, the other handset
will ring immediately.
More than 2 handsets
in use:
In case more than 2
handsets have been
registered with your
phone, you need to
enter the number of
the desired handset (of
press key 9 to call all
handsets).
3. You can make the intercom call, as soon as the
called handset answers.
Forwarding/conference:
1. During the call with the outside line, press the key
OK twice.
2.2 handsets in use:
In case 2 handsets have
been registered with your
phone, the other handset
will ring immediately.
More than 2 handsets
in use:
In case more than 2
handsets have been
registered with your
phone, you need to
enter the number of
the desired handset (of
press key 9 to call all
handsets).
3.Forwarding:
As soon as the called
handset answers, press
on the phone-off key;
the outside line is now
forwarded.
Conference:
As soon as the called
handset answers, press
the key * (star) during
2 seconds; the outside
line is now included.
Registration:
1. Keep the key on the base station pressed, until
a beep tone sounds after approximately 8 seconds.
2. Press the key OK and select the option [REGIS-
TRATION].
3. Press the key OK and enter the PIN code (de fac-
tory code 0000 or your own PIN code) and press
the key OK.
The handset will search for the concerning base
station.
4. After a few seconds a beep tone will sound from
the handset, and the handset has been registered.
At the right side of the display the internal number
of this handset is displayed (1~5).
CALLER IDENTIFICATION
Introduction:
If you have the service Caller Identication at your
disposal, the number of the calling party is displayed
on the display of your handset(s). If your carrier
also transmits names, or you have programmed this
number including name and the phone book memory
of the handset, the name is also displayed on the
display. The Caller Identication memory has a capac-
ity of 10 numbers. Attention: when this memory is full,
every following incoming call will overwrite the oldest
call in the memory.
New calls:
This display indicates whether and how many new
calls are stored in the Caller Identication memory
that you have not seen yet. As soon as you have
viewed the memory, this notication goes off.
Attention: in case of use of 2 or more handsets, you
need to read the Caller Identication memory sepa-
rately on every handset.
View memory and callback:
1. Press the key ; the name or the number of the
last received call appears on the display.
2. Browse through the memory by using and .
When a name is displayed, press the key # to
view the number. Press the key OK and select
DETAILS, to view the time and date of the call.
3. Press the phone key to call back this subscriber.
Copying to the phone book memory:
1. Press the key : the name of the number of the
last received call appears on the display.
2. Search the desired call with and .
3. Press the key OK twice, and enter the name
through the keyboard.
4. Press they key OK twice, and select the desired
VIP ring tone with and .
5. Press the key OK to store the memory.
6. Press the key phone-off to return to the idle mode
of the handset.
Delete call selectively:
1. Press the key ; the name or the number of the
last received call appears on the display.
2. Search the desired call with and .
3. Press the key OK and select the option [DELETE]
with and .
4. Press the key OK to delete this call.
Delete complete call history:
1. Press the key ; the name or the number of the
last received call appears on the display.
2. Press the key OK and select the option [DELETE
ALL] with and .
3. Press the key OK twice, to delete the complete call
history.
6. Press the key OK
7. Use key C to delete the old number and enter the
new number through the keyboard.
8. Press the key OK
9. Select the desired VIP ring tone for this number
with and .
10. Press the key OK to save the corrected memory.
Delete memory selectively:
1. Press the key .
2. Search the desired memory, using keys and .
3. Press the key OK
4. Search the option [DELETE] with the keys and .
5. Press key OK to delete this memory.
Delete memory completely:
1. Press the key .
2. Press the key OK
3. Search the option [DELETE ALL] with the keys
and .
4. Press key OK twice to delete the memory com-
pletely.
Memory status:
You can see how many storage locations you have
used of the 50 available:
1. Press the key .
2. Press the key OK
3. Search the option [PB STATUS] with the keys
and .
4. Press the key OK; the following appears on the
display: 15/50 OCCUPIED
In this example, 15 of the 50 memories are in use.
5. Press the key phone-off to return to the idle mode
of the handset.
LAST NUMBER MEMORY
Redialing:
1. Press the key , the last number you dialed ap-
pears on the display.
2. Search the desired number with and .
3. Press on the phone key to dial this number.
Copying to the phone book memory:
1. Press the key .
2. Search the desired number with and .
3. Press the key OK twice.
4. Enter the name through the keyboard.
5. Press the key OK twice.
6. Select the desired VIP ring tone for this number
with and .
7. Press the key OK to store the memory.
Delete last dialed number selectively:
1. Press the key .
2. Search the desired number with and .
3. Press the key OK
4. Select the option [DELETE] with and .
5. Press the key OK to delete this memory.
Delete the complete last number memory:
1. Press the key .
2. Press the key OK
3. Select the option [DELETE ALL] with and .
4. Press the key OK twice, to delete the complete last
number memory.
R/Flash:
1. During the call press the key R to give a FLASH
pulse.
The interruption time of the FLASH pulse is adjus-
table; see for this the chapter PHONE SETTINGS.
Mute (microphone off):
1. To disable the microphone, shortly press the key C
during the call.
You can still hear the other party, but they cannot
hear you.
2. To enable the microphone again, shortly press the
key C again.
Search handset:
1. Shortly press the key on the base station.
During 60 seconds, a signal will sound from the
handset, and the word ‘PAGING’ ashes on the
display of the handset. Press the key phone-off
to end the signal prematurely.
Call timer:
1. During the phone call, the elapsed call duration is
displayed on the display.
Quick key bell off:
1. To disable the bell of the handset, press key # dur-
ing more than 2 seconds.
2. To enable the bell again, press key # during more
than 2 seconds.
PHONE BOOK MEMORY
Introduction:
Every handset has a phone book memory with a
capacity of 50 phone numbers of at most 20 digits.
You can program a name of at most 12 characters
with each number.
The phone book memory in the handset is connected
to the function Caller Identication. When you are
called by somebody, whose name and number you
have programmed in the memory, the name of this
person is also displayed beside the number on the
display of your handset. However, for this you need to
subscribe to the service Caller Identication.
Programming:
1. Press the key and twice the key OK succes-
sively.
2. Enter the name through the keyboard (see the ABC
on the dial keys).
You can delete an incorrect input with key C.
3. Press the key OK.
4. Enter the number through the keyboard.
You can delete an incorrect input with key C.
5. Press the key OK
6. Select the desired VIP ring tone for this number,
using and .
7. Press the key OK to store the memory.
Dialing:
1. Press the key .
2. Search the desired memory, using keys and .
3. Press on the phone key to dial this number.
Changes:
1. Press the key .
2. Search the desired memory, using keys and .
3. Press the key OK.
4. Search the option [EDIT] with the keys and ,
press the key OK
5. Use key C to delete the old name and enter the
new name through the keyboard.
INSTALLATION
Base station:
1. Plug the small connector at the phone cable into
the back of the base station (press the connector
until you hear a click).
2. Plug the phone connector into the phone socket.
3. Plug the low voltage connector of the adapter into
the backside of the phone, and plug the adapter
into a 230 Volt mains socket.
Handset:
1. Open the battery compartment of the handset, by
sliding the battery cover down.
2. Insert the batteries into the battery compartment; at
this, pay attention to the polarity (+ and -).
3. Slide the battery cover back onto the handset and
place the handset on the base station.
4. Leave the handset continuously during 15 hours on
the base station, to charge the batteries properly.
Extra handsets and chargers:
If your phone has been delivered with multiple hand-
sets, 2 batteries and a charger with adapter will be
included for every handset. Plug the adapter of these
chargers in a 230 Volt mains socket, insert the batter-
ies into the handset(s) and place the handset(s) on
the charger(s) to charge the batteries.
ONLY CONNECT THE INCLUDED ADAPT-
ER. CONNECTING OTHER ADAPTERS
MAY RESULT IN DANGEROUS SITUA-
TIONS OR MAY CAUSE DAMAGE TO THE ELEC-
TRONICS OF THE PHONE.
INSERT ONLY RECHARGEABLE NiMH (NICKEL
METAL HYDRIDE) BATTERIES. THE USE OF NOT
RECHARGEABLE BATTERIES MAY CAUSE DAN-
GEROUS SITUATIONS OR EXPLOSION HAZARD.
OPERATION
Answering calls:
1. Press the key phone-on to accept a call.
Making calls:
Block dialing:
1. Enter the phone number through the keyboard.
You can delete an incorrect entry with key C.
2. Press the phone-on key to dial the number.
Direct dialing:
1. Press the phone-on key and wait for the dial tone.
2. Enter the phone number through the keyboard; this
number will be dialed directly.
End the call:
1. Press the key phone-off to end a call
or place the handset back on the base station or
charger.
Key lock:
1. To enable the key lock, keep the key * (STAR)
pressed for more than 2 seconds.
2. To disable the key lock, keep the key * pressed for
more than 2 seconds again.
Handset volume:
1. During the call, press the keys or , to increase
or decrease the volume.
Deregistration of handsets:
Handsets that are faulty shall be deregistered.
1. Press the key OK and select the option [BS SET-
TINGS].
2. Press the key OK and select the option [DELETE
HS].
3. Press the key OK twice, and enter the PIN code
(de factory code 0000 or your own PIN code).
4. Press the key OK and select the handset that you
want to deregister (*).
5. Press the key OK; the selected handset is deregis-
tered now.
* Attention: you cannot deregister your own handset.
PHONE SETTINGS
Introduction:
1. Open the menu by pressing the key OK.
2.
Browse through the menu options by using and .
3. Press the key OK to open the desired option.
4. Make a choice or select ‘on’ or ‘off’ with the keys
and .
5. Finally, press the key OK to save the settings.
Menu structure:
The menu structure of the phone looks as follows:
RING SETUPHS SETTINGS
PHONEBOOKALARM
BS SETTINGSREGISTRATION
BS RINGERDEFAULT
RING VOLUMEANS. MACHINE
DELETE HSRING SETUP
FLASH TIMETONE SETUP
CHANGE PINLANGUAGE
RENAME HS
HS DISPLAY
AUTO ANSWER
DATE & TIME
Basics ring tones:
Select the option [BS SETTINGS] - [ BS RINGER] to
set the ring melodies of the handset
- You can choose from 5 different melodies.
Select de option [BS SETTINGS] - [RING VOLUME]
to set the volume.
- You can choose from 5 volume levels and ‘volume-
off’.
Ring tones handset:
Select the option [HS SETTINGS] - [RING SETUP] to
set the ring tones of the handset:
- You can set different melodies for intercom calls
(INT. RING) and calls from outside (EXT. RING).
- At ‘melody’, you can choose from 5 different melo-
dies.
- At ‘volume’, you can choose from 5 volume levels
and ‘volume-off’.
Handset tones:
You can enable or disable the following tones through
the option [TONE SETUP]:
- [KEY TONE]: the tones that sound when you press
a key.
- [BATTERY TONE]: the tones that sound when the
batteries are low.
- [OUT OF RANGE]: the tones that sound when you
get out of reach.
Answering automatically:
When the function [AUTO ANSWER] is enabled, you
can accept calls by only taking the handset from the
base station or charger; then you do not need to use
Memo:
A MEMO is a message that you can record for house-
mates.
Select [MEMO] and press the key OK; the answering
machine will record immediately. Dictate your memo
in the microphone of the handset and press the key
OK at the end to end the recording.
You can play and delete a memo as a normal mes-
sage.
Sound quality:
Select [TAM SETTINGS] - [COMPRESSION] to set
the sound quality of the recorded messages. Be
aware that good sound quality (low compression)
uses more memory, and goes at the expense of
the maximum recording capacity of the answering
machine.
Delete all old messages: (new messages that have
not been listened to yet, cannot be deleted)
Through the handset:
Select the option [DELETE ALL] and press the key
OK twice to delete all old messages.
Through the base station:
Make sure that the answering machine is idle and
keep key X pressed during more than 3 seconds. All
old messages are deleted now.
Remote operation:
Remote code:
You need a remote code to play your messages
remotely. This code is set at the factory to 0000, but it
is highly recommended to change this code:
1. Select [TAM SETTINGS] - [CHANGE PIN] and
press the key OK.
2. Enter the current remote code (de factory code
0000 or a previously changed code), and press the
key OK.
3. Enter the new 4-digit code and press OK.
4. Enter the new 4-digit remote code and press OK.
Number of rings at ‘setting’ ‘TIME SAVER’:
If you have selected the option ‘Saving Mode’, and no
new messages have been recorded, the answering
machine will accept the call after 6 rings. If new mes-
sage have been recorded, the call will be accepted
after 2 rings. So if you want to listen remotely, and you
hear the phone ring more than twice, no new mes-
sages have been recorded and you can disconnect.
Remote operation:
1. Call your answering machine and wait until the call
is accepted.
2. Press the key * (star) during playback of your an-
nouncement.
3. Enter the remote code through the keyboard.
4. Now you have the choice from the next functions:
From idle:During playback:
5 = playback.6 = next message.
4 = repeat message.
4 4 = previous message.
2 = delete this message.
5 = stop playback.
7 = enable answering function.
9 = disable answering function.
5. Hang up to disconnect.
the phone key. Attention: In case the handset is not
placed on the base station or the charger, you always
need to press the phone-on to accept a call.
Date and time:
At idle, you can display the time on the display of the
handset, an at Caller Identification, the time and date
of the call are registered.
You can chose from the formats day-month-year or
month-day-year at [DATE FORMAT], and you can
chose from 12 hour or 24 hour time format at [TIME
FORMAT]. Enter the time and the date at the respec-
tive options [SET TIME] and [SET DATE].
Alarm: (alarm function)
You can set the phone to sound an alarm tone during
40 seconds at a preset moment (or press any key
to switch off the signal prematurely). Select ON to
enable this function, and enter the alarm time through
the keyboard (24 hour system). After this, you can en-
able or disable the snooze function. The alarm is not
repeated automatically daily.
Flash time:
A flash pulse is a very short interruption the phone
connection. You can set the interruption time of the
FLASH pulse on [SHORT] (100 ms), [MEDIUM]
(300 ms) or [LONG] (600 ms). 100 ms is the stan-
dardized interruption time, and this time is set at the
factory. Refer to the user manual of your home or
office switchboard or consult your carrier concerning
the desired interruption time.
Displaying name or time on the handset:
At idle, you can display the name or the actual time of
the handset on the display of the handset, through the
option [DISPLAY HS].
Name handset:
You can name your handset through the option (NW
NAME HS). Use key C to delete the old name and
enter the new name of at most 10 characters through
the keyboard. Press the key OK to save the name.
Language:
Here you can set the language in which the various
instructions are displayed on the display.
Instructions to revert to the English language, in case
you have set a foreign language accidentally:
1. Press the key ‘phone-off’ 3 times.
2. Press the key OK once.
3. Press key 3 times.
4. Press the key OK once.
5. Press key 3 times.
6. Press the key OK once.
7. Select the English language with and .
8. Press the key OK once.
9. Press the key phone-off to return to the idle mode
of the handset.
PIN code:
You can change the PIN code, which you need with
registering and deregistering of (new) handset, with
[CHANGE PIN]. The factory PIN code is 0000. See
chapter ‘SYSTEEM RESET’, in case you have lost or
forgotten the new PIN code.
Enabling the answering function remotely:
1. Call your own phone number and wait until the
answering machine accepts the call after 10 rings.
2. Press the key * and enter the remote code.
3. Press the key 7 to enable the answering function.
4. Disconnect.
Disabling remote functions:
You can disable remote operation of the answering
machine completely through the option [TAM SET-
TINGS] - [REMOTE ACC.].
Indicator for new messages:
Base station:
If new messages have been recorded, the LED will
flash.
Handset:
If new messages have been recorded, the answering
machine symbol (
)
will flash on the display.
Memory full:
The display of the handset displays ‘TAM FULL’.
Every new incoming call is now answered with the
announcement ‘ANSWER ONLY’.
Now listen to all messages and delete some or all.
TIPS AND WARNINGS
General:
• Read the user manual carefully and follow all
instructions.
• Never place or use the phone in a wet or moist
room or environment.
• Take care of proper heat dissipation; never cover
the phone and/or the power supply adapter(s), and
do not place them directly beside a heat source.
• Use only the included adapter(s); connecting
another type of adapter may cause damage to the
electronics.
• Take care that the cable of the phone and the
adapter do not get damaged, and prevent that they
cause tripping or falling.
• Never disassemble the base station, the
handset(s), the charger(s) and the adapter(s). This
may only be done by qualified personnel.
Installation:
• Connect or disconnect the cables of the phone and
the power supply adapter only to the base station
when the power supply adapter has been unplugged
from the mains socket, and the phone connector
has been disconnected from the phone socket.
• Do not install the phone during a lightning storm.
• Do not install a phone connection point in a wet or
moist environment.
• Do not touch uninsulated phone or adapter cables,
unless they are disconnected from the phone
network or the mains power.
Power failure:
This phone obtains its power supply from the mains
power. In case of failure of the mains power, this
phone cannot be used. Therefore it is advisable to
keep a wired phone in reserve.
Placement:
• Do not place the phone in the direct vicinity of other
phones or other electronic (medical) devices, TL
tubes and other gas discharge lamps; the emitted
radio waves of these (and other) wireless phone(s)
may disrupt the functioning of the equipment, or
the emitted signals of the equipment disrupt the
functioning of the phone.
Power supply handset:
• The display of the handset is provided with a built-
in battery capacity meter:
: The complete symbol flashes when the
batteries are charged.
: The indication that the batteries must be
charged
• We recommend placing the handset every evening
on the base station or charger, for optimal use.
This does not have an adverse effect on the
rechargeable batteries.
• Rechargeable batteries or battery packs shall not
be exposed to fire or extreme heat.
• Never cut open batteries of battery packs. The
content is chemical and poisonous.
Hearing aids:
Users of older generation hearing aids always shall
keep into account a possible uncomfortable buzzing
tone when using DECT phones.
Eavesdropping:
Eavesdropping on a DECT phone is virtually
impossible. Not only shall one be within reach of the
DECT phone, one also needs expensive equipment.
Range:
The range of the phone is up to 300 meters in the
open field and up to 50 meters inside; the range
depends on local circumstances. When you get out
of reach of the base station, the symbol will start
flashing and the text [ OUT OF RANGE ] appears
on the display. In this state, you cannot receive or
make any calls. In case the power supply adapter of
the base station is unplugged from the mains socket,
the handset will lose contact with the base station,
the display will display [ OUT OF RANGE ], and the
antenna symbol will start flashing. The handset will
restore contact with the base station within several
minutes after the power supply adapter has been
plugged in again.
Maintenance:
• Clean the phone only with a moist cloth; do not use
any chemical detergents.
• The adapter and the phone cable shall be
disconnected before cleaning.
Medical equipment:
It is possible that enabled DECT phones interfere
with sensitive medical equipment. When the phone is
kept in the vicinity of the medical device, interference
can occur. Do not place a DECT phone on or near a
medical device, not even when it is in standby mode.
Environment:
• The packaging of this telephone can be collected
as old paper. However, we recommend you to save
it, to adequately protect the phone during transport.
•
When replacing this telephone, please return it
to the supplier to ensure environment-friendly
processing.
• You shall dispose of faulty or exhausted batteries
at your local depot for small chemical waste, or at
the specially designated battery collection points.
Never dispose of batteries with the household
waste.
POSSIBLE PROBLEMS AND SOLUTIONS
Problems with incoming calls:
• No notification of incoming calls:
- The bell is disabled; enable it.
• You are continuously busy:
- Check whether a 2nd phone or a 2nd handset
that has been registered with the base station, is
using the line.
- Connect another phone to your phone
connection, and use this to check whether the
malfunction originates from your connection or
your carrier.
Problems during calling:
• Beep tones during an intercom call:
- You are called from outside during an intercom
call; end this call, wait until the phone rings
normally and answer the call.
• Noise and other distortions:
- You are getting out of reach of the base station;
reduce the distance.
- There are other electrical devices in the vicinity
that interfere with the radio waves of your DECT
phone; try another location.
Problems with Caller Identification:
• You do not receive Name or Caller Identification
information on the display of your handset.
- Check whether your carrier transmits these
signals (you shall subscribe to this service with
some providers).
ANSWERING MACHINE
Introduction:
The PDX-315 is equipped with a digital answering
machine that will accept a phone call in your absence
and can record a message.
The total memory capacity of the answering machine
is 15 minutes. You can use the answering machine
directly after purchase. The announcements with
which the caller is greeted have been preprogrammed
at the factory. See below how you can record your
own announcement.
If you have set the function [ANS & REC], the caller
will have the chance to record a message. If you set
the function [ANSWER ONLY], the connection will be
disconnected after playing the announcement.
You can listen to and delete the recorded messages
through the handset as well as through the base sta-
tion; you need to set the various functions through the
handset.
Setting answering machine functions:
Setting and operating of the various answering
machine functions through the handset is menu con-
trolled. The menu structure of the answering machine
looks as follows:
1. Open the menu by pressing the key OK.
2. Press the keys
and
to select the option [ANS.
MACHINE].
3. Press the key OK; you will access the menu an-
swering machine:
ANS. MACHINEMSG PLAYBACK
DELETE ALL
MEMO
TAM ON/OFF
TAM SETTINGS
ANSWER MODE
ANS & REC
ANSWER ONLY
TAM LANGUAGE
OGM SETTINGS
ANS & REC
PLAYBACK
RECORD MESS
ANSWER ONLY
PLAYBACK
RECORD MESS
ANSWER DELAY
RECORD TIME
REMOTE ACC.
COMPRESSION
BS SCREENING
CHANGE PIN
Enabling/disabling answering function (handset
only):
You can enable or disable the answering function
through the option [ANS. MACHINE] - [TAM ON/OFF].
The symbol illuminates on the display.
Listening in (base only):
Select through the handset the option [TAM SET-
TINGS] - [BS SCREENING] to enable or disable the
function listening in on the base station.
Take over (handset only):
Press the key phone-on, on the handset to take over
the call; the recording will be stopped.
• You do receive the numbers on the display of your
phone, but not the name.
- The carrier does not forward names; consult
your carrier for this.
- The name has not been programmed in the
memory of your handset; program it.
- The name has been programmed in the
memory, but the accompanying phone number
has been programmed without area code;
program the number including area code.
Problems with the answering machine:
• Does not record messages:
- The answering machine is set to [ANSWER
ONLY]. For recording of messages, the
answering machine shall be set to ‘ANS & REC’.
- The recording capacity is full. Free recording
capacity by playing the messages and delete
some or all of them.
• Cannot be operated remotely:
- You call with a dial phone. The answering
machine can be operated remotely by a tone
phone only.
- You have entered the wrong remote code.
The answering machine can only be operated
remotely when the correct remote code is
entered.
- You have disabled access to the remote
function; enable it.
Other:
• The display stays blank:
- The batteries are empty. Place the handset on
the base station or on the charger to charge the
batteries, and let the handset charge during at
least 15 hours uninterrupted.
• The handset does not switch on:
- The battery voltage is too low; place the handset
on the base station or the charger and charge
the batteries for 15 hours.
- The batteries have not been inserted; check this.
• The batteries get low too fast:
- Check the charging contacts of the base station
or the charger and of the handset, and clean
them if necessary.
- The batteries shall be replaced; replace them.
• The handset does not have contact with the base
station:
- You are too far from the base station; reduce the
distance.
- The base station has been switched off (adapter
from the mains socket); correct this.
- The handset is not registered with the base
station (anymore); register it (again).
In case the failure has not been solved with
aforementioned solutions:
• Remove the batteries from the handset, and unplug
the power supply adapter and the phone connector
from their sockets; connect everything again after
several minutes.
You can also contact the Teleline service center or the
supplier of this phone.
Announcements:
You can record your own announcements through the
option [TAM SETTINGS] - [OGM SETTINGS] - [ANS
& REC] or [ANSWER ONLY]:
1. Select [RECORD MESS] and press OK.
2. Dictate your announcement after the beep into the
microphone of the handset.
3. After the maximum recording time of 180 seconds
the recording is terminated (or press the key OK
to terminate the recording prematurely) and the
recording is played back once to check it.
You can listen to the announcement through the op-
tion [PLAYING].
When you press the key C during playback, your own
announcement is deleted and the factory announce-
ment will be active again.
Playing recorded messages:
Through the handset:
Select the option [MSG PLAYBACK], and press the
key OK. You can adjust the volume with the keys
and .
The display shows the time and date of the concern-
ing message. When it concerns a new message, a
star will illuminate at the bottom center of the display
of the handset.
Press the key OK during playback and use the keys
and to listen to the next or previous messages, to
delete the message or to stop playback.
You can also do this with the numerical keys on the
handset:
Key 4: repeat the message.
Key 4 twice: play the previous message.
Key 6: play the next message.
Key 2: delete this message.
Key 5: stop playback.
Through the base station:
Press the key to start playback
X = delete this message.
= stop playback.
Only announcement or announcement + recording
message:
You can opt to answer every call by only playing the
announcement, or the caller can leave a message
after the beep. Select the option [TAM SETTINGS]
- [ANSWER MODE] and choose from [ANS & REC]
and [ANSWER ONLY].
Setting the number of rings:
You can set the number of rings after which the an-
swering machine accepts the call through the option
[TAM SETTINGS] - [ANSWER DELAY]. See chapter
‘Remote operation’ for the setting [TIME SAVER]
Setting of the maximum recording time:
You can limit the maximum recording time for mes-
sage to 60 sec, 120 sec, 180 sec or unlimited through
the option [TAM SETTINGS] - [RECORD TIME].
Language of the factory announcements:
The answering machine factory has announcements
in the English as well as the French language. You
can select the desired language through the option
[TAM SETTINGS] - [TAM LANGUAGE].
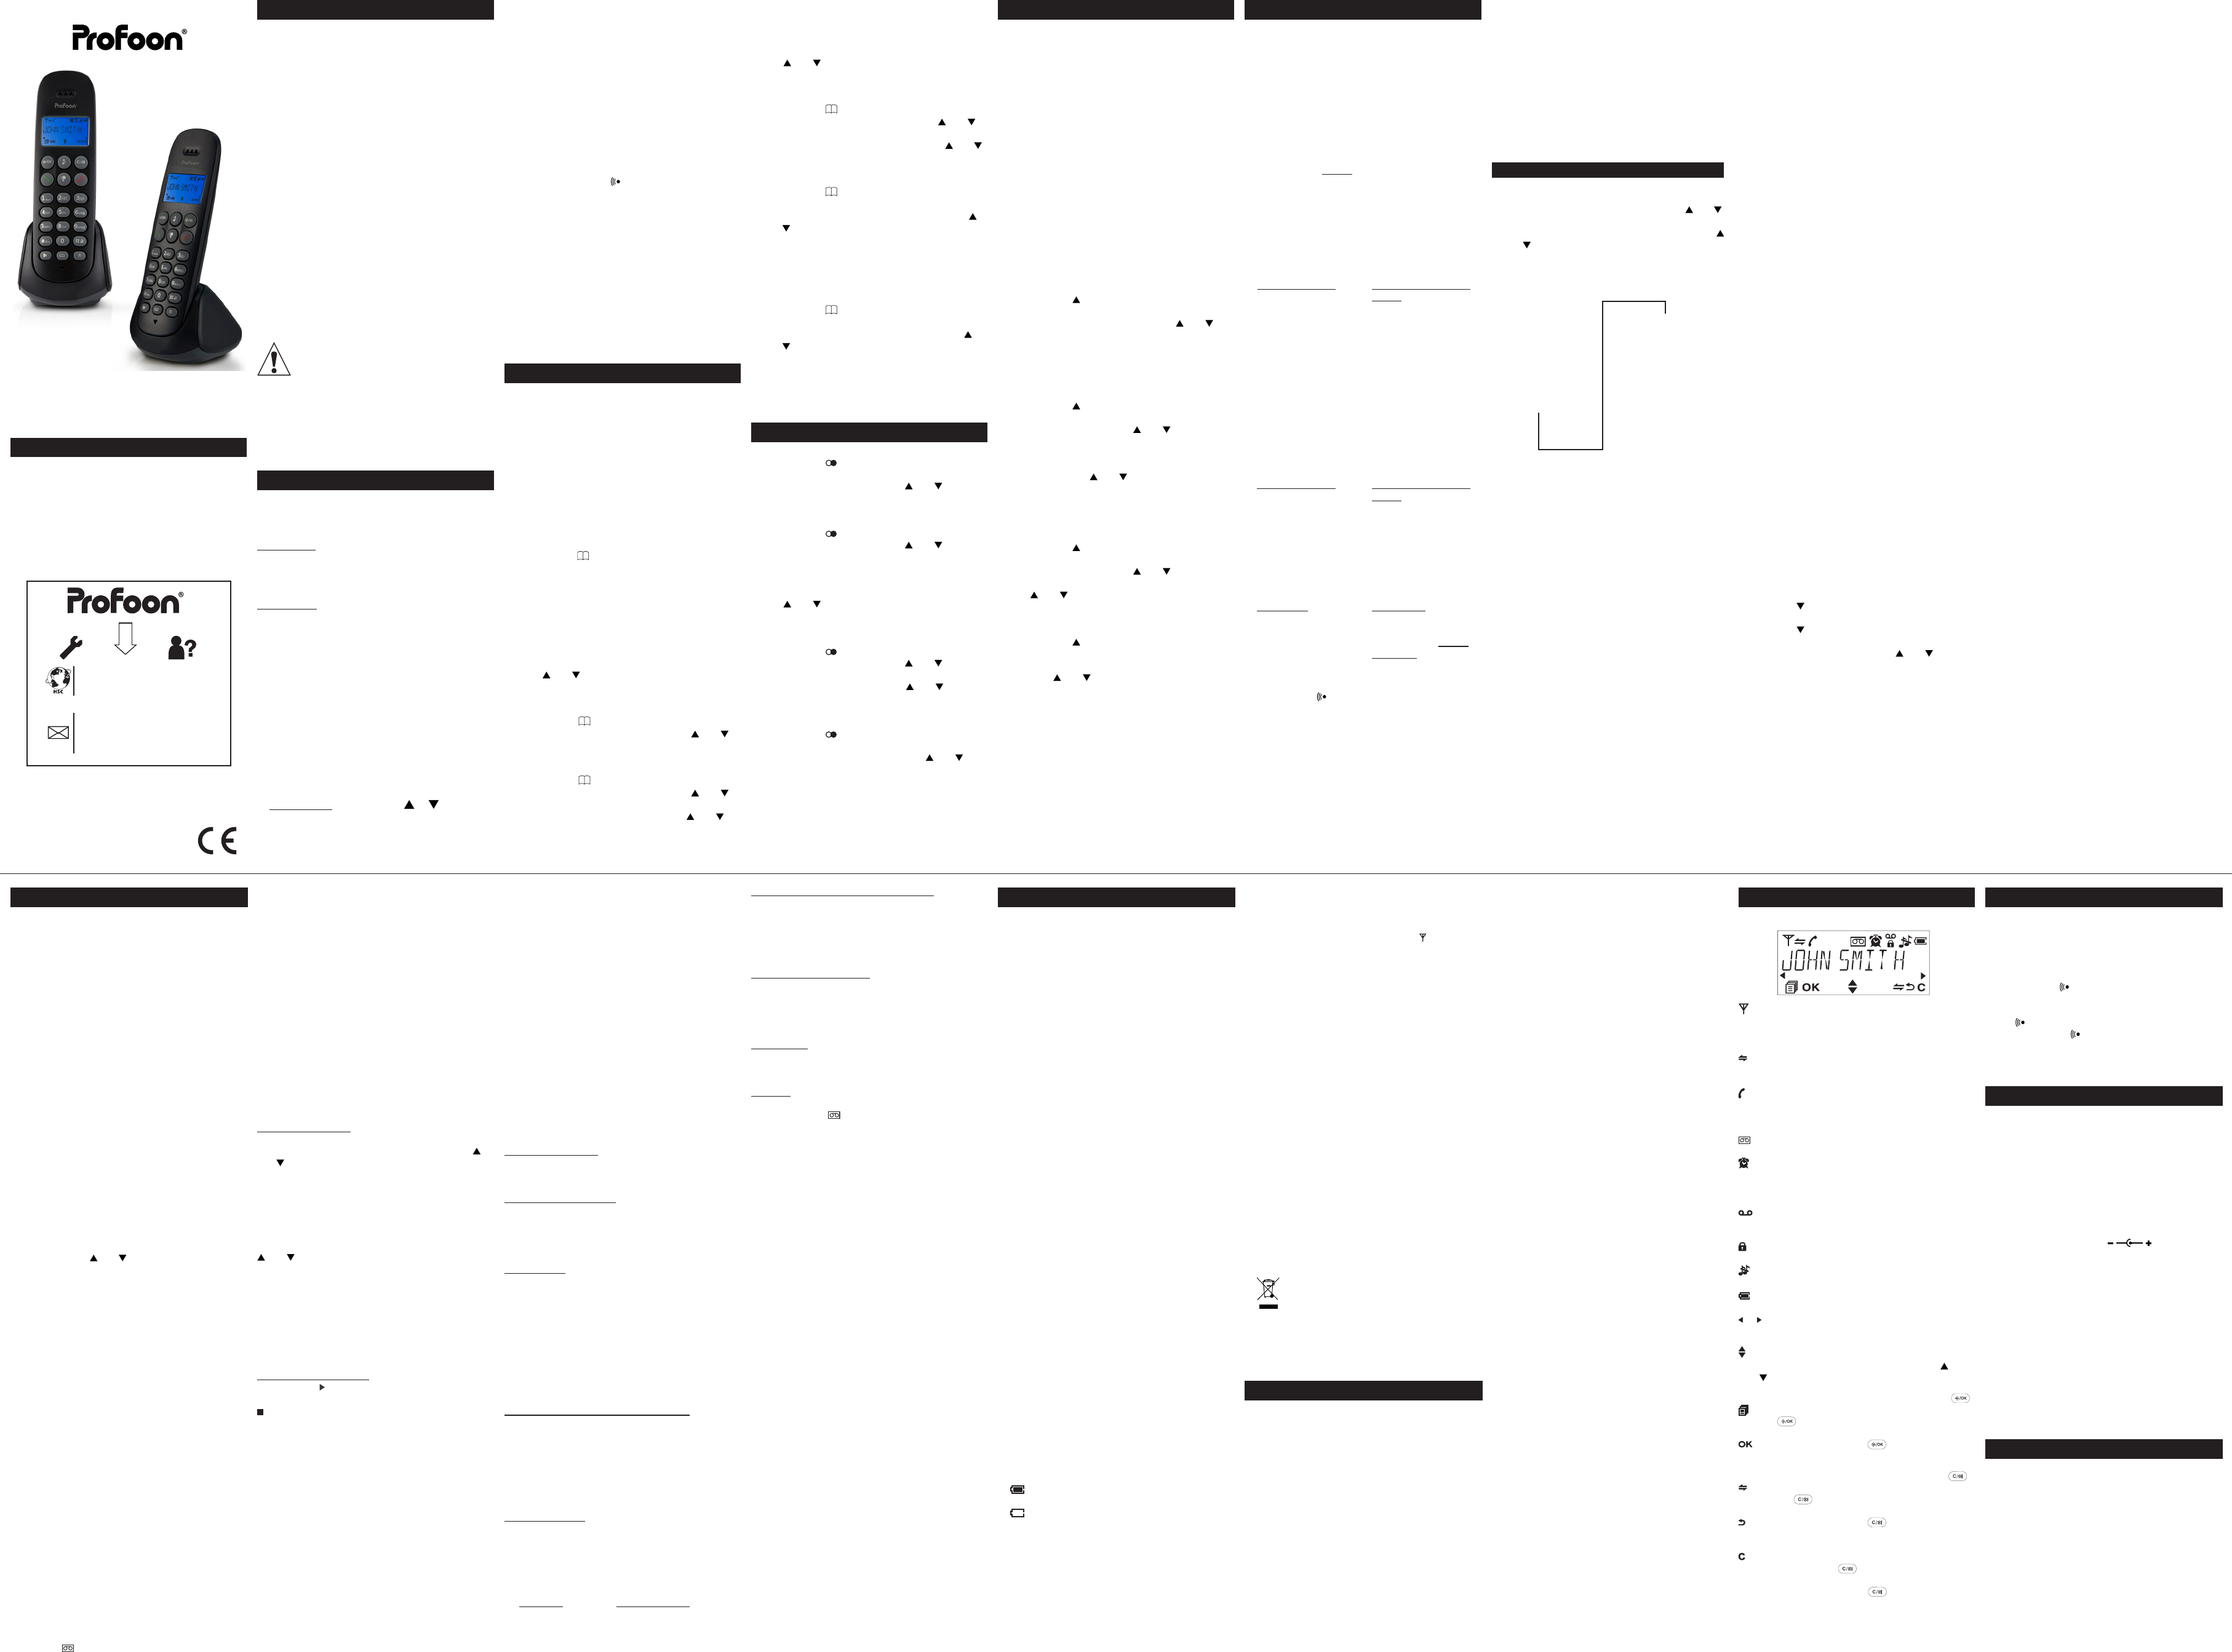
DISPLAY
The following symbols can illuminate on the display:
Illuminates continuously: the handset is within
reach of the base station; flashes: the handset is
out of reach of the base station.
Flashes during connecting an intercom call;
illuminates continuously during an intercom call.
Flashes when u are called from outside;
illuminates continuously during a call on the
outside line.
answering function is turned-on
Illuminates continuously when the alarm function
has been enabled; flashes when the alarm goes
off.
You have received a voicemail message (only
available on the FSK network).
Keyboard is locked.
The bell is disabled.
Indicates the status of the battery.
or illuminates when the number left or right is
longer than can be displayed on the display.
Illuminates when u can show more numbers or
functions in the display with the keys and and
.
The following symbols are: connected to the key :
Illuminates when u can open the menu with the
key .
When you press the key , you conrm the
input or choice.
The following symbols are connected to the key :
Illuminates when can make an intercom call with
the key .
When you press the key now, you will go one
step back in the menu.
When this icon illuminates, you can delete the
input with the key . If this icon illuminates
during a phone call, you can disable the
microphone with the key .
v1.0
4328765
1211101615141317
DECLARATION OF CONFORMITY
This device meets the essential requirements
and other relevant provisions as stipulated by the
European Guideline 2014/53/EU.
The declaration of conformity is available at:
http://DOC.hesdo.com/PDX-315-DOC.pdf
Factory settings:
You can reset the settings the way they were when
the phone left the factory, through the option [STAN-
DARD]:
Name handset: handset
Display language: English
Ring volume: level 3
Call melody external call: melody 1
Call melody internal call: melody 2
Reception volume: level 3.
Show handset: on
Key lock: off
Alarm: off
Auto answer: off
Date format: day-month-year
Hour format: 24 hours
Flash time: short (100 ms)
The memories stay undisturbed with this reset instruc-
tion.
SYSTEM RESET (forgot PIN code)
If you have lost or forgotten the new PIN code, or
if the phone does not respond anymore, you can
completely reset the phone, at which the PIN code is
reset to 0000. Take care to deregister the handset(s).
You shall register it again.
1. Unplug the adapter from the mains socket.
2. Press the key on the base station AND KEEP
THIS KEY PRESSED.
3. Plug the adapter back into the mains socket (keep
key pressed).
4. Release the key AFTER 30 SECONDS; the
phone had been reset.
5. Now register the handset(s) again, as described in
chapter ‘Multiple handsets’.
SPECIFICATIONS
Protocol: DECT / GAP, 5 handsets
Frequency Range: 1880-1900 Mhz
Maximum Power: < 24 dBm
Call history: DTMF & FSK, auto
recognition, 10 memories
FLASH : 100/300/600 ms,
adjustable.
Phone book: 50 memories
Power supply base station: through adapter
in: 100 - 240 VAC 50 Hz
off: 6 VDC, 450 mA,
Power supply charger: through 2 batteries
voltage: 1.2 V
capacity: 300 mAh
material: NiMH
format: AAA (HR03)
Power supply charger: through adapter
in: 100-240VAC, 50Hz
uit: 6VDC, 450mA
Range: 50 m indoors
300 m outdoors
Operational life (with full batteries):
stand-by: > 100 uur
in use: > 10 uur
Operational temperature: 0°C to 40°C
Storage temperature: -20°C to 60°C
WARRANTY
For the PDX-315 DECT telephone you have a
warranty of 24 months from the date of purchase.
During this period, we guarantee the free repair of
defects caused by material and workmanship errors.
All this subjected to the final assessment of the
importer. If you notice any defect, first refer to the
user’s manual. Please contact the supplier of this
telephone or contact the customer service.
THE WARRANTY BECOMES NULL AND VOID: In
case of improper use, incorrect connections, leaking
and/or incorrectly installed batteries, use of unoriginal
parts or accessories, negligence and in case of
defects caused by moisture, fire, flooding, lightning
and natural disasters.
In case of unauthorised modifications and/or repairs
performed by third parties. In case of incorrect
transportation of the device without adequate
packaging and when the device is not accompanied
by this warranty card and proof of purchase.
The warranty does not cover connecting cables, plugs
and batteries. All further liability, especially concerning
any consequential damages, is excluded.
9
18
USER’S MANUAL
Service
Help
ServiceHelp
WWW.PROFOON.COM
SERVICE@PROFOON.NL
Hesdo, Australiëlaan 1
5232 BB, ‘s-Hertogenbosch
The Netherlands
WWW.PROFOON.COM
SERVICE@PROFOON.NL
Hesdo, Australiëlaan 1, 5232 BB,
‘s-Hertogenbosch,
The Netherlands
PDX-315
PDX-315 DUO
Need help? Post your question in this forum.
Report abuse
Libble takes abuse of its services very seriously. We're committed to dealing with such abuse according to the laws in your country of residence. When you submit a report, we'll investigate it and take the appropriate action. We'll get back to you only if we require additional details or have more information to share.
Product:
Forumrules
To achieve meaningful questions, we apply the following rules:
First, read the manual;
Check if your question has been asked previously;
Try to ask your question as clearly as possible;
Did you already try to solve the problem? Please mention this;
Is your problem solved by a visitor then let him/her know in this forum;
To give a response to a question or answer, do not use this form but click on the button 'reply to this question';
Your question will be posted here and emailed to our subscribers. Therefore, avoid filling in personal details.
Register
Register getting emails for Profoon PDX-315 DUO at:
new questions and answers
new manuals
You will receive an email to register for one or both of the options.
Get your user manual by e-mail
Enter your email address to receive the manual of Profoon PDX-315 DUO in the language / languages: English as an attachment in your email.
The manual is 0,6 mb in size.
You will receive the manual in your email within minutes. If you have not received an email, then probably have entered the wrong email address or your mailbox is too full. In addition, it may be that your ISP may have a maximum size for emails to receive.
If you have not received an email with the manual within fifteen minutes, it may be that you have a entered a wrong email address or that your ISP has set a maximum size to receive email that is smaller than the size of the manual.
The email address you have provided is not correct.
Please check the email address and correct it.
Your question is posted on this page
Would you like to receive an email when new answers and questions are posted? Please enter your email address.