59
INSTALLATION
Elektrischer Anschluß
Zwei- oder Dreiphasenanschluß
Technische Daten
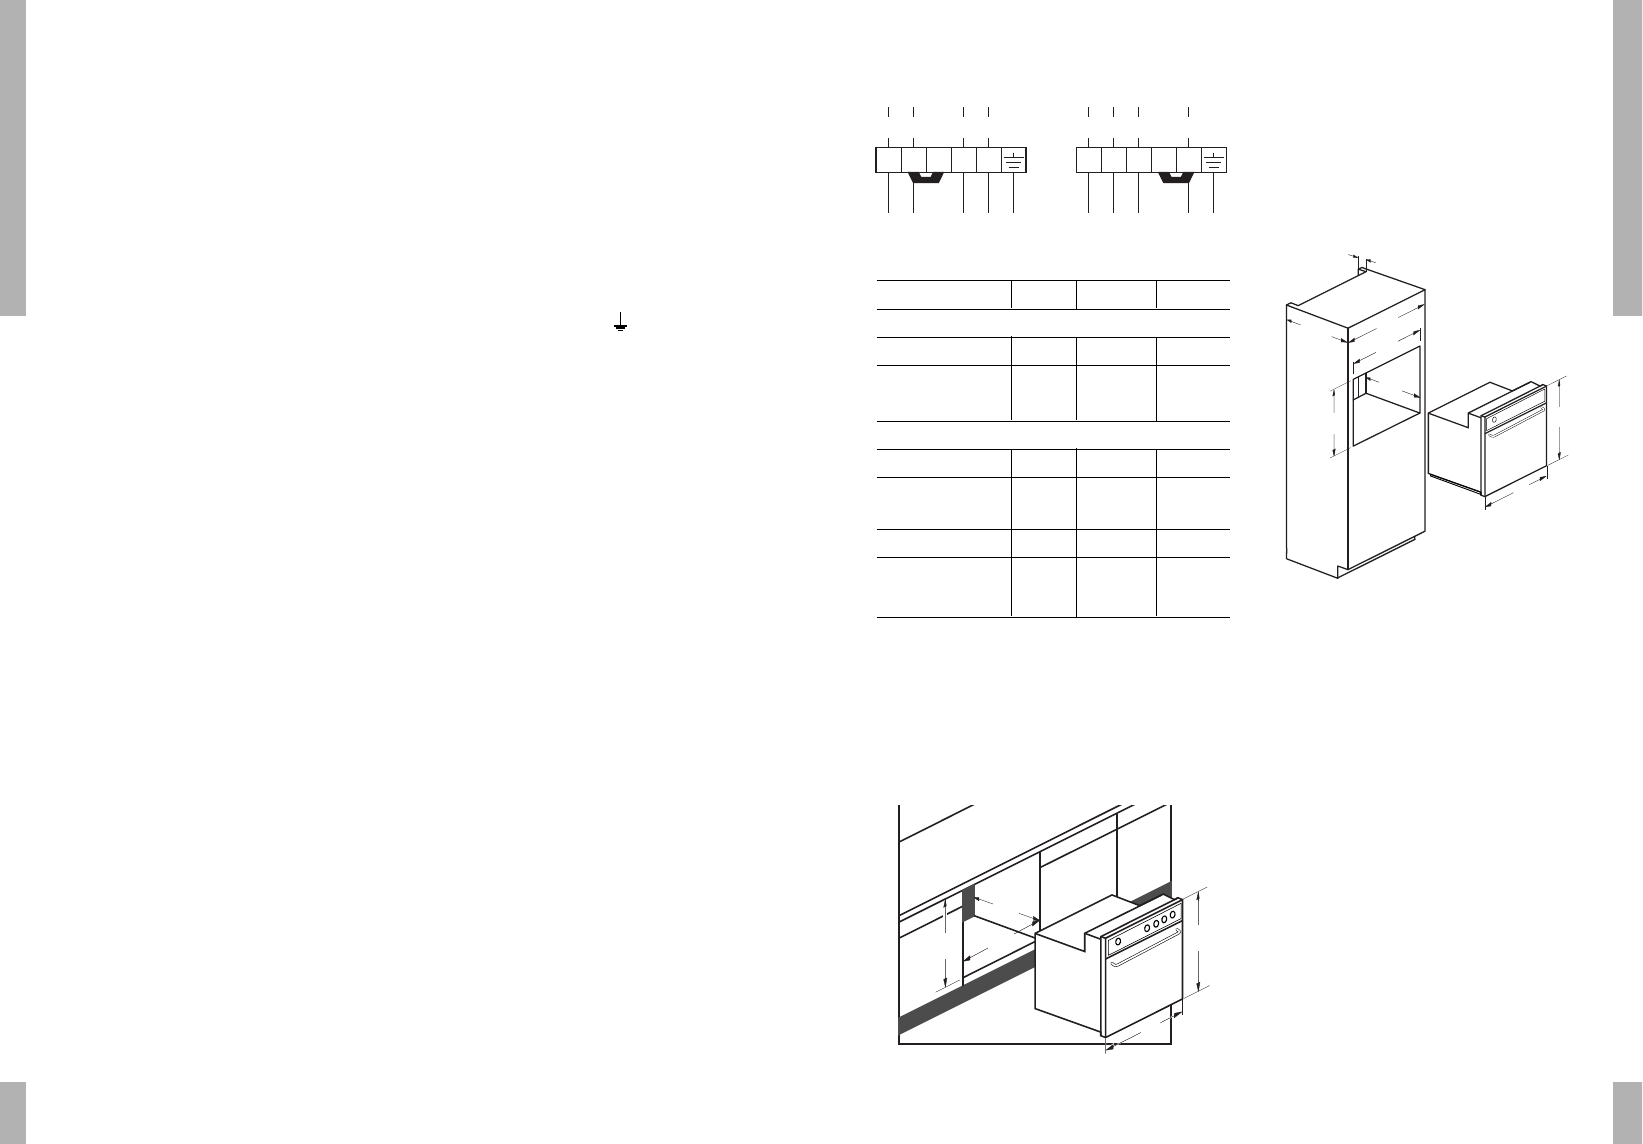
Ofentyp 980 960 940
Ausführung
Solo-Ofen – –
Kombi-Ofen
mit Kochfeld – Elektrisch Gas
elektrischer Anschluß
230 V 50 Hz ■ –
■
230 V -
380 V/400 V – ■ –
50 Hz ■ ■ ■
Nennleistung
in kW 2,1 2,1 - 10 2,1
Kombination des Ofens 940 mit einem
Pelgrim-Gaskochfeld (siehe Abb. 6)
Bitte ziehen Sie vor dem Einbau dieser
Kombination die Bedienungsanleitung des
Kochfelds zu Rate.
Solo-ofen 980 (siehe Abb. 7)
■ Ofen an das Stromnetz anschließen.
■ Ofen in den Schrank schieben.
■ Ofentür öffnen und mit 2 Schrauben je
Seitenwand festschrauben.
Kombination des Ofens 960 mit dem
elektrischen oder glaskeramischen Kochfeld
von Pelgrim
Sobald das elektrische oder glaskeramische
Kochfeld der dem Gerät mitgelieferten
Bedienungsanleitung gemäß installiert
worden ist:
■ Den Ofen an das Stromnetz anschließen
und den 12poligen Stecker des Kochfelds
mit dem Gegenstift des Ofens verbinden.
■ Den Ofen nun in den Schrank schieben.
■ Die Ofentür öffnen und den Ofen mit 2
Schrauben je Seitenwand festschrauben.
58
Installation
Allgemeines
Wenn das Gerät nicht mit einem
Anschlußkabel mit Stecker ausgestattet ist, ist
es ausschließlich von einem Fachman an das
Lichtnetz anzuschließen.
Beachten Sie:
Auf dem Schild mit elektrischen Angaben wird
der Anschlußwert und die erforderliche
Netzspannung angegeben. Das Anschließen
des Gerätes hat nach den örtlich und national
geltenden Vorschriften zu erfolgen.
Elektrischer Anschluß
230 V -50 Hz.
■ Das Gerät muß geerdet sein.
Benutzen Sie für den Anschluß ein Kabel
guter Qualität, zum Beispiel HO5RRF,
1,5 oder 2,5 mm
2
, mit 3 oder 5 Adern.
Dies sind die Farbcodes
braun = Phase L
blau = Phase N
grün/gelb = Erdung ( )
schwarz = Null oder Phase
Abhängig vom Erdungsschema können Sie
die schwarzen Adern als Null- oder
Phasendraht verwenden.
Das Kabel muß einen Stecker haben, der für
eine nominale Leistung von mindestans 15 A
geeignet ist.
Wenn Sie einen festen Anschluß anbringen
möchten, sorgen Sie bitte dafür, daß in der
Zuführungsleitung ein omnipolarer Schalter
mit einem Kontaktabstand von mindestens
3 mm angebracht wird.
Anschlußschemen
■ An der Hintenseite des Gerätes befindet
sich ein Etikett mit den Anschlußschemen.
Anschlußklemmen
■ Wenn Sie die Abdeckplatte an der
Unterseite entfernt haben, liegen die
Anschlußklemmen frei. Mit den sich auf dem
Anschlußblock befindlichen Brücken können
Sie die erforderlichen Verbindungen
herstellen. Vergessen Sie nicht, die Kabel
mit der Zugentlasung fest zu machen. Wenn
Sie die Kabel befestigt haben, bringen Sie
die Abdeckplatte wieder an.
INSTALLATION