AUTO
Display of date, day of week, switch
status of channel(s)
Manual overriding possible
(KEY A, B, C, D
)
1..7 Input of switching commands accord-
ing to week day(s) and time (normal
programme)
Use arrow keys ̇̈to alter flashing digit.
Use diamond key v to increase value.
(Confirming last input by pressing right
arrow ̈ will enter into memory)
DATE Input permanent ON or OFF, beginning
and ending according to date.
Use arrow keys ̇̈to alter flashing digit.
Use diamond key v to increase value.
(Confirming last input by pressing right
arrow ̈ will enter into memory)
? Displays number of free memory
locations
Show switching times for each
channel
Alter switching time
Clear single or all switching times
Use arrow keys to display switching
times ̈ forwards or ̇ backwards.
Use diamond key v to change (alter)
displayed switching time.
Use key CL to cancelling the displayed
switching time.
Use key CL twice to cancelling all switch-
ing times if displayed number of memory
locations available.
Input of actual date and actual time
Use arrow keys ̇̈to alter flashing digit.
Use diamond key v to increase value.
(Confirming last input by pressing right
arrow ̈ will enter into memory)
(Automatic display of day of week)
S/W Automatic summer/winter time change
over
Use arrow keys ̇̈to alter flashing digit.
Use diamond key v to increase value.
(Confirming last input by pressing right
arrow ̈ will enter into memory)
SP 1..7 Special programme(s):
Input of switching commands accord-
ing to number of special programme,
week day(s) and time.
Use arrow keys ̇̈to alter flashing digit.
Use diamond key v to increase value.
(Confirming last input by pressing right
arrow ̈ will enter into memory)
SP DATE Special programme(s):
Programming start and end dates
Use arrow keys ̇̈to alter flashing digit.
Use diamond key v to increase value.
(Confirming last input by pressing right
arrow ̈ will enter into memory)
Pressing sinked key left side of channel A will clear
real time and microprocessor.
Switching programmes normally will not be affected.
(Check by Read-Out; Mode “?”)
If connected to mains supply display will auto restore
after 2 seconds.
If not connected press diamond key v.
Reset
Operating modes
[
Menu
]
Selection of programming modes
AUTO Ǟ 1..7 Ǟ DATE Ǟ ? ǞǞS/W Ǟ
ı
– –– S P –––
ı
1..7 Ǟ DATE Ǟ AUTO…
[CL] Cancelling of inputs in modes
ı
–––SP–––
ı
1..7, DATE, ?, S/W, 1..7 DATE
ı
–––SP–––
ı
[v] In modes 1..7, DATE, , S/W, 1..7 DATE:
Change flashing digit resp. position.
In mode ?:
Change selected inputs.
ı
–––SP–––
ı
[̈] In modes 1..7, DATE, , S/W, 1..7 DATE:
Head for required position (forwards).
In mode ?:
Head for next switching time.
ı
–––SP–––
ı
[̇] In modes 1..7, DATE, , S/W, 1..7 DATE:
Return to required position (backwards).
In mode ?:
Return to switching time before.
[A] In mode AUTO:
[B] Press for manual overrided ON or OFF in
[C] relevant channel. Holding down key for
[D] 3 seconds, will switch ON or OFF PERM
override. Perm will be displayed.
Programmed function in relevant channel will
be suppressed.
Cancel permanent ON or OFF by holding
down key for a further 3 seconds.
Programming possible also with time switch dis-
connected: Press v, display appears, start pro-
gramming.
Make inputs step by step. The appropriate position
in the display is flashing and can be changed by
pressing the key v. Head for next position by using
key ̈, go backwards by using key ̇.
Caution: The installation and assembly of electrical
equipment must be carried out only by a skilled
person.
Connect to voltage and frequency according to type
label only.
The high density electronic circuit is protected
against a wide range of external influences. Incor-
rect operation may occur if external influences ex-
ceed certain limits.
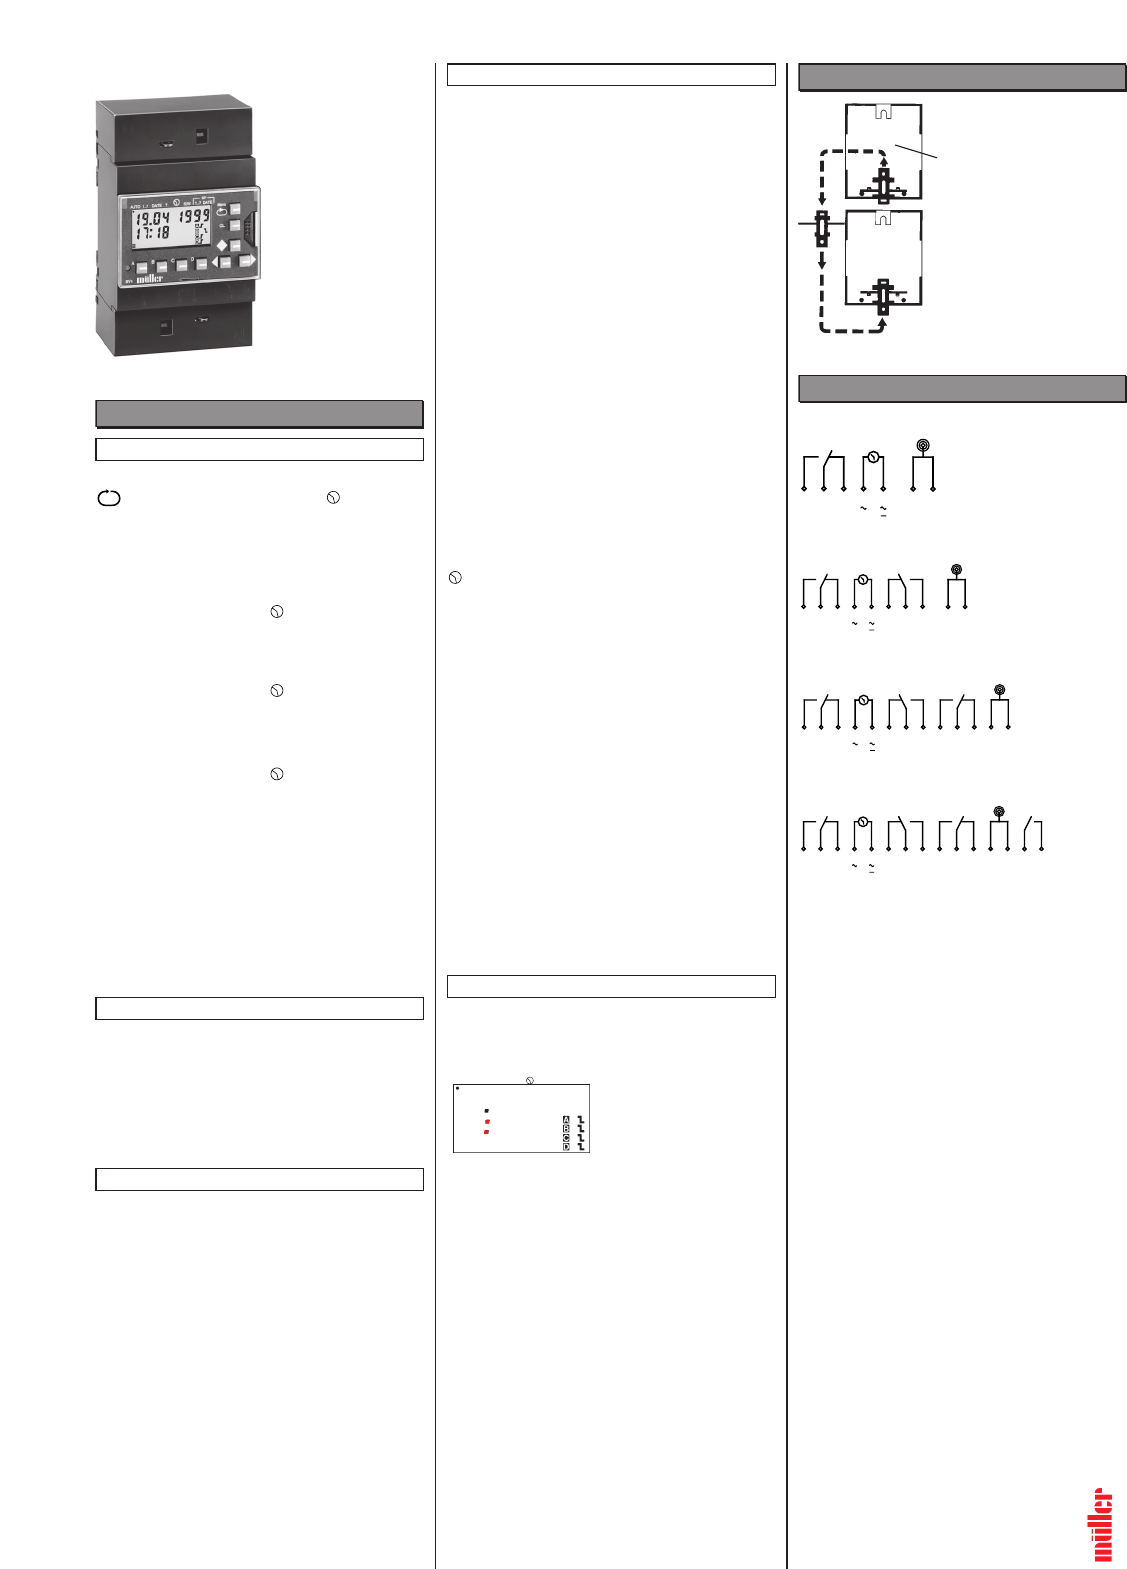
Installation details
Programming advice
Key functions