óThe content of this manual is subject to change without further notice.
óDue to printing limitation, the displays shown in this manual may
differ from the actual display.
óThe contents of this manual may not be reproduced without the
permission of the manufacturer.
To disable the RF function:
Press and hold the [] button for 3-seconds. The radio-reception signal will
disappear.
To enable the RF funciton:
Press [] and hold for 3-seconds. The radio-reception signal will appear and a
signal search will automatically commence.
Interference
Reception can be affected by a number of factors. For best reception, place the
device away from metal objects and electrical appliances.
Note: Interference from sources such as TV sets can affect the signal. If,
after batteries have been inserted for ten minutes, the signal is not received,
then set the time manually (see section: How To Set The Calendar Clock
Manually).
LOCKING AND UNLOCKING THE UNIT
The RM822 / RM823 has a special locking feature that locks all keys to prevent
accidental operation of the unit. To unlock the unit, slide the [ ] switch
to the unlocked position.
The unit must be unlocked before activating any keys.
CALENDAR CLOCK DISPLAY MODES
The RM822 /RM823 supports four display modes in the sequence of:
MODE 1Local Time
Hour, Minute, Seconds
-------------------------------------------
Day, Month
MODE 2Local Time
Hour, Minute, Day-of-the-Week
-------------------------------------------
Day, Month
MODE 3 Local Time / Second Time-Zone Time
( localtime ) Hour, Minute, Day - of - the - Week
-------------------------------------------
( Second time - zone time ) Hour, Minute
MODE 4 Second Time-Zone
Hour, Minute, Day-of-the-Week
-------------------------------------------
Day, Month
Display description for each time / date / time-zone mode
To select a different time-display mode:
-Press [MODE]. The display will advance in the order as mentioned above.
Note: The bottom line of the display will be replaced by the alarm time if
[] is pressed.
HOW TO SET THE CALENDAR CLOCK MANUALLY
When the unit is outside of the 1500km radius of the radio signal generated
from DCF77 Frankfurt, Germany (UK version MSF Rugby), the unit may
require manual setting.
To manually set the clock:
Press [MODE] hold for 3 seconds.
Steps Setting Action
1.HoursAdjust with or and confirm with MODE
2.MinutesAdjust with or and confirm with MODE
Note: Once you modify the minutes, the
seconds are set to 00î.
3.Current DateAdjust with or and confirm with MODE
4.MonthAdjust with or and confirm with MODE
5.Abbreviated,Adjust with or and confirm with MODE
4-language(see: abbreviated four language day-of-
day-of-the-weekthe-week chart)
6.Day-of-the-weekAdjust with or and confirm with MODE
7.Offset for otherAdjust with or and confirm with MODE
time zoneNote: ZONEî is shown
(see: Time Zone Offset Table) [FIG. C]
ENGLISH
FIG. D
Day-of-the-week
Language
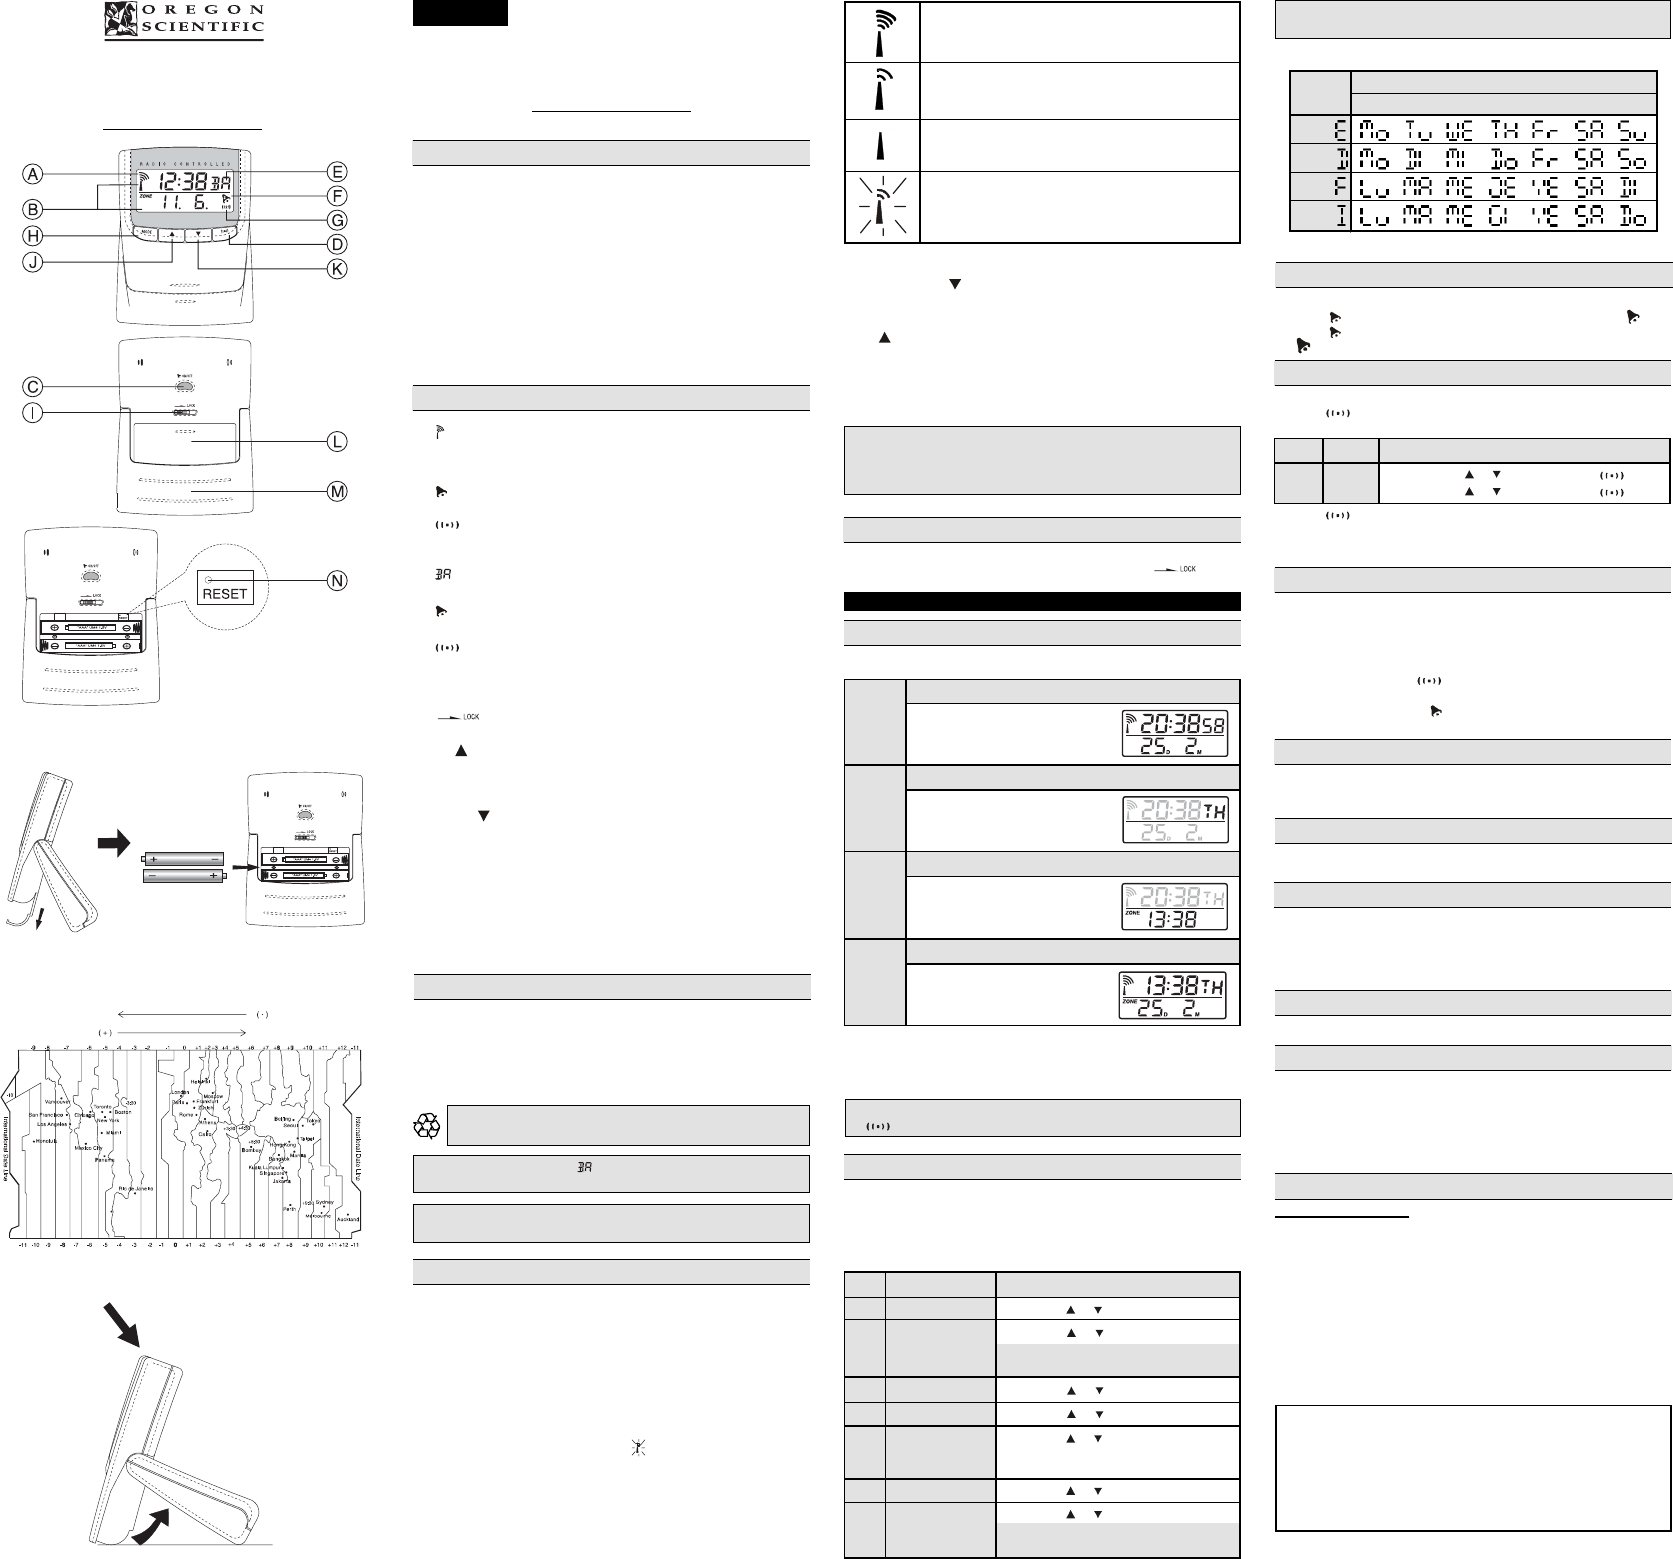
MondayTuesdayWed.ThursdayFridaySaturdaySunday
English
German
French
Italian
Santiago
Need help? Post your question in this forum.
Report abuse
Libble takes abuse of its services very seriously. We're committed to dealing with such abuse according to the laws in your country of residence. When you submit a report, we'll investigate it and take the appropriate action. We'll get back to you only if we require additional details or have more information to share.
Product:
Forumrules
To achieve meaningful questions, we apply the following rules:
First, read the manual;
Check if your question has been asked previously;
Try to ask your question as clearly as possible;
Did you already try to solve the problem? Please mention this;
Is your problem solved by a visitor then let him/her know in this forum;
To give a response to a question or answer, do not use this form but click on the button 'reply to this question';
Your question will be posted here and emailed to our subscribers. Therefore, avoid filling in personal details.
Register
Register getting emails for Oregon Scientific RM822 at:
new questions and answers
new manuals
You will receive an email to register for one or both of the options.
Get your user manual by e-mail
Enter your email address to receive the manual of Oregon Scientific RM822 in the language / languages: English as an attachment in your email.
The manual is 0,17 mb in size.
You will receive the manual in your email within minutes. If you have not received an email, then probably have entered the wrong email address or your mailbox is too full. In addition, it may be that your ISP may have a maximum size for emails to receive.
If you have not received an email with the manual within fifteen minutes, it may be that you have a entered a wrong email address or that your ISP has set a maximum size to receive email that is smaller than the size of the manual.
The email address you have provided is not correct.
Please check the email address and correct it.
Your question is posted on this page
Would you like to receive an email when new answers and questions are posted? Please enter your email address.