628888
2
Zoom out
Zoom in
Previous page
1/2
Next page
Your One For All remote control can learn any function from any other working remote
control. This can be useful if you are missing one or more functions from your original
remote control and would like to add them to the Smart Control. You can learn onto any
key except Magic, Devices or Activity. There are even 3 blank keys provided (A, B and C)
so that you can use these for functions that don’t have a corresponding key on the Smart
Control.
You can also learn a complete device if you can’t find a code.
To learn, firstly make sure you have all your original remote controls to hand, and that they
have working batteries in. To learn functions, the original remote should be
approximately 3cm from the OFA remote, pointing towards it as shown below:
1. Hold down MAGIC until the LED under the device blinks twice. The LED
under the current mode key will stay lit.
2. Using the DEVICES key, make sure the LED for the device you want to learn
functions on is lit.
3. Press 975 – the LED will blink twice.
4. Press and release the key you want to learn a function onto (for example
the A key) – The Watch TV, Listen To Music and Custom LEDs will light up.
5. Press and release the key on the original remote.
6. The LED will blink twice to indicate the key has been learned correctly.
7. Repeat steps 4 and 5 for each key you want to learn – remember you can learn from multiple
remotes, but only one function per key.
8. When you learned all the functions you require, press and hold the MAGIC
key until the LED blinks twice and turns off.
Hints
If the LEDs shows one long blink at step 6, the function was not learned correctly, please try again
from step 4.
If you find one or more keys don’t work properly after set up, you can re-enter the learning mode
at any time by repeating the procedure from step 1.
If you always use one device to control volume, for example your TV or an AV Receiver, you
can set up the Smart Control to always control that device, regardless of which device your
remote is controlling.
To do this:
1. Hold down MAGIC until the LED under the device blinks twice. The LED under the
current mode key will stay lit.
2. Press 993 – the LED will blink twice.
3. Use the DEVICES key to select the Device you want to lock the Volume to.
4. Press MAGIC once – the LED will blink twice and volume is now locked.
If there is one particular device you would like to exclude from the Volume Lock (and
control its own volume), you can do this by the following:
1. Hold down MAGIC until the LED under the device blinks twice. The LED under the
current mode key will stay lit.
2. Press 993 – the LED will blink twice.
3. Use the DEVICES key to select the Device you remove from Volume Lock.
4. Press VOLUME DOWN – the LED will blink four times and device is now removed.
To unlock the volume and set every device back to controlling its own volume, the
procedure is:
1. Hold down MAGIC until the LED under the device blinks twice.
The LED under the current mode key will stay lit.
2. Press 993 – the LED will blink twice.
3. Press VOLUME UP – the LED will blink four times and Volume is now unlocked.
Please note that Volume Lock only applies in Device Mode – Activities are unaffected.
PROGRAM A MACRO
You can program any key on your OFA remote (except Magic and Devices) to send
multiple commands on a single press –a Macro. This can be useful for controlling multiple
devices to put them in a certain state – for instance you could put your TV on HDMI 1
and press Play on the Blu-ray player to start watching a movie. A key programmed with a
Macro will send the same Macro regardless of the device mode, so it is best to select a key
you don’t use, or use one of the spare A, B or C keys.
To program a macro, the procedure is as follows:
1. Hold down MAGIC until the LED under the device blinks twice.
The LED under the current mode key will stay lit.
2. Press 995 – the LED will blink twice.
3. Next select the key you want to program the Macro on.
4. Now use the DEVICES key to select the device you want the first
function of the Macro to come from, for example TV.
5. Next, press the key you want to include in the Macro, for example
the AV key.
6. Repeat steps 4 (if necessary), and 5 to add more keys to the Macro. You can include up
to 15 key presses.
7. To store the Macro, hold down the MAGIC key until the LED blinks
twice.
* Remember to press the keys in the same order you would using your original remotes – so if you pressed AV on the TV
remote and then Play on the Blu-ray remote to watch a movie, do it in the same order on the Smart Control.
* If the LED shows a long blink when you press a key in steps 3 or 4, you have entered too many keys, please try again.
TO DELETE A MACRO
If you want to remove a macro from a key, please perform the following:
1. Hold down MAGIC until the LED under the device blinks twice.
The LED under the current mode key will stay lit.
2. Press 995 – the LED will blink twice.
3. Press the key the macro is programmed on.
4. Now hold down the MAGIC key until the LED blinks twice –
the Macro is deleted.
MACROS ON ACTIVITIES
Another handy feature of the Smart Control is to put Macros on Activities; you could for
example program the Watch TV Activity to send a Macro to turn on the TV and Set Top
Box when selected. To do this, simply use the Activity key to select the Activity in step 3 of
the procedure “Program a Macro. Next time you use the Activity, the Macro will be sent 3
seconds after you select it using the Activity key.
If you want to delete a Macro from the Activity, select it during step 3 of To Delete a
Macro.
Your One For All Smart Control contains codes for all popular devices and brands, but new
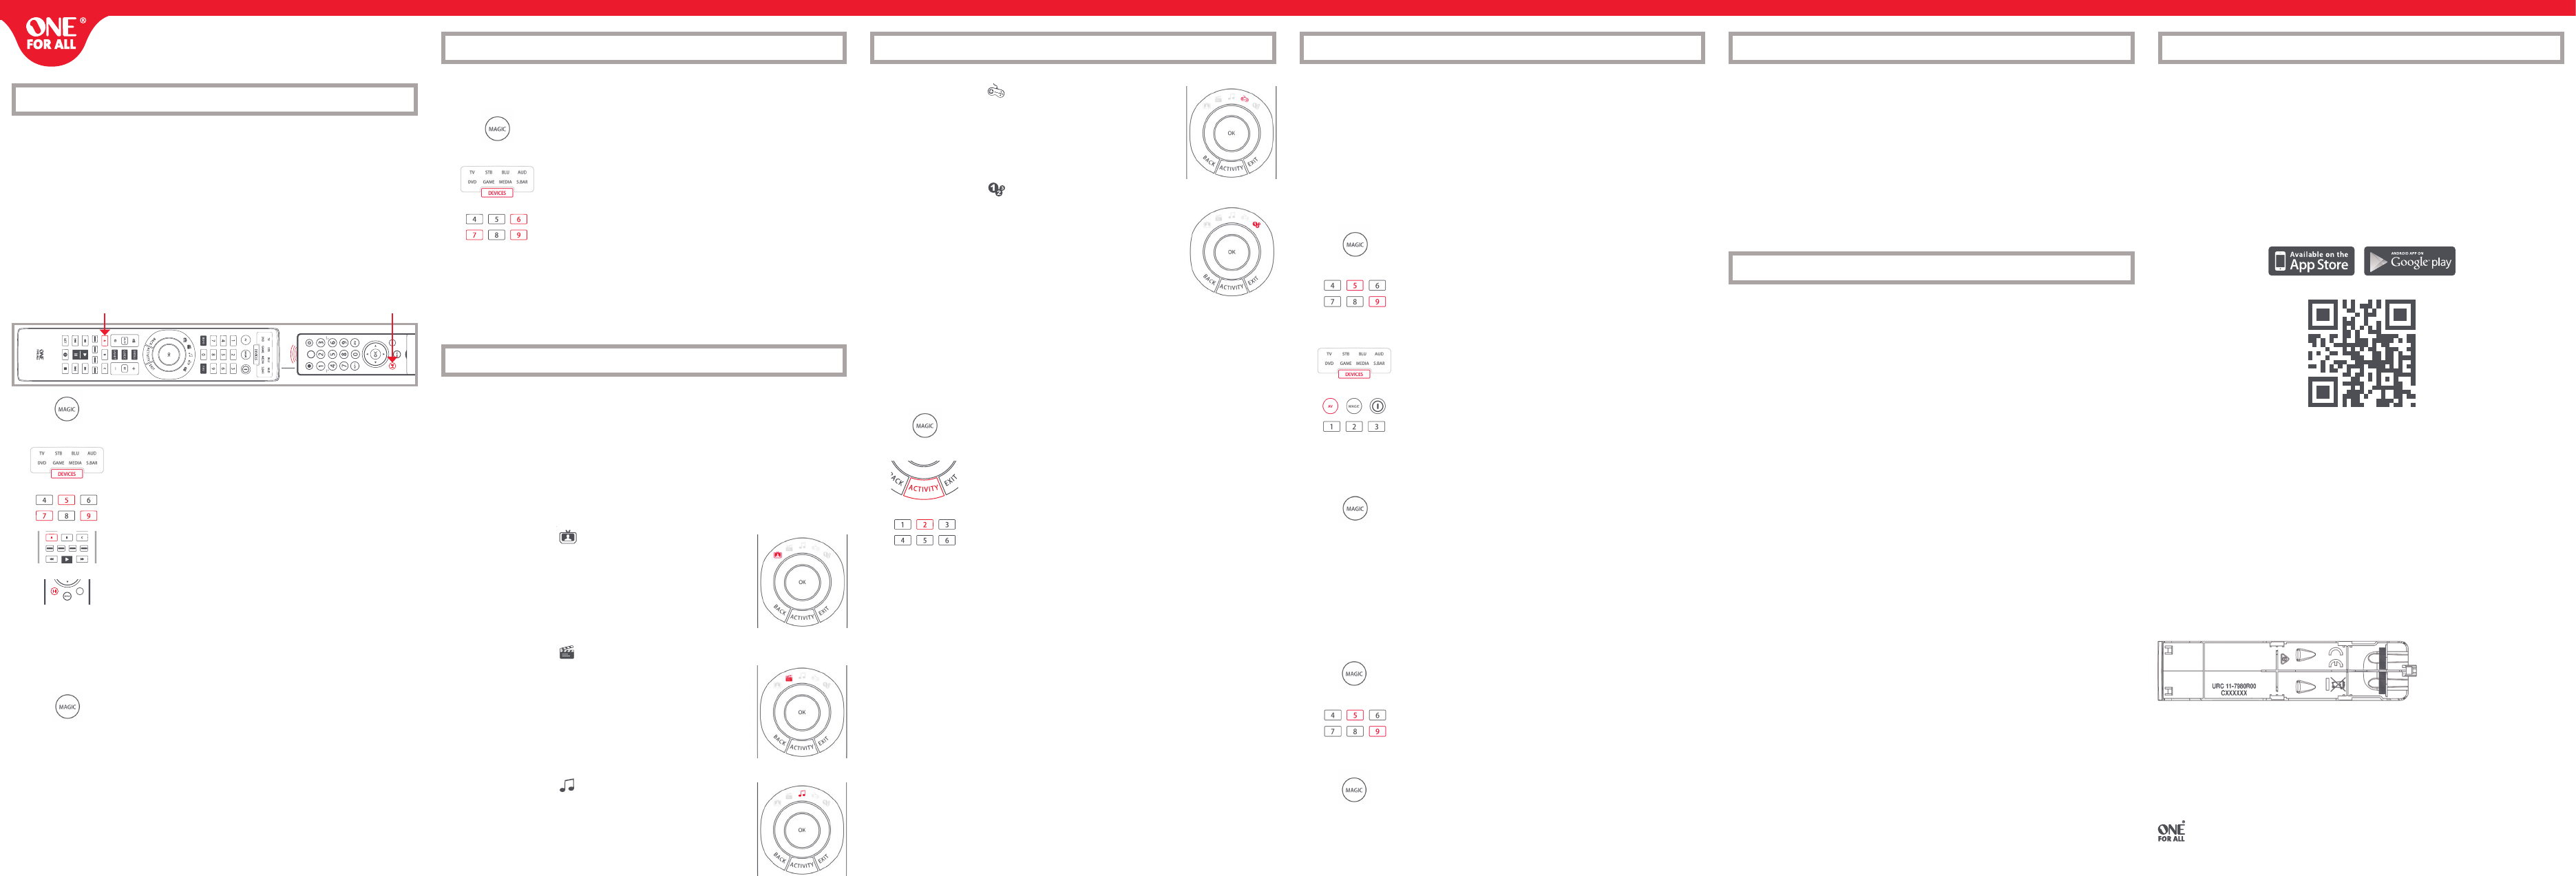
codes are added to our online database every day. Using the One For All App on
your iPhone or Android phone will allow you to upgrade any new codes into your
remote using Bluetooth Smart, also known as Bluetooth Low Energy*. This will ensure
that the remote will never become obsolete. The App also gives you access to some extra
features, such as setting up Activities.
If you would like to download the app, follow the links below:
* Please ensure your phone is compatible with Bluetooth Smart.
A list can be found by scanning the QR code above.
Universal Electronics, declares that this product is in compliance with the essential
requirements and other relevant provisions of Directive 1999/5/EC.
A copy of the EC declaration of Conformity is available at
http://www.oneforall.com/DOC_URC7980
The Part number of your Remote can be found inside the Battery door
(please see below Image)
One For All is a registered trademark of Universal Electronics B.V.
P.O. Box 3332, 7500 DH, Enschede, The Netherlands
LEARNING
MACROS MACROS
VOLUME LOCK
THE OFA APP
www.ofa.com/smartcontrol
2 - 5 CM
GUIDE
2 - 5 CM
GUIDE
2 - 5 CM
GUIDE
An Activity is a grouping of two or more devices into a single mode based upon what
youre doing while using your remote - for example TV and Set Top Box can be combined
together into a Watch TV mode. In this mode keys will control only the relevant device, so
in this example the Volume keys would control the TV, but the channel keys would control
the Set Top Box.
The OFA Smart Control features 5 Activity Modes; Watch TV, Watch Movie, Listen To Music,
Play Game and Custom. Each of these modes has a choice of devices to combine.
These are:
WATCH TV
Combination 1: TV + STB (Default)
Combination 2: TV + STB + AUD
Combination 3: TV + AUD
Combination 4: TV + S.BAR
Combination 5: TV + STB + S.BAR
WATCH MOVIE
Combination 1: TV + BLU (Default)
Combination 2: TV + BLU + AUD
Combination 3: TV + DVD
Combination 4: TV + DVD + AUD
Combination 5: TV + BLU + S.BAR
Combination 6: TV + DVD + S.BAR
LISTEN TO MUSIC
Combination 1: TV + AUD + MEDIA (Default)
Combination 2: TV + S.BAR + MEDIA
Combination 3: TV + AUD + BLU
Combination 4: AUD only
Combination 5: S.BAR only
TO DELETE A LEARNED FUNCTION, THE PROCEDURE IS:
1. Hold down MAGIC until the LED under the device blinks twice.
The LED under the current mode key will stay lit.
2. Using the DEVICES key, make sure the LED for the device you want
to delete functions from is lit.
3. Press 976 – the LED will blink twice.
4. Press the key to delete twice – the LED will blink twice.
Repeat the above procedure for each key you want to delete.
PLAY GAME
Combination 1: TV + GAME (Default)
Combination 2: TV + GAME + AUD
Combination 3: TV + GAME + S.BAR
CUSTOM
Combination 1: TV + MEDIA (Default)
Combination 2: TV + MEDIA + AUD
Combination 3: TV + MEDIA + S.BAR
Combination 4: TV + GAME
Combination 5: TV + GAME + AUD
Combination 6: TV + GAME + S.BAR
If you set up the default devices for any Activity on the remote (for example a TV and STB
for Watch TV) that Activity will be set up automatically on the remote. If you would like to
change to a different combination, the procedure is as follows:
1. Hold down MAGIC until the LED under the device blinks twice.
The LED under the current mode key will stay lit.
2. Use the ACTIVITY key to scroll through the Activities until the
one you want to set is flashing.
3. Press the number of the combination you want to set – e.g 2
for TV + STB + AUD in Watch TV.
4. The LED will blink twice and go out.
To access the Activities, simply press the ACTIVITY key to scroll through until the desired
one is lit. You can return to controlling by device by using the DEVICES key.
AV Shift
As the AV key is intended to select the input on your TV and most TVs use a menu to select
from a list of inputs, when the AV key is pressed in an Activity, the Menu Up, Down, Left,
Right and OK keys temporarily control the TV. If the OK key is pressed, or no key is pressed
for ten seconds, these keys will revert to controlling the relevant device for the Activity
(e.g. STB in Watch TV Mode).
Power Macro
If you hold down the Power key for 2 seconds in any Activity, the remote will send the
Power function for each device contained within that Activity. So for example, holding
Power in the default setting for Watch TV will turn both the TV and Set Top Box on or off.
LEARNING
ACTIVITIES
ACTIVITIES
2


Need help? Post your question in this forum.

Forumrules


Report abuse

Libble takes abuse of its services very seriously. We're committed to dealing with such abuse according to the laws in your country of residence. When you submit a report, we'll investigate it and take the appropriate action. We'll get back to you only if we require additional details or have more information to share.

Product:

For example, Anti-Semitic content, racist content, or material that could result in a violent physical act.

For example, a credit card number, a personal identification number, or an unlisted home address. Note that email addresses and full names are not considered private information.

Forumrules

To achieve meaningful questions, we apply the following rules:

Register

Register getting emails for One for All URC 7980 at:


You will receive an email to register for one or both of the options.


Get your user manual by e-mail

Enter your email address to receive the manual of One for All URC 7980 in the language / languages: English as an attachment in your email.

The manual is 3,13 mb in size.


You will receive the manual in your email within minutes. If you have not received an email, then probably have entered the wrong email address or your mailbox is too full. In addition, it may be that your ISP may have a maximum size for emails to receive.

Others manual(s) of One for All URC 7980

One for All URC 7980 User Manual - German - 2 pages

One for All URC 7980 User Manual - Dutch, Danish - 156 pages

One for All URC 7980 User Manual - French - 2 pages

One for All URC 7980 User Manual - Italian, Polish, Portuguese, Swedish, Turkish, Spanish, Norwegian, Finnish - 156 pages


The manual is sent by email. Check your email

If you have not received an email with the manual within fifteen minutes, it may be that you have a entered a wrong email address or that your ISP has set a maximum size to receive email that is smaller than the size of the manual.

The email address you have provided is not correct.

Please check the email address and correct it.

Your question is posted on this page

Would you like to receive an email when new answers and questions are posted? Please enter your email address.


Info