After the automatic search the TV will come up with NED1 HD,
put the TV on stand-by and place the CI+ module including the
smartcard in the CI slot, if you turn on the TV again the TV will
try to validate the smartcard.
Connecting an external receiver.
•
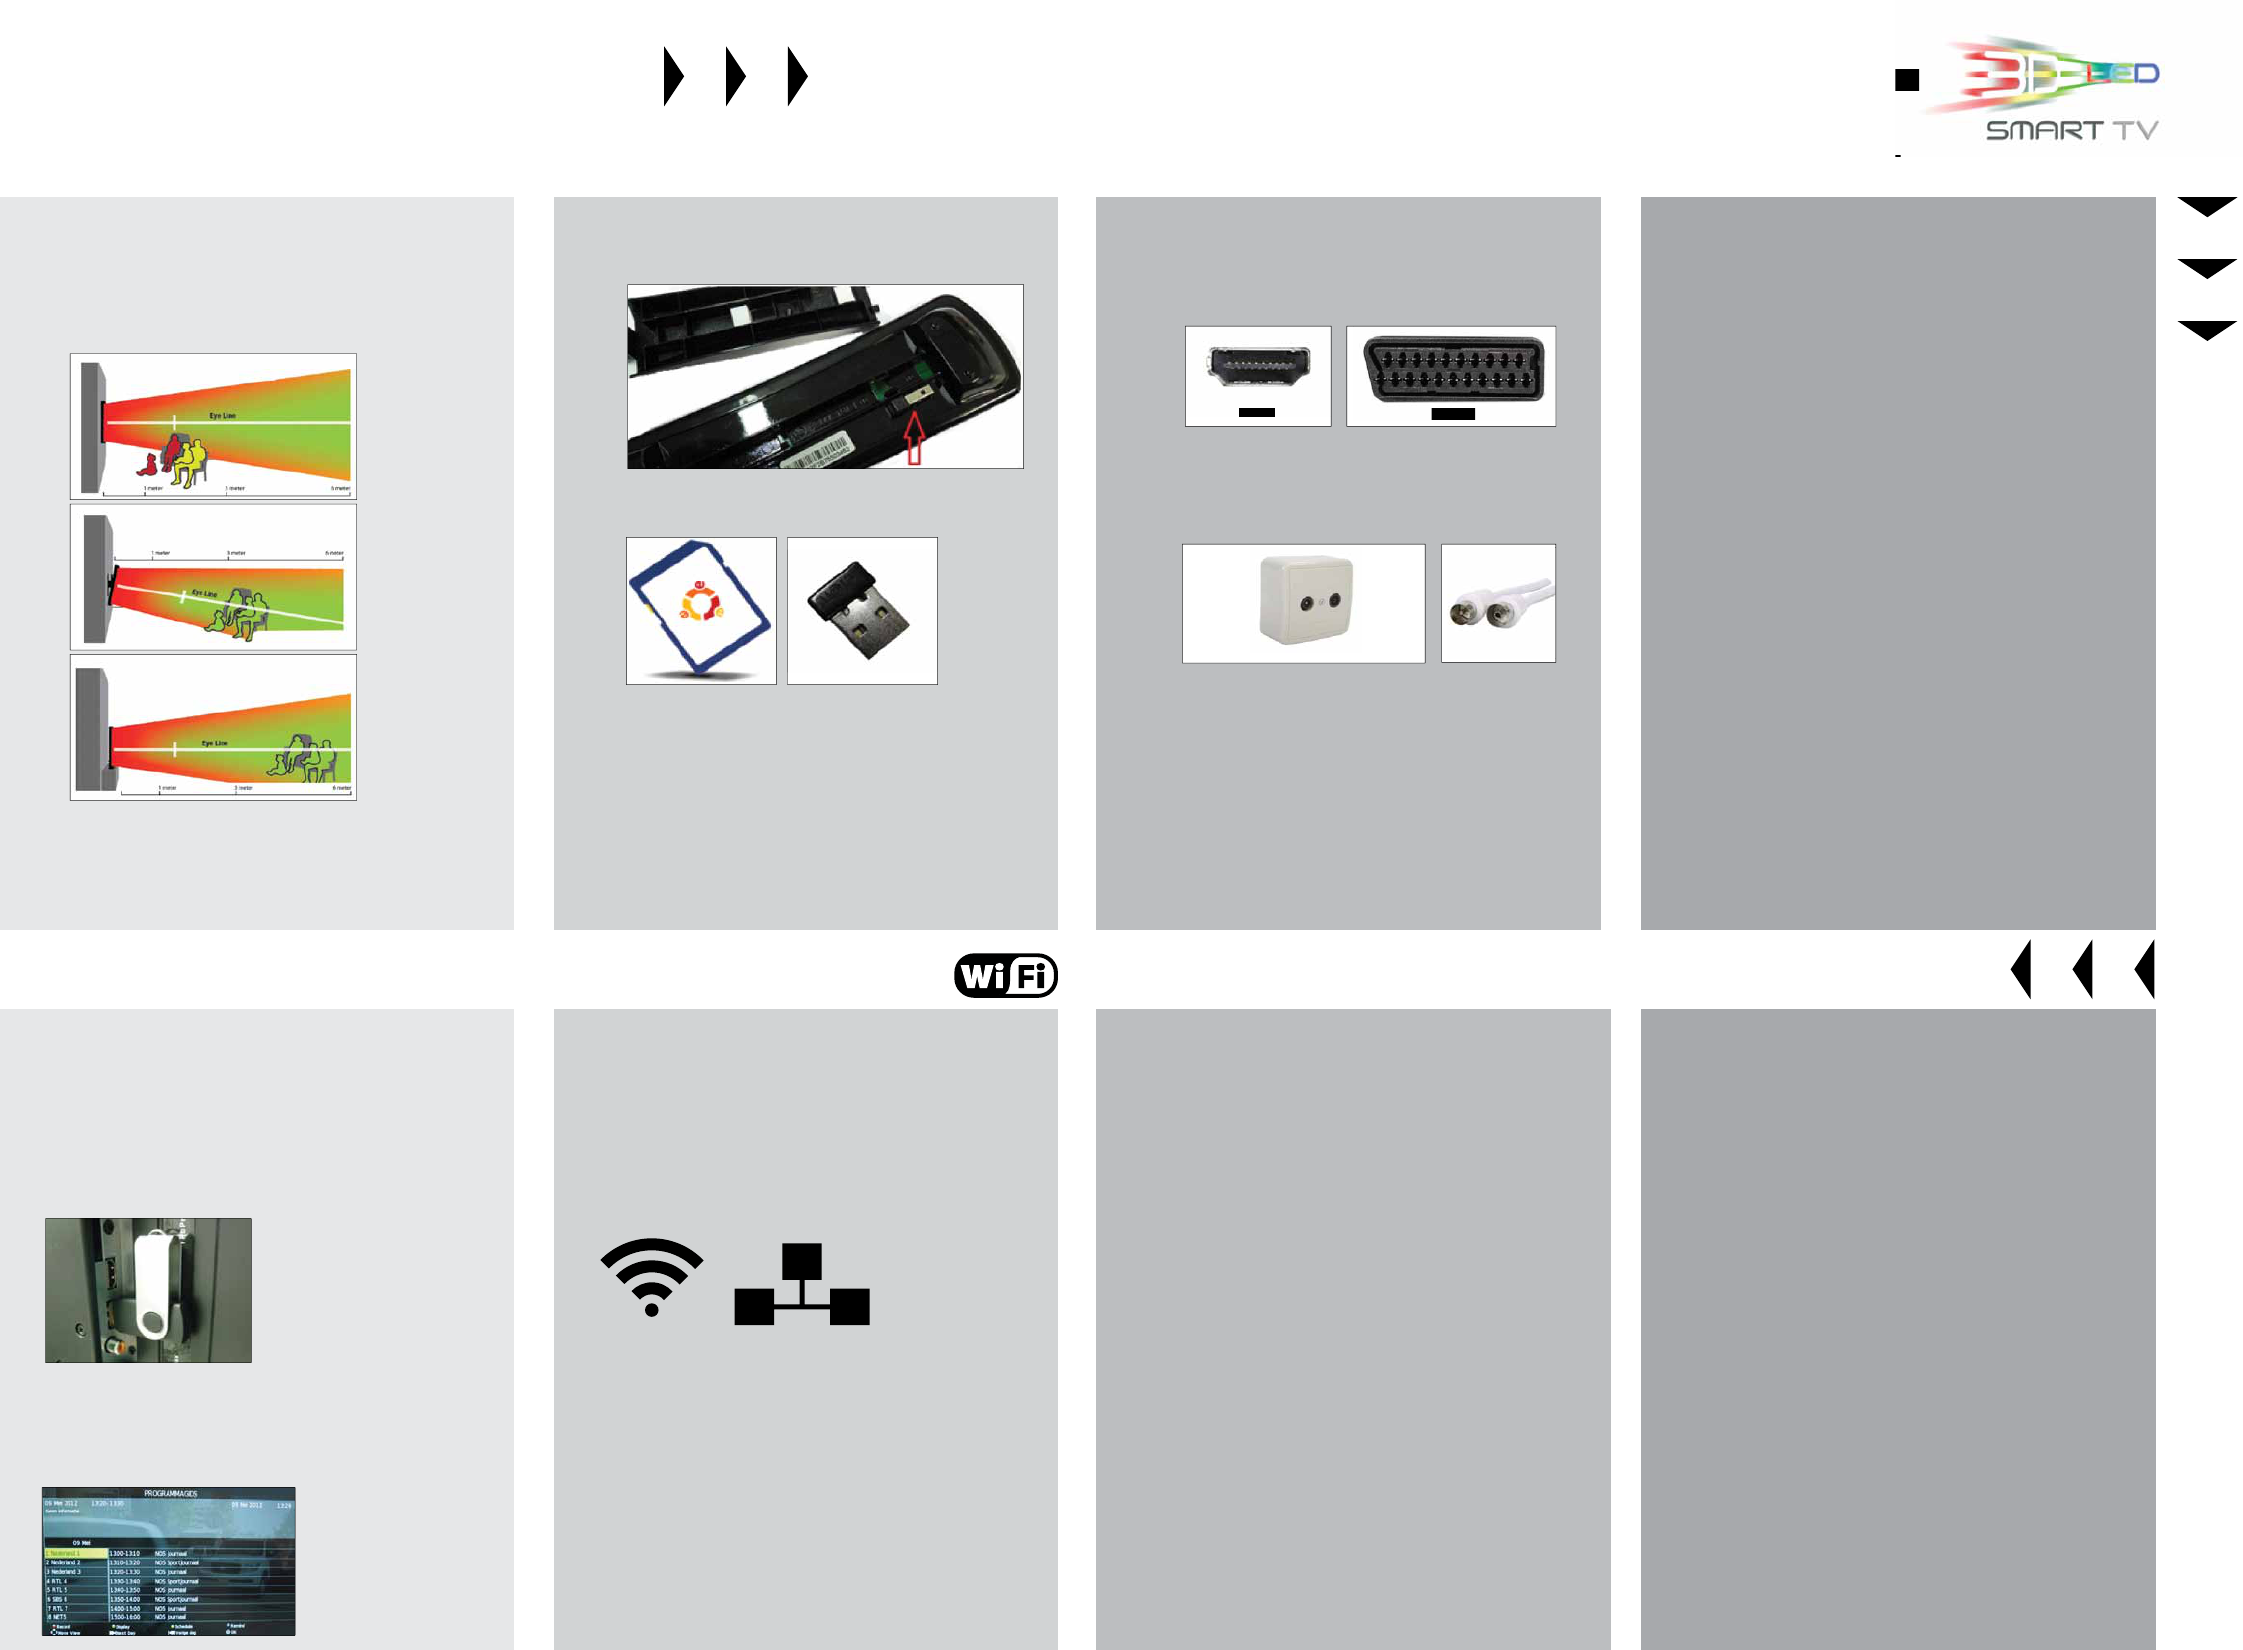
If you use an external receiver you can connect older
models to SCART and newer models to HDMI. For view-
ing HD channels and interactive TV connection through
HDMI is mandatory.
Connecting cable TV.
•
If you use cable for your TV reception please make sure
the length of the cable between your cable entry point
and your TV is as short as possible, we recommend to
use a signal ampli er after every 10 meters of cable.
Connecting a digital antenna.
•
When you are receiving your TV signal by antenna please
make sure to use an active digital antenna, it is easy to
recognize an active antenna by the extra 230VAC adapt-
er that is used to power the antenna. (The CI module
package contains an active digital
antenna) Placing the
antenna at a window will provide the
best signal quality.
Connect the TV on a grounded net socket, and put the
switch on the back of the TV on “1” (ON/OFF).
Start up the Smart TV mode.
•
At step 2 you have read about the possibility to con-
nect the TV to your network. When you have connected
your TV with an Ethernet cable please go to the settings
menu and select the option “Ethernet settings” and
tab on “Turn on Ethernet” leave the Ethernet menu
by pressing “ESC”. After approx. 30 seconds the TV will
obtain an IP-address from the DHCP server, as soon as
an Ethernet logo appears in the top right section of the
screen your TV will be connected to your DHCP server.
•
When you are choosing to connect the TV through Wi-
Fi you can go to the settings menu and select “Wi-Fi set-
tings” and tab on “Turn on Wi-Fi” leave the Wi-Fi menu
by pressing “ESC”. After approx. 30 seconds the TV will
obtain an IP-address from the DHCP server, as soon as
an Wi-Fi logo appears in the top right section of the
screen your TV will be connected to your DHCP server.
•
Installation of applications is possible through the App
manager, with the App installer it is possible to install
saved Apps from USB stick or SD card.
•
It is also possible to connect your personal account to
open the Market App. which will give you the possibility
to download or install applications directly.
•
With PVR (Personal Video Recorder) and EPG (electronic
program guide) it is easy to record your favourite TV
programs, the only things you need are an empty USB
stick and digital TV (DTV). Place an empty USB stick in the
bottom USB port of the TV and go to the settings menu
and select PVR le system. In this menu you can check
and format the USB stick, often formatting the USB stick
is not needed because the USB stick already has a read-
able le system.
•
Watching in DTV mode will enable the function EPG with
this function you can see the programming of all digital
channels that are supporting EPG. Next to that you can
press the red button in your remote control to select a
program to record to your PVR le system.
CONNECTING
CONNECTING
PLACEMENT
QUICK START GUIDE
INSTALLING
INSTALLING
12
3+4
7
3D USAGE
SET UP
Installing the TV with an external receiver.
If you use an external receiver it is not necessary to
search for channels but we recommend that you do
start the search and then stop it by pressing the “MENU”
button on the remote control by pressing the button to
the right the search will end. After ending the search the
TV will come up with DTV by pressing “SOURCE” on the
remote control you can select SCART or HDMI. If you use
the button “EXIT” to skip the “First time installation” it will
come back the next time you turn on the TV.
Installing the TV by using analogue cable.
If you use an analogue cable connection please select
the following settings:
•
Country: Netherlands
•
Tune Type: ATV
•
After the
automatic search the TV will come up with NED1 (ATV).
Installing the TV by using a Digitenne CI module
package from KPN.
If you choose to receive digital TV by Digitenne please make
sure that the CI module and smartcard are not placed dur-
ing the channel search. Select the following settings:
•
C
ountry: Netherlands
•
Tune Type: DTV
•
Digital Type: DV
B-T
After the automatic search the TV will come up with NED1
(DTV), put the TV on stand-by and place the CI module
including the smartcard in the CI slot, if you turn on the TV
again the TV will try to validate the smartcard.
First read the safety guidelines in the manual before
using the 3D function.
•
If you connect a Blu-ray 3D player to a HDMI port of the
TV the TV will automatically switch to 3D mode when a
3D Blu-ray disc is played, sometimes the 3D mode will
not turn on automatically, in this case you can still turn
on the 3D mode by pressing the green 3D button on the
remote control and select “Frame packing”.
•
It is also possible to play 3D les from USB by download-
ing “Side by Side, Frame packing” or “Top/Bottom” media
les or by lming 3D with a 3D camera. These les can
be played with the internal media player this by pressing
the green 3D button on the remote control and selecting
the right 3D mode.
Please note that the Smart TV mode doesn’t support 3D!
•
The last option is the built-in 2D to 3D converter this
function is usable on all 2D high de nition (HD) video
signals, this option has to be turned on and o in the
picture menu. This function is available in DTV, HDMI 1,
HDMI 2 en HDMI 3 mode.
TOO CLOSE
BEST 3D
TILT MOUNTED
BEST 3D
TV ON STAND
WWW.MTLOGIC.COM/LE-427118MT
WWW.MTLOGIC.COM/LE-427118MT
KPN | ZIGGO | UPC
Need help? Post your question in this forum.
Report abuse
Libble takes abuse of its services very seriously. We're committed to dealing with such abuse according to the laws in your country of residence. When you submit a report, we'll investigate it and take the appropriate action. We'll get back to you only if we require additional details or have more information to share.
Product:
Forumrules
To achieve meaningful questions, we apply the following rules:
First, read the manual;
Check if your question has been asked previously;
Try to ask your question as clearly as possible;
Did you already try to solve the problem? Please mention this;
Is your problem solved by a visitor then let him/her know in this forum;
To give a response to a question or answer, do not use this form but click on the button 'reply to this question';
Your question will be posted here and emailed to our subscribers. Therefore, avoid filling in personal details.
Register
Register getting emails for MT Logic LE-427118MT at:
new questions and answers
new manuals
You will receive an email to register for one or both of the options.
Get your user manual by e-mail
Enter your email address to receive the manual of MT Logic LE-427118MT in the language / languages: English as an attachment in your email.
The manual is 0,14 mb in size.
You will receive the manual in your email within minutes. If you have not received an email, then probably have entered the wrong email address or your mailbox is too full. In addition, it may be that your ISP may have a maximum size for emails to receive.
If you have not received an email with the manual within fifteen minutes, it may be that you have a entered a wrong email address or that your ISP has set a maximum size to receive email that is smaller than the size of the manual.
The email address you have provided is not correct.
Please check the email address and correct it.
Your question is posted on this page
Would you like to receive an email when new answers and questions are posted? Please enter your email address.