MODELS:
EASE44C
EASE44C
EASE44C
EASE44C
US EN
QUICK ST
For a full e
(av
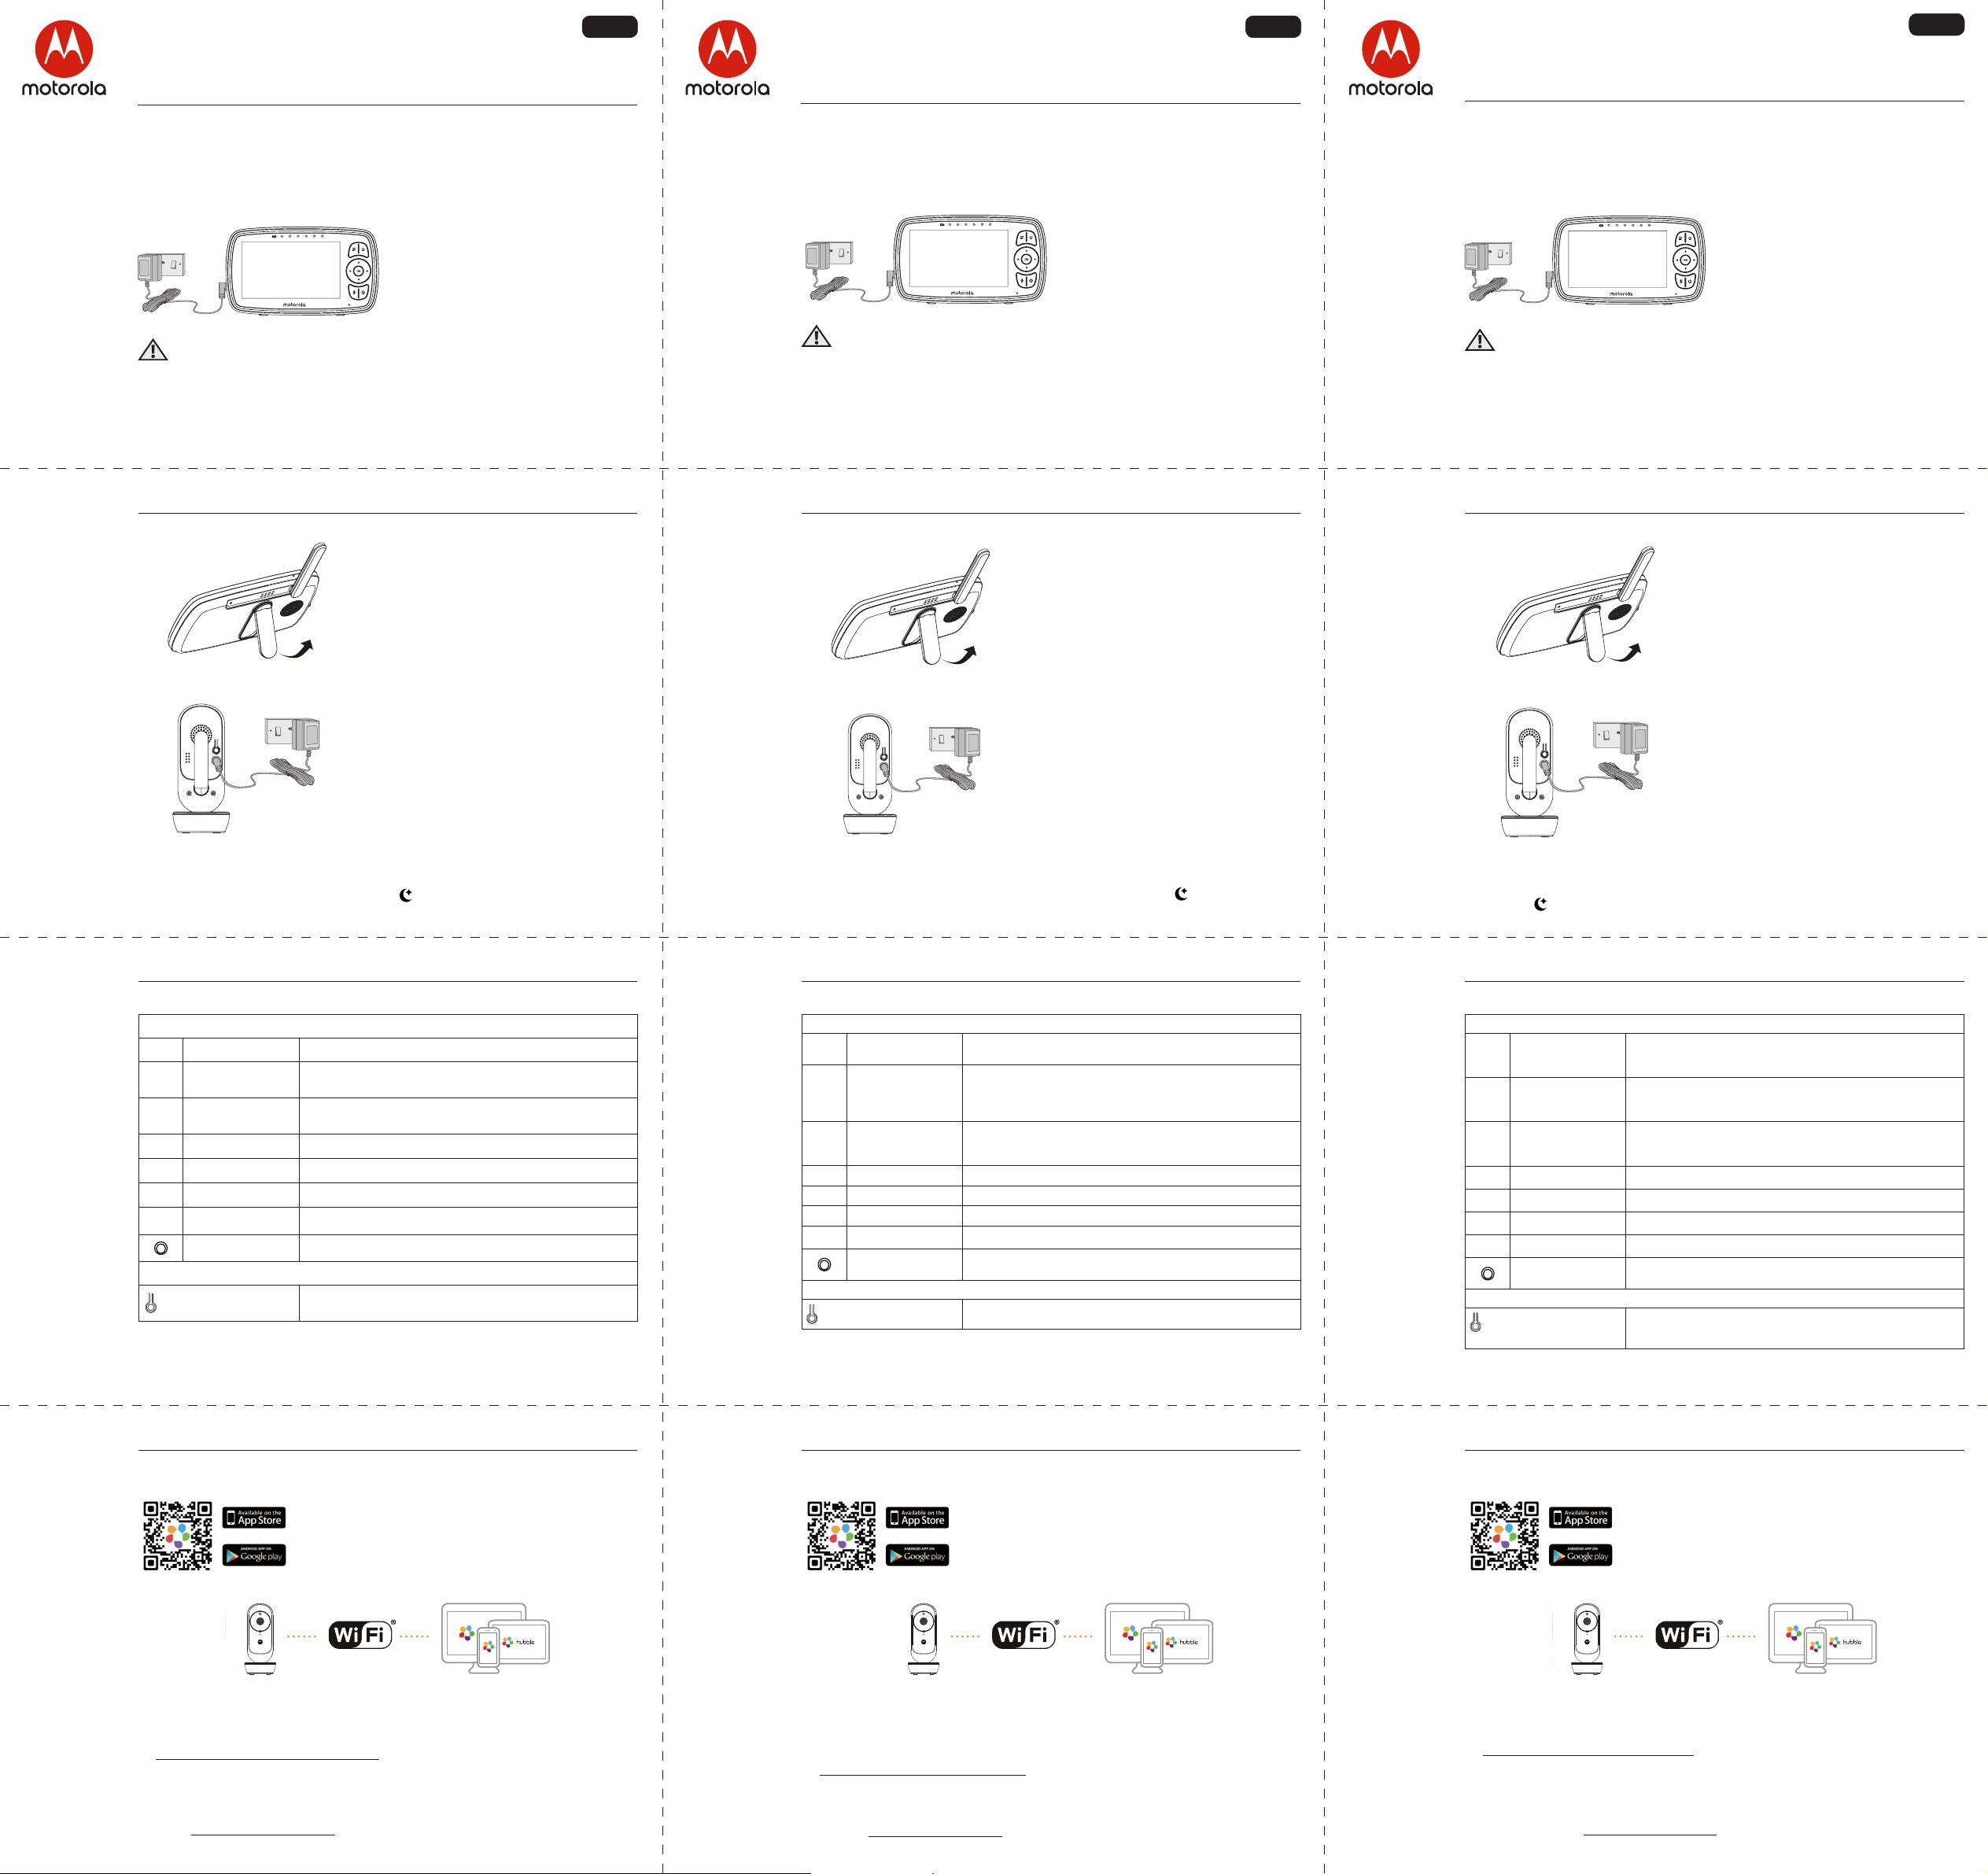
1. Setting up y
A.
A rechar
you t
charging the for a
the battery is lo
• Connect the small plug of the po
adapter to the par
other end to the electrical outlet.
Only use the enclosed adapter
(5VDC/1000mA).
• Press and hold the 0 butt
the Parent unit on, the P
Baby unit ar
ready t
W
Str
this cor
Nev
Adapt
B.
• The par
stand attached to the back of the par
unit.
• T
pull out the stand, as sho
NO
Place the parent unit on a flat, e
C. Connecting the Po
•
into the DC sock
Unit.
•
to a suitable electrical outlet.
•
indicator lights in Blue c
NO
Only use the supplied pow
(DC5V
NO
When the Baby and Parent Units are both turned on and within r
Unit should show a c
the image will be in black and white, with an icon sho
illumination by the Baby Unit.
2. Basic opera
Parent unit
0 ON/ Press and hold t
+- UP Press t
Press t
<> LEFT
buttons
Press t
Press t
MMENU button Press t
OOK button Press t
VVIDEO button Press t
TT Press and hold t
RESET button Press and hold with a small pin to r
Baby Unit
P Press and hold t
Setup.
3. Setting up the Bab
A.
• Scan the QR code with y
Hubble Connected App fr
devic
devic
• Install Hubble Connect
B. View on C
Camera Wi-Fi® Connect to Internet
via Wi-Fi® Compatible
Vie
1. Open the Hubble Connected App on y
2. F
3. Log in to y
https:/
Please take not
Smartphones/T
Wi-Fi® requir
At leas
speed at: http:/
MODÈLES:
EASE44C
EASE44C
EASE44C
EASE44C
CA FR
GUIDE DE DÉMARRA
Pour les caract
de l'utilisateur
1. Installation de v
A.
La batterie r
vous permet de déplac
bébé. Nous v
premièr
• Connecte
secteur à la prise de l’unité par
l’adaptat
Utilisez uniquement l'adaptat
secteur 5 V
• Maintenez le bout0 enfonc
allumer l’unité par
et l’unité bébé sont automa
lies et prêts à utiliser
A
Danger d’
ÉTRANGLÉS av
des enfants (à plus d'un mètr
jamais de prolonga
uniquement les adaptateurs sect
B.
• L'unité par
de table au dos de l'appareil.
• Pour poser l'unité par
il suffit de tirer sur le support, c
montré cic
REMARQUE
Posez l'unité parents sur une surf
et horizontale.
C.
• Insére
dans la prise CC située au dos de l’unit
• Branche
cour
• L'unité bébé s'allume et le v
d'alimentation s'illumine en bleu.
REMARQUE
Utilisez uniquement l’adapta
fourni (5V
REMARQUE :
L
capturées par la caméra de l’unité bébé s’
si la pièce est sombre les images sont en noir et blanc et l’ic s’affiche, en raison
de l’
2. Fonctionnement de base des bout
Parent unit
0 T
ARRÊT
Appuye
tension.
+- T
Appuye
parent.
Appuye
est actif
<> T
DROITE
Appuye
Appuye
est actif
MT Appuye
OT Appuye
VT Appuye
TT Maintenez c
Bouton de
RÉINITIALISA
Appuye
épingle) pour r
Baby Unit
Bouton de COUPLA Mantenga presionado par
o con los ajust
3. Installation de la camér
A.
• Scannez le code QR a
téléchar
App Stor
Play™ pour les appar
• Installez l'application Hubble C
intelligent.
B. Visionnez les images sur un Smartphone
Caméra Wi-Fi® Connexion à Int
Wi-Fi®
Périphériques de visionnage
compatibles
visionnage compatibles
1. Démarre
2. Suive
votr
3. Connectez-
https:/
V
Smartphones/T
Exigences Wi-Fi® :
Bande passante de téléchargement ≥ 0,
Internet sur : http:/
MODEL
EASE44C
EASE44C
EASE44C
EASE44C
ES LA
GUÍA DE INICIO RÁPIDO
Par
consulte la Guía de usuario (la puede descar
1. Configur
A.
Una batería r
padres le permit
rec
primera v
• Conecte el enchufe pequeño del
transformador a la unidad par
y el otro e
utilice el tr
(5V CC/1000mA).
• Mantenga presionado el bot
Encendido Apagado 0 par
la unidad de padres, la unidad de los
padres y la unidad del bebé están
sincronizadas en aut
encuentran lis
PRECA
Peligr
ESTRANGULAMIENT
cable fuer
Nunca utilice cables de e
Solo utilice los tr
B.
• La unidad para los padr
soporte par
posterior de la unidad.
• Para c
un escritorio, simplement
N
Coloque la unidad para los padres sobr
superficie plana y uniforme.
C.
•
entrada de C
Unidad para el bebé.
•
toma de corrient
•
de encendido se iluminar
N
Sólo utilice el transf
(5V CC/1000mA).
NO
Cuando la Unidad para el bebé y la Unidad para los padres es
alcance, en la Unidad para los padr
de la Unidad para el bebé, pero si la habitación es
con un ícono que así lo indica, debido a la iluminación infrarroja de la Unidad para el bebé.
2. Funcionamiento básic
Unidad para los padr
0
Botón de
ENCENDIDO
AP
Mantenga presionado par
para los padr
+- Botones ARRIBA/
ABAJO
Presione par
padres.
Presione par
<>
Botones
IZQUIERD
DERECHA
Presione par
Presione par
MBotón MENÚ
Presione par
OBotón A Presione par
VBotón de VIDEO Presione par
TBotón HABLAR Mantenga presionado par
Botón de REINICIO Mantenga presionado c
unidad.
Unidad para el bebé
Botón de
SINCRONIZA
Mantenga presionado par
o con los ajust
3. Configur
A.
• Escanee el código QR con su dispositiv
descargue la aplicación Hubble Connect
dispositivos iOS o de Google Pla
Android™.
• Instale la Aplicación Hubble Connected en su dispositiv
B. V
Cámara Wi-Fi® Conectar a Internet a tr
de Wi-Fi®
Dispositivos c
para la visualización
1. Abra la aplicación Hubble C
2. Siga las instrucciones en la aplicación par
3. Ingrese a su cuenta en su teléf
https:/
en directo
Por fa
T
Requisitos W
Al menos 0.
conexión a Int