WHEN FROTHING MILK ENSURE THE STEAM
CONTROL IS OFF BEFORE REMOVING THE
WAND FROM THE MILK.
1
Disconnect the appliance from the mains supply.
2
Make sure the appliance has completely cooled
down.
3
Simply wipe the Steam Wand and exterior with a
clean, damp cloth.
Do not use any abrasives or metal scourers as
this will damage the finish on the unit.
4
The Filter Holder and Water Tank should be
washed after each use by rinsing them under
water. To assist in keeping the Filter Holder clean
we recommend you periodically run the machine
with the Filter Holder in place, without coffee,
using water only.
Should the holes in the filter become blocked
with coffee grinds, use a fine bristled brush to
help clean.
When your coffee maker is not being used, we
recommend that you do not leave the filter holder
attached to the machine as this will reduce the life
of the gasket.
5
Remove the Drip Tray Grid and Drip Tray from the
appliance and remove any spilt coffee and water
then clean them with a damp cloth or a damp
sponge.
6
You must clean the Steam Wand and cover
immediately after each use, after it has cooled
down. Briefly use the steam setting to clear any
remaining milk out of the Wand and Cover.
Remove the Steam Wand Cover, place under
warm running water to remove excess milk. If the
Steam Wand becomes blocked, use a small pin to
clean more thoroughly.
WARNING: Steam from the Steam Wand is
extremely hot and can scald.
IMPORTANT: Never wash your coffee machine
accessories in a dishwasher.
1
Disconnect the appliance from the mains supply.
2
Make sure the appliance has completely cooled
down completely.
3
Remove the Water Tank and Drip Tray from the
machine.
4
Fill the water tank with dissolved citric acid solu-
tion, up to the max level marked on the side of
the tank.
5
Re-fit the Water Tank and Drip Tray to the
machine.
6
Place an empty container under the brewing head
to gather the descaled hot boiled water.
7
Connect the appliance to the mains supply.
8
Press the On/Off button and wait for the Coffee
Ready Light to illuminate.
9
Press the Coffee Dispense Button, water will flow
through the unit.
10
Allow the pump to keep dispensing until the water
tank is empty.
11
Repeat the process with cold water only to flush
the system.
WARNING
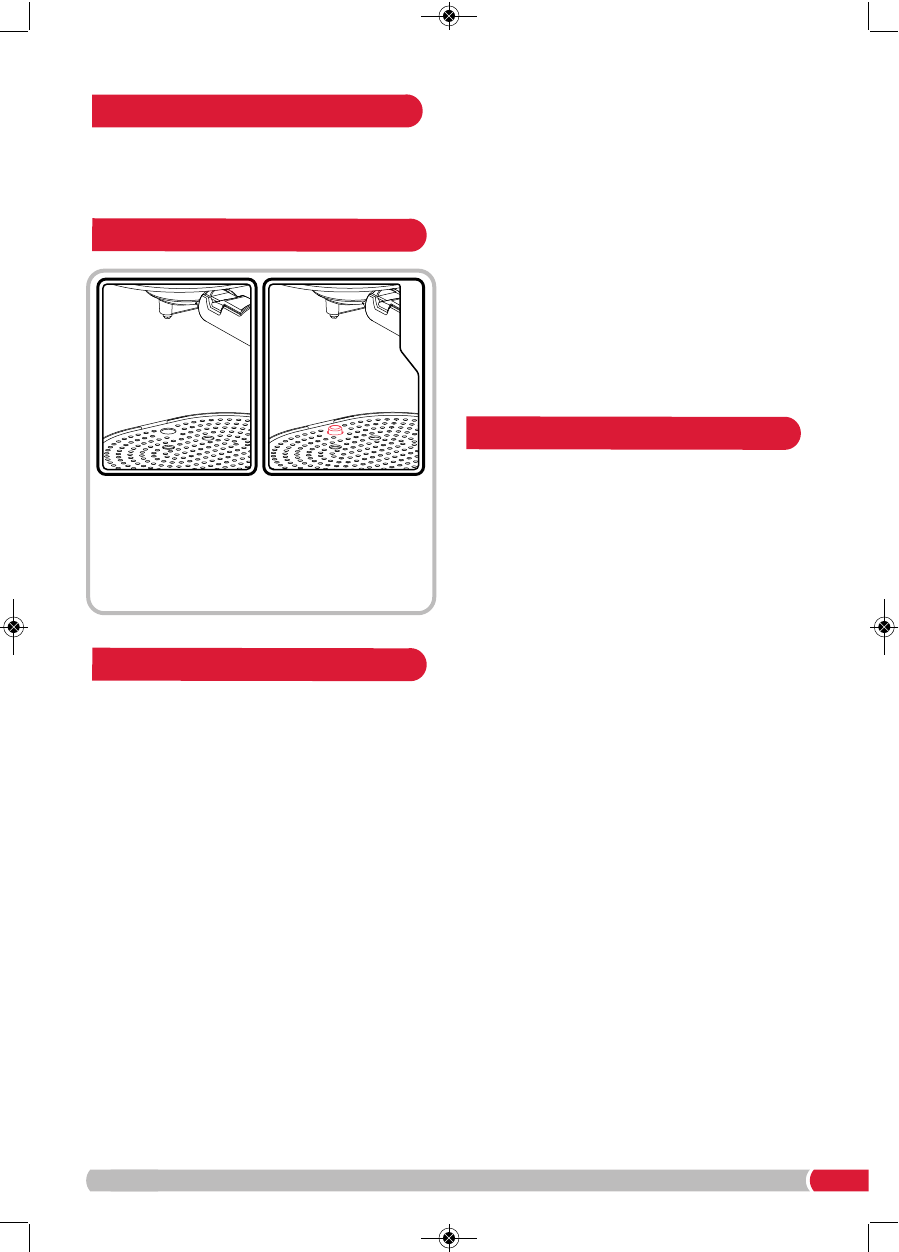
Emptying the drip tray
Cleaning your Meno Espresso
Descaling
5
When the water in the Drip Tray is full, the
Empty Drip Tray Indicator (13) will be visible
1. Remove the Drip Tray from the appliance and
empty.
2. Clean the Grid and Drip Tray with a damp cloth
before replacing.