5. VOLUME- BUTTON6. VOLUME+ BUTTON7. AUX LIGHT8. IPOD LIGHT
17. OUT-R18. DC IN JACK19. AUX JACK20. OUT-L
9. CHARGE10. POWER11. LEFT SPEAKER12. RIGHT SPEAKER
13. IPOD DOCK14. IPOD DOCK BACK BUTTON15. POWER BUTTON
16. REMOTO CONTROL WINDOW
23
109876
AUX IN CONNECTION
1. You can enjoy music from most portable music players by using this
speaker system. Connect the 3.5mm Aux-In cable to the AUX-IN jack and
the other end to the headphone or line-out jack of your preferred device.
Select the play function on the auxiliary device and the sound output can then
be heard from the unit. Disconnect the audio cable if you are not going to use
the aux in mode.
5
NOTE: This unit is not magnetically shielded and may cause color distortion
on the screen of some TVs or video monitors. To avoid this, you may need to
move the unit further away from the TV or monitor if unnatural color shifts or
image distortion occurs.
LOCATION OF CONTROLS
PREPARATION FOR USE
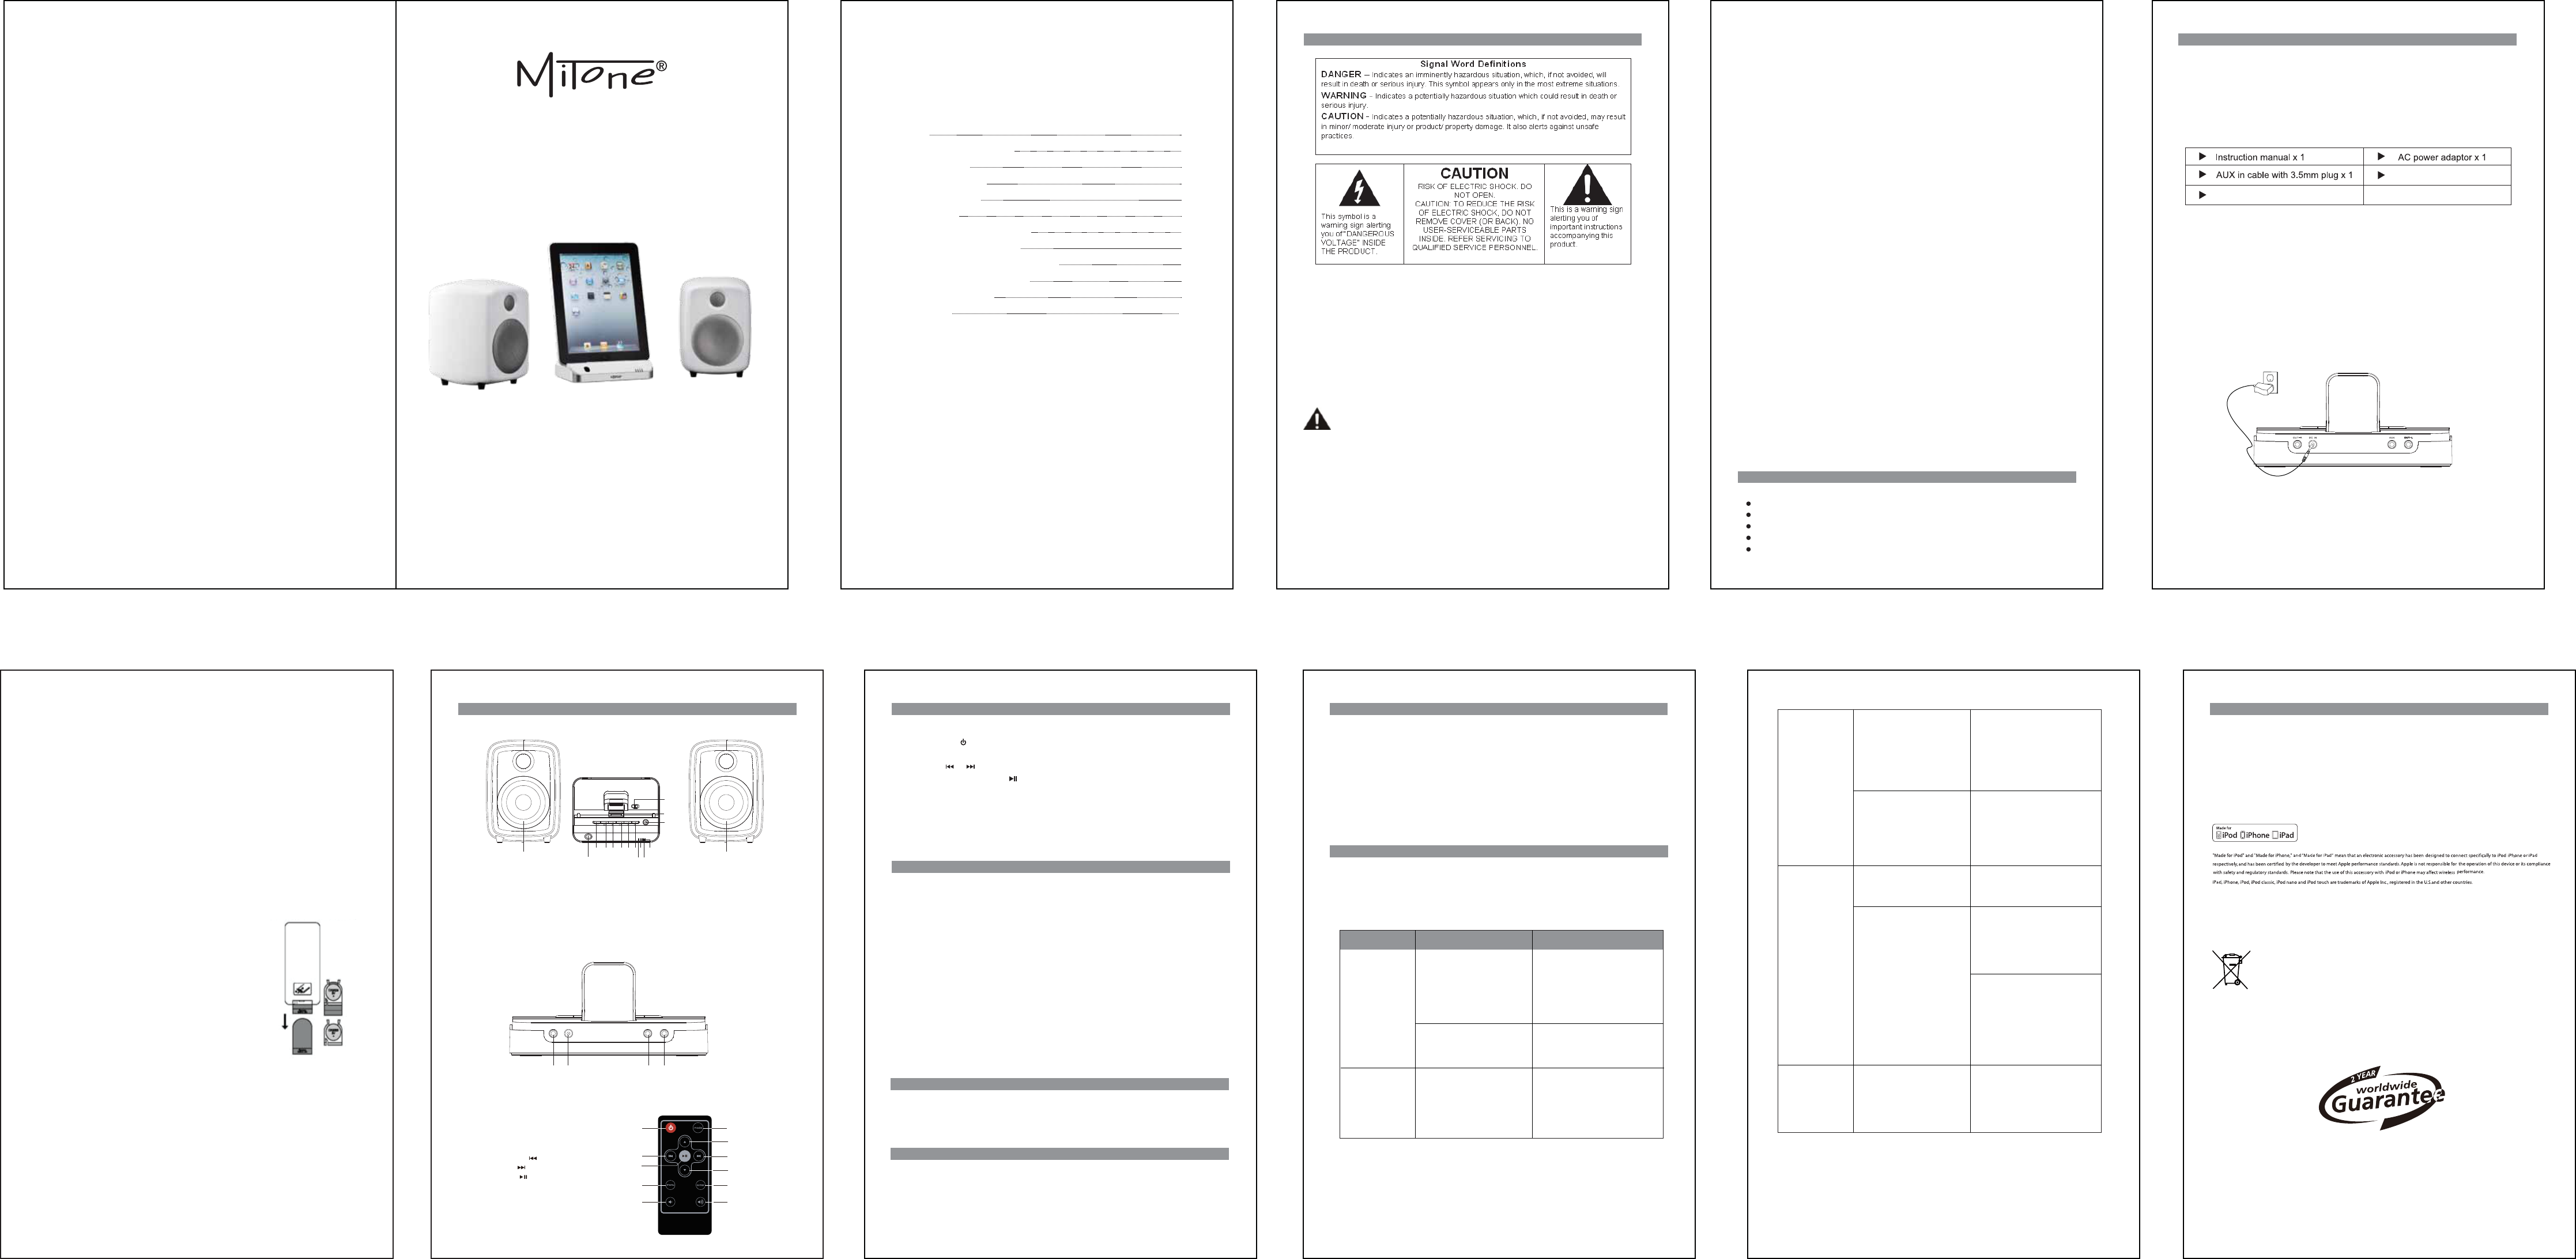
CONNECTING THE AC POWER ADAPTOR
Unpack the unit carefully. Carefully remove all the accessories from the display
carton. We recommend that you save the box and packing materials, in case you
wish to store the unit. Don’t remove any labels or sticker on the rear of the unit and
adaptor.
Before setting up the unit, verify that the following accessories are present:
This unit is supplied with an AC adaptor with the output DC 16V 2000mA; take
the following steps to connect the adaptor.
1. Unwind the power cord of the AC adaptor to its full length.
2. Firmly insert the DC plug of the AC adaptor to the DC socket on the rear of
the unit.
3. Plug the AC adaptor to the AC outlet (100-240V ~ 50/60 Hz). Connecting
this system to any other power source may cause damage to the system.
For sufficient ventilation, keep other objects at least 10cm away from the unit.
Remote control x 1
Connection wire x 2
4
TO LISTEN TO OTHER AUDIO DEVICE
Connect other audio device(MP3 players, CD players and older, non-dockable
iPod (except iPod shuffle 3 gen) to the line in jack at the back of the base by using
the special 3.5mm audio cable.
Press the power button to turn on the speaker, press the ‘AUDIO’ button to select
the mode. And listen to it.
Note:Press the power button to turn off the system when you finish listening.
Don't forget to switch off the power of your external device as well.
TROUBLESHOOTING GUIDE
Symptom Possible Problem Solution
If you experience any difficulties in operating this unit, please check the
following chart to see if you can fix it before consulting a servicing professional.
The unit does
not respond
(no power).
iPod does not
respond to the
speaker system.
Plug the AC adaptor into a
wall outlet and plug the
connector into the supply
jack on the unit.
-AC Adaptor is not
plugged into a wall outlet
-The connector is not
plugged into the power
supply jack on the back
of the unit.
Wall outlet is not
functioning.
iPod is not installed
properly.
Remove your iPod from the
dock and check for
obstruction on the
connectors and on your
iPod. Then reseat it on
the dock.
Plug another device into the
same outlet to confirm the
outlet is working.
When your iPod/iPhone/iPad docked to the unit, it will be recharged automatically.
During charging, the charge light will flashing, after charging full the charge light will
off automatically. Other non-docking types of iPod will not be charged.
In iPod mode, you can watch the video from your iPod Touch/iPhone/iPad
In AUX mode, you can watch the video through connecting you iPad use the
special 3.5mm audio cable.
WATCH VIDEO FROM iPod Touch/ iPhone /iPad
CHARGING YOUR iPod/iPhone/iPad
If at any time in the future you should need to dispose of this product please note that:
Waste electrical products should not be disposed of with household waste. Please
recycle where facilities exist. Check with your Local Authority or retailer for recycling
advice. (Waste Electrical and Electronic Equipment Directive)
www.capi.com
REMOTE CONTROL
1. Power ON / OFF Button
2. Function Select Button
3. iPod menu up button
4. iPod SKIP Previous /TUNE- button
5. iPod SKIP Next /TUNE+ button
6. iPod Play/Pause Button
7. iPod menu down Button
8. iPod menu Button
9. iPod menu enter Button
10. Volume Down Button
11. Volume Up Button
12
3
5
7
9
11
4
6
8
10
REPLACING THE BATTERY FOR THE REMOTE CONTROL
CAUTION: There is danger of explosion if battery is incorrectly
replaced. Replace the battery only with the same or equivalent type.
The remote control operates on one CR2025 battery (included). To extend the
life of the original battery, the factory has inserted a small clear plastic spacer
tab between the lithium battery and the battery terminal, to activate the remote
control, remove the insulation tab attached in the battery compartment.
When the operation of the remote control becomes
intermittent or unsatisfactory,
replace the original battery with a new 3-volt
lithium battery.
1.) Slide out the battery holder from the remote
control case.
2.) Replace the 3V CR2025 battery. Be sure the battery
is installed correctly.
The remote will not work if the battery is installed with the
wrong polarity.
CAUTION: Danger of explosion if the battery is replaced
incorrectly.
Replace only with the same type battery.
3.) Insert the battery holder into the battery slot.
NOTE:Use only the size and type of battery specified. If the device is
not to be used for a long period of time, remove the battery to prevent damage
or injury from possible battery leakage. Do not try to recharge the battery, it is
not intended to be recharged and doing so may cause the battery to rupture or
leak. Battery shall not be exposed to excessive heat such as direct sunlight,
fire or the like. Only use a well-known brand of cell battery to ensure the longest
life and best performance.
Need help? Post your question in this forum.
Report abuse
Libble takes abuse of its services very seriously. We're committed to dealing with such abuse according to the laws in your country of residence. When you submit a report, we'll investigate it and take the appropriate action. We'll get back to you only if we require additional details or have more information to share.
Product:
Forumrules
To achieve meaningful questions, we apply the following rules:
First, read the manual;
Check if your question has been asked previously;
Try to ask your question as clearly as possible;
Did you already try to solve the problem? Please mention this;
Is your problem solved by a visitor then let him/her know in this forum;
To give a response to a question or answer, do not use this form but click on the button 'reply to this question';
Your question will be posted here and emailed to our subscribers. Therefore, avoid filling in personal details.
Register
Register getting emails for MiTone MITSP30 at:
new questions and answers
new manuals
You will receive an email to register for one or both of the options.
Get your user manual by e-mail
Enter your email address to receive the manual of MiTone MITSP30 in the language / languages: English as an attachment in your email.
The manual is 0,37 mb in size.
You will receive the manual in your email within minutes. If you have not received an email, then probably have entered the wrong email address or your mailbox is too full. In addition, it may be that your ISP may have a maximum size for emails to receive.
The manual is sent by email. Check your email
If you have not received an email with the manual within fifteen minutes, it may be that you have a entered a wrong email address or that your ISP has set a maximum size to receive email that is smaller than the size of the manual.
The email address you have provided is not correct.
Please check the email address and correct it.
Your question is posted on this page
Would you like to receive an email when new answers and questions are posted? Please enter your email address.