Section 11 - Storing a Program
Once you are totally satisfied with the effect that
you have programmed, you should name it, though
this is not essential at this stage, before storing into the
memory for future recall.
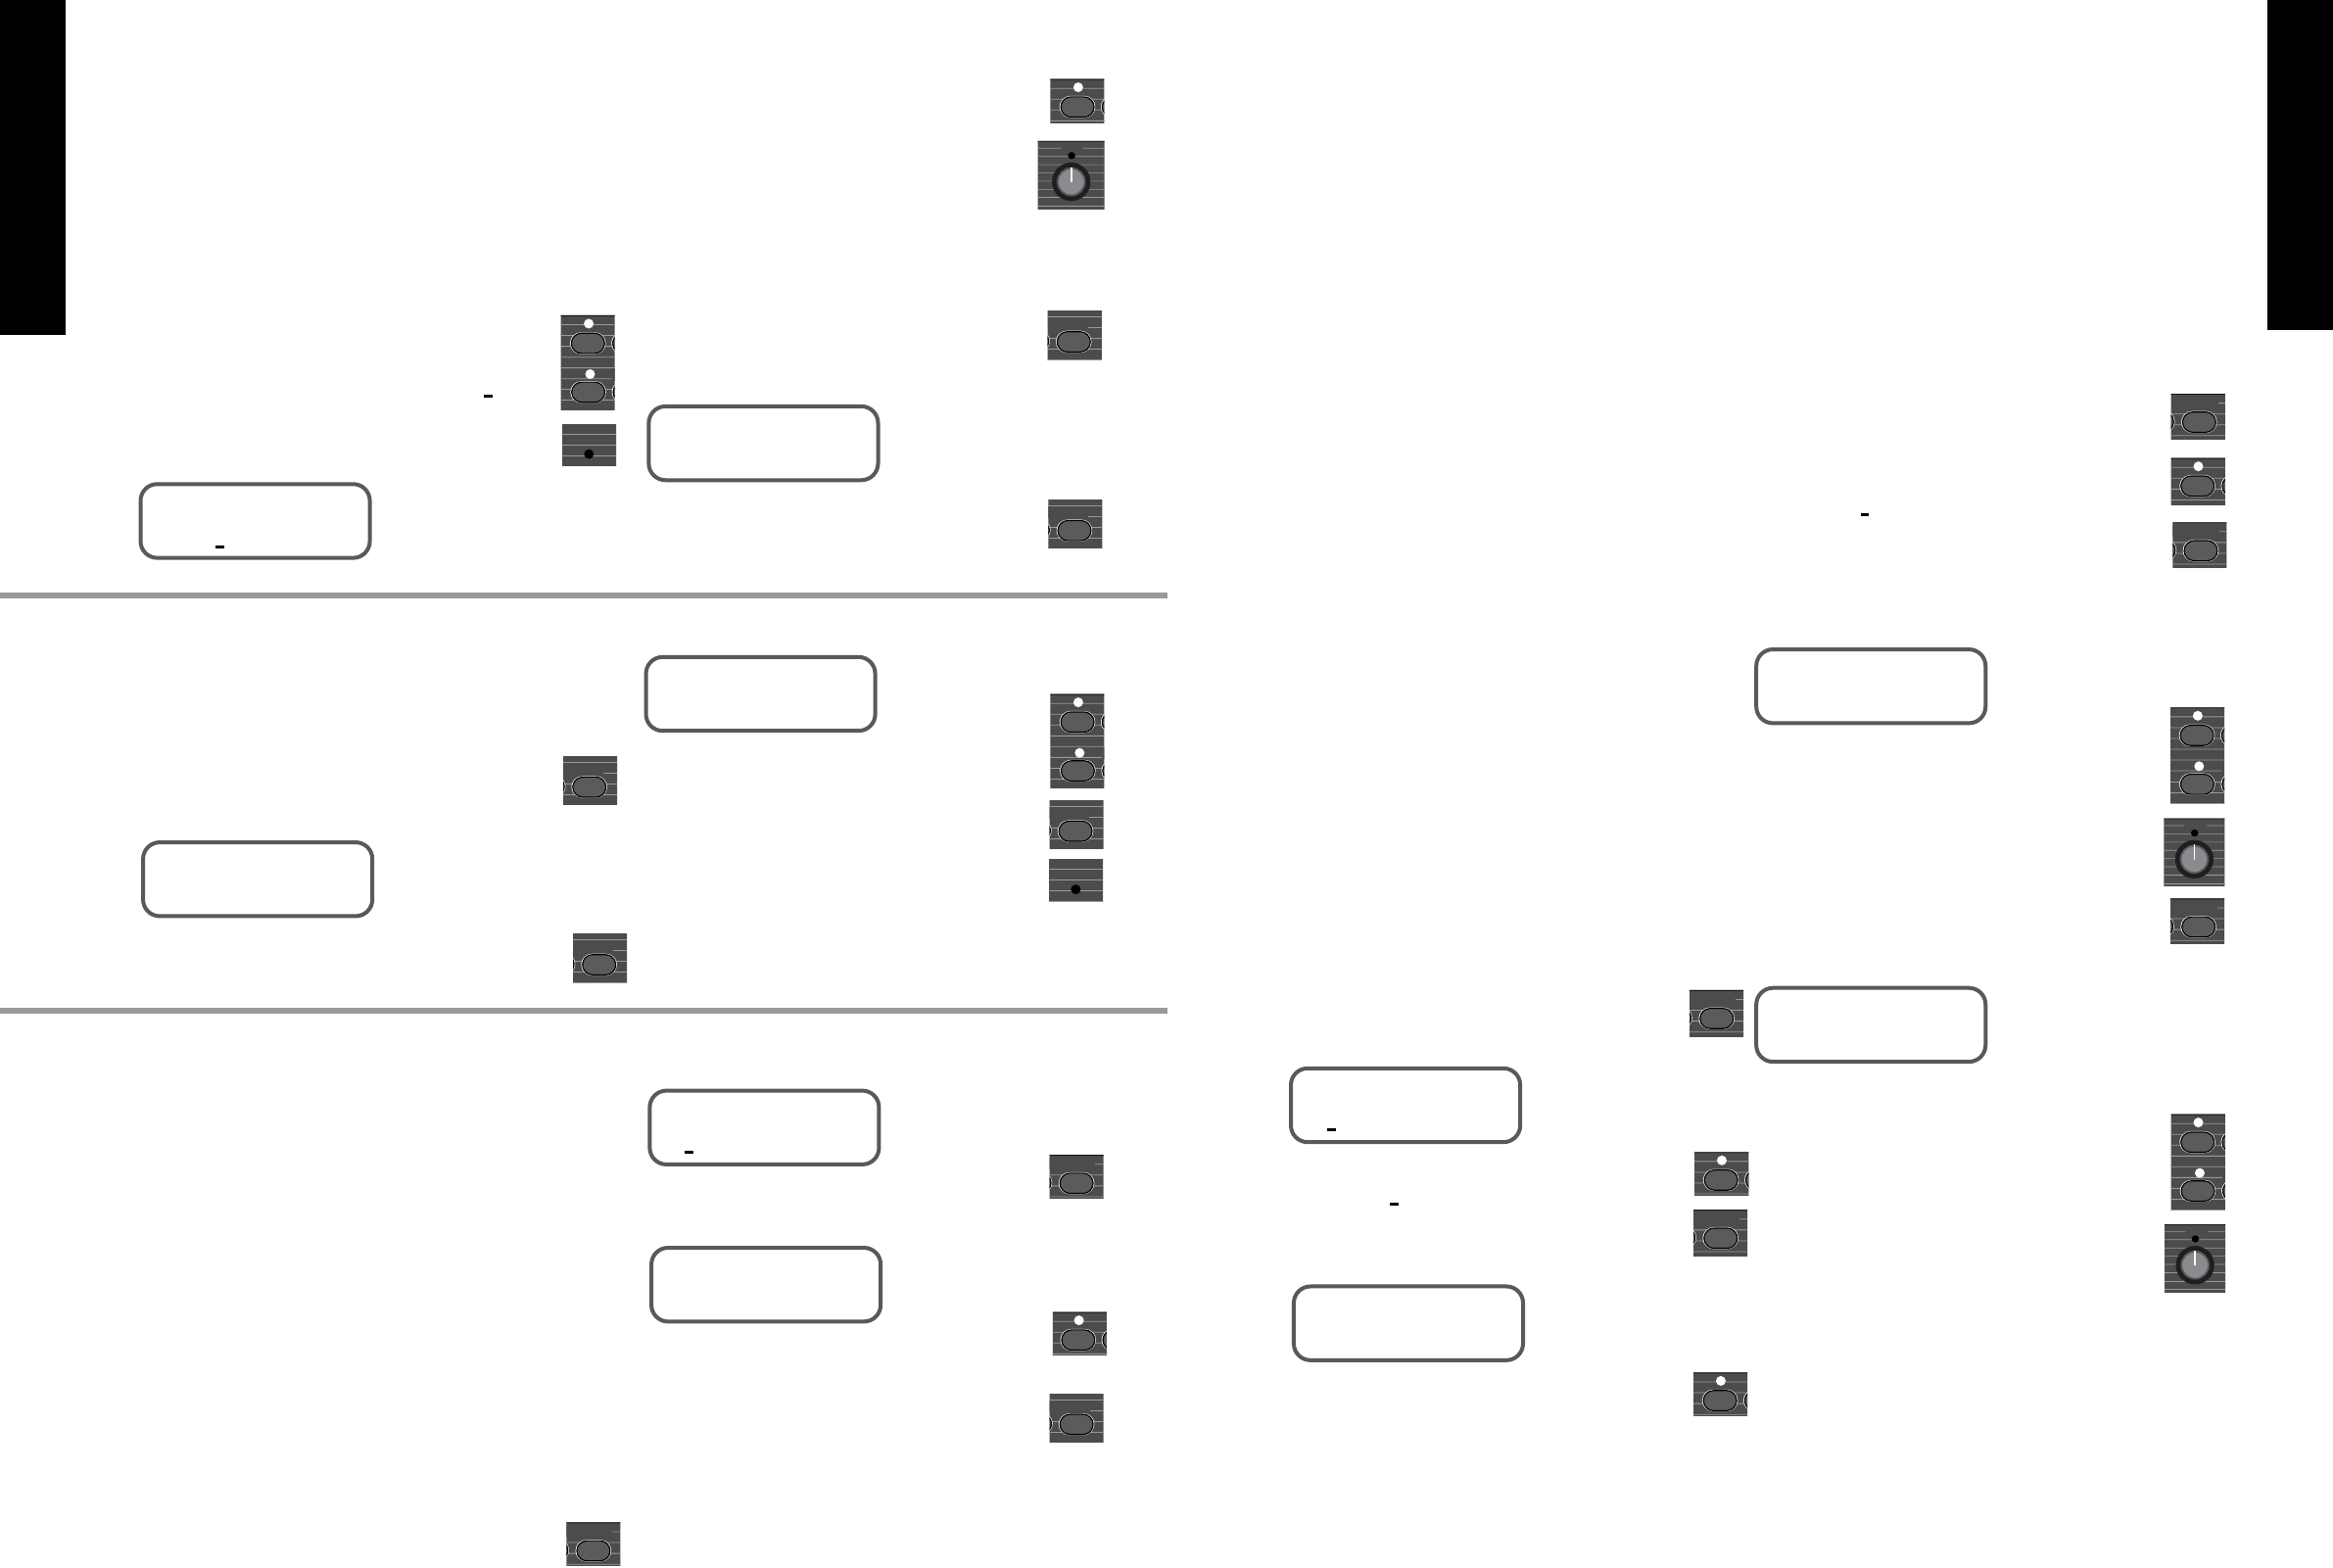
Press the ‘Store’ key.
The Display shows:
If you wish to store the program at the location
displayed press ‘Store’ again to complete the process.
The Display shows:
If you wish to store the program to a different
location use the ‘Up’ and ‘Down’ keys to select the
new program number before pressing ‘Store’ for the
second time.
On completing the store process - the red Edit
LED will switch off.
Section 12 - The System Menu
The system menu of the JFX-1 gives you access to
the programming of the remote jack, the MIDI menu
and the battery level indicator.
12.1 - The Remote Jack
If you are using the JFX-1 with an amplifier head
or combo which features channel switching the remote
jack can be used to trigger the channel switch instead
of the usual floor mounted footswitch. Also if you are
using a power amp such as the Marshall 9100 or 9200
which has a switchable voicing option, again the
remote jack can be used to trigger this option.
When you switch the JFX-1 on for the first time,
the remote jack will automatically be in the off setting
on all programs, so should therefore be considered for
storage as part of your normal programming
procedure.
When you reach a program for which you want to
access the remote jack.
Press the ‘System’ key.
The Display shows:
Press the ‘System’ key again
The Display shows:
Use the ‘Up’
key to change the selection to ‘On ’
(a slight click may be heard from inside the JFX-1).
Press the ‘Store’ key to retain the remote
selection in the memory.
Now whenever you select that program the channel
on your amp or combo will change accordingly,
provided that the remote jack was left in the ‘Off’
position on the previous program selection.
12.2 - MIDI Operation and Functions
The purpose of MIDI (Musical Instrument
Digital Interface) is to provide a common system of
communication between different pieces of musical
equipment which contain MIDI as part of their
digital control system.
It allows tremendous control and flexibility
where one source can control numerous items linked
in the chain via MIDI. For example in a guitar rack
system a MIDI foot controller could link into a
processor such as the JFX-1 which in turn could be
connected to a guitar pre-amp (such as the JMP-1).
This would give you instant access to 128 different
sounds with the possibility of different effects for
each sound if you so desire.
With the wealth of MIDI controlled equipment
available today, the possibilities are limitless.
The MIDI section of the JFX-1 contains certain
parameters which are global (i.e. they are not
individually stored as part of a program and
therefore affect all programs).
However, functions such as the MIDI Controller
selections are available for each program and as such
will need to be stored as part of your programming
procedure if you wish to use them.
12.3 - MIDI Channel
You can select the channel on which the JFX-1
will receive MIDI commands from 1-16 or omni
(receiving all channels simultaneously).
The JFX-1 transmits it’s own MIDI commands
on MIDI channel 1.
The JFX-1 is factory set to receive it’s MIDI
commands on all channels (Omni) but if you wish to
select a particular channel the procedure is as
follows.
Press the ‘System’ key.
The Display shows:
Use the ‘Up’ key to move the cursor until it
rests under MIDI.
Press the ‘System’ key again.
The Display shows:
Use the ‘Up’ key to scroll through the MIDI
channels 01 - 16 and the ‘Down’ key to scroll
back again.
This is a global function, therefore will not need
to be stored.
12.4 - Input and Output Mapping
The input and output mapping of the JFX-1
allows you to select the internal program number
which will be called up by an external MIDI
command and in turn select the outgoing program
number sent by the JFX-1.
You only need the mapping function if you wish
to change the destination of an incoming or outgoing
MIDI command as the JFX-1 is automatically set-up
to sequentially follow incoming MIDI commands
(i.e. incoming command 001 will automatically
select JFX-1 program 001 and so on).
To gain access to the mapping function you
first press the ‘System’ key to display the system
menu.
Use the ‘Up’ key to move the cursor until it
rests under MIDI.
Pressing the ‘System’ key again will display
the MIDI Channel function.
Press the ‘System’ key again.
The Display shows:
Use the ‘Up’ and ‘Down’ keys to scroll
through to select the incoming MIDI command
number (both numbers will change in tandem
(000 - 127)).
Use Data Control
❸
to select the internal
program number to be called up from (000 - 127).
Press the ‘System’ key again to display the
Output Mapping function.
The Display shows:
Note : The numbers displayed will correspond to
the last number selected in the Input Mapping
functions).
Use the ‘Up’ or ‘Down’ key to select the
internal program number (both numbers will
change in tandem 000 - 127).
Use Data Control
❸
to select the outgoing
MIDI program number (000 - 127).
There is no need to store input and output
mapping numbers as they are automatically stored as
you press the System, Edit or Quit keys.
FRENCH
GERMAN
SPANISH
JAPANESE
ENGLISH
19
18
FRENCH
GERMAN
SPANISH
JAPANESE
ENGLISH
Section 10 - Naming an Edited
Program
Although not essential it is a useful idea to name
your programs as soon as you have created them to
avoid losing them or forgetting where they are stored.
As with the other programming functions of the
JFX-1 the naming procedure is simple and straight
forward - Let us use program 054 as an example.
Once back to the main menu of any of the five
effects modes you should use the ‘Up’ or ‘Down’
keys to move the cursor until it rests under NAME.
Then press ‘Edit’.
The Display shows:
Use the ‘Up’ key to move the cursor under the
letter to be altered then use Data Control
❸
to select
the desired letter or number.
The furthest extreme to the left provides a space
then as you turn the control it scrolls through the
alphabet, first in capital letters, then in lower case
letters and finally in numbers 0 - 9.
There is room for 12 characters in the name.
To store the name you should press the ‘Store’
key.
The Display shows:
Pressing ‘Store’ a second time completes the
store and returns you to the program menu.