34
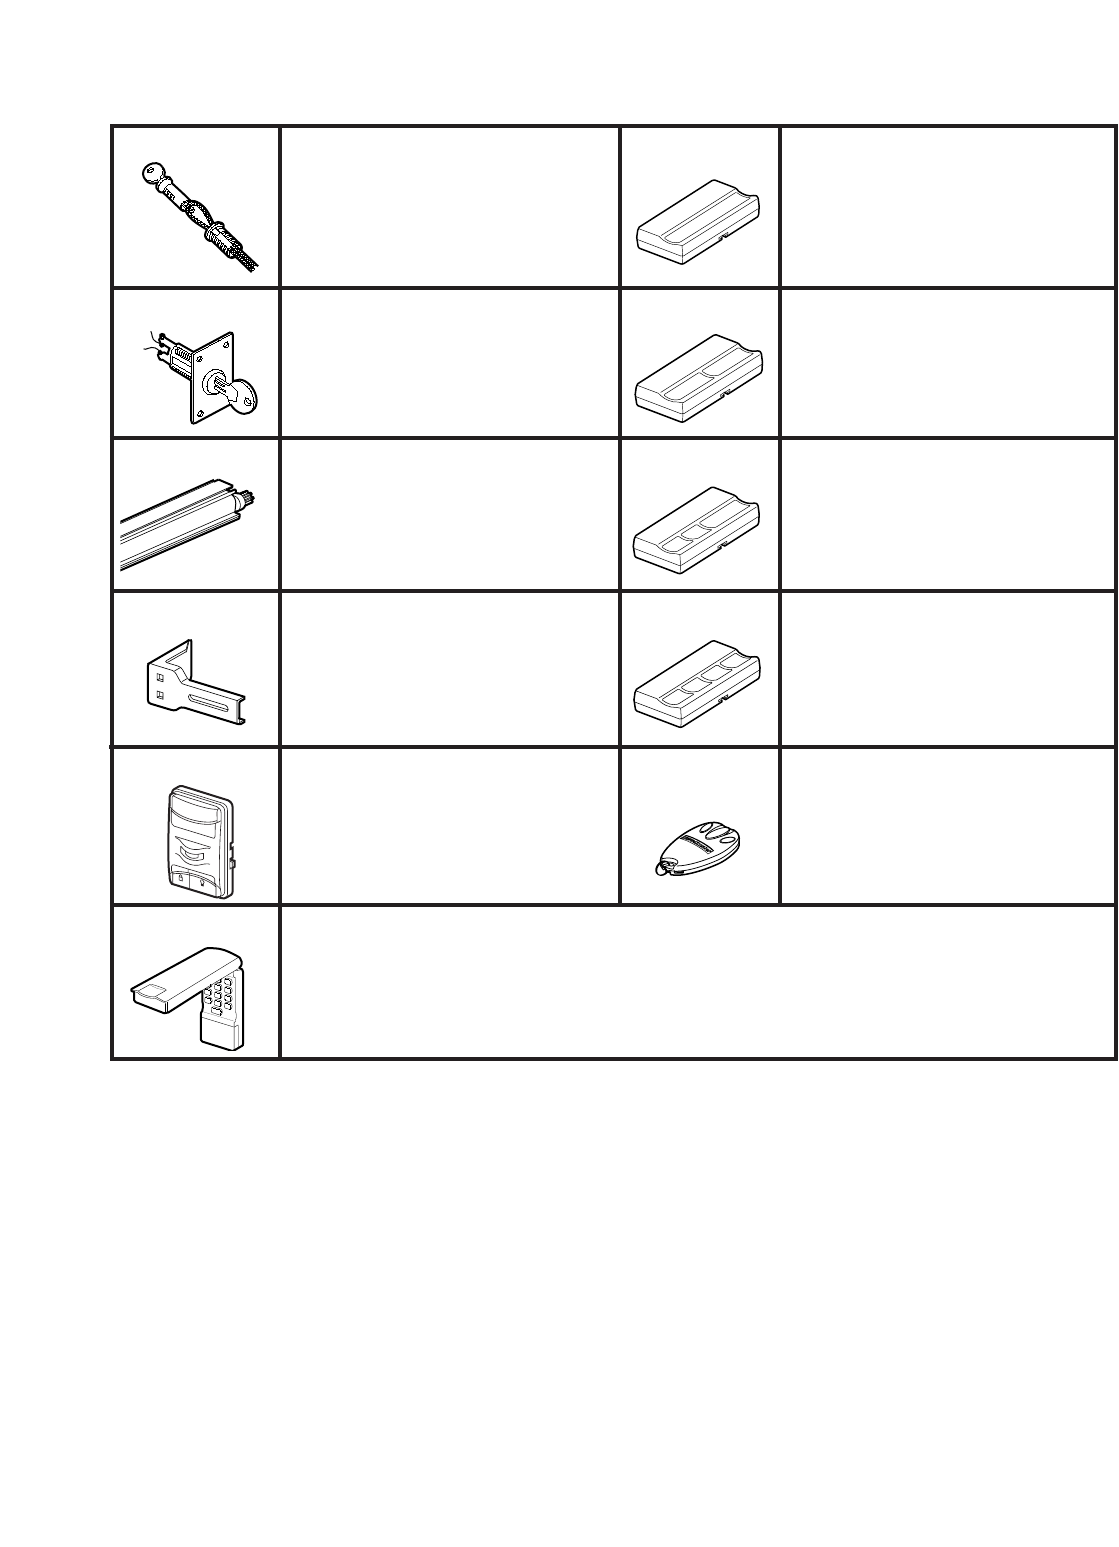
Accessories Available For Your Opener
Model 971LM
Model 974LM
Model 970LM
Model 1702LM
SECURITY✚ Single-Function
Remote Control
Includes visor clip.
SECURITY✚ 2-Channel
Remote Control
Includes visor clip.
SECURITY✚ 3-Channel
Remote Control
Includes visor clip.
SECURITY✚ 4-Channel
Remote Control
Includes visor clip.
SECURITY✚ 3-Channel Mini
Remote Control
With key ring and Velco fastening
strip.
Passive Infrared Control Console
Multi-function door control with motion
sensor that automatically turns opener
lights on for 5 minutes when it detects a
person entering the garage. Sensor can be
easily deactivated when desired.
Outside Quick Release
Required for a garage with NO access
door. Enables homeowner to open
garage door manually from outside by
disengaging trolley.
8 foot Complete Rail
To allow an 8 foot door to open fully.
Extension Brackets
(Optional) For safety sensor
installation onto the wall or floor.
Outside Keylock
Operates the garage door automatically
from outside when remote control is
not handy.
Model 972LM
Model 973LM
Model 59LM
Model 88SD
Model 97LM
Model 98LM
SECURITY✚ Keyless Entry
Enables homeowner to operate garage door opener from outside by entering code on specially
designed keyboard. Also can add a temporary pass code for visitors or service persons. This
temporary code can be limited to a programmable number of hours or entries.
Model 976LM
We recommend that you program your code before you
install the Keyless Entry. You will not need assistance,
and you can test the reception at the mounting location
before installation.
1. Choose a 4-digit code using numbers from 0 to 9
(a number can be used more than once, for example,
4, 0, 4, 1).
2. Press the four buttons for the code, then press and hold
the Enter button. The indicator light on the door opener
panel will blink.
3. Press and release the “Smart” (learn) button on the
opener panel. After the opener lights flash, release the
Enter button.
Test by pressing the the code, then press Enter. The door
should begin to move.
You may also program the Keyless Entry from the
Multi-Function Door Control, as follows:
1. With the door closed, enter the four digit code desired,
then press and hold Enter.
2. Press and hold the light button on the door control.
3. Press and hold the door control push bar.
4. After the opener lights flash, release all buttons.
To Add the Keyless Entry