FUNCŢIONAREA MONITORULUI
PORNIRE/LCD OPRIRE/OPRIRE
Utilizaţi butonul PORNIRE/LCD OPRIRE/OPRIRE de pe partea laterală a unităţii pentru a porni/opri unitatea,
cât şi aşajul LCD.
Selectarea canalului
Toate unităţile de monitor şi cameră vor setate iniţial pe Canalul “1” de producător. Sistemul permite ca pe
acelaşi monitor să poată utilizate 4 camere. Consultaţi procedurile de cuplare pentru adăugarea unei/unor
camere suplimentare.
Reglaj volum
Apăsaţi butonul (+) şi (-) situat pe partea STÂNGĂ a panoului frontal pentru a mări sau scădea volumul la
monitor.
Reglaj luminozitate LCD
Apăsaţi butonul (+) şi (-) situat pe partea DREAPTĂ a panoului frontal pentru a mări sau scădea luminozitatea
ecranului LCD.
BUTON RESETARE
Apăsaţi butonul RESETARE situat în spatele monitorului pentru a reveni la setările producătorului.
CUPLAREA
ATENŢIE!!
Acest produs a fost deja cuplat din fabrică, iar în condiţii normale, utilizatorii NU TREBUIE să efectueze
nicio procedură de cuplare. Urmaţi aceşti paşi pentru a re-cupla monitorul şi camera doar atunci când este
ABSOLUT NECESAR.
1. Apăsaţi şi menţineţi butonul (+) pentru reglaj luminozitate şi porniţi monitorul în acelaşi timp. Pe LCD va
apărea:
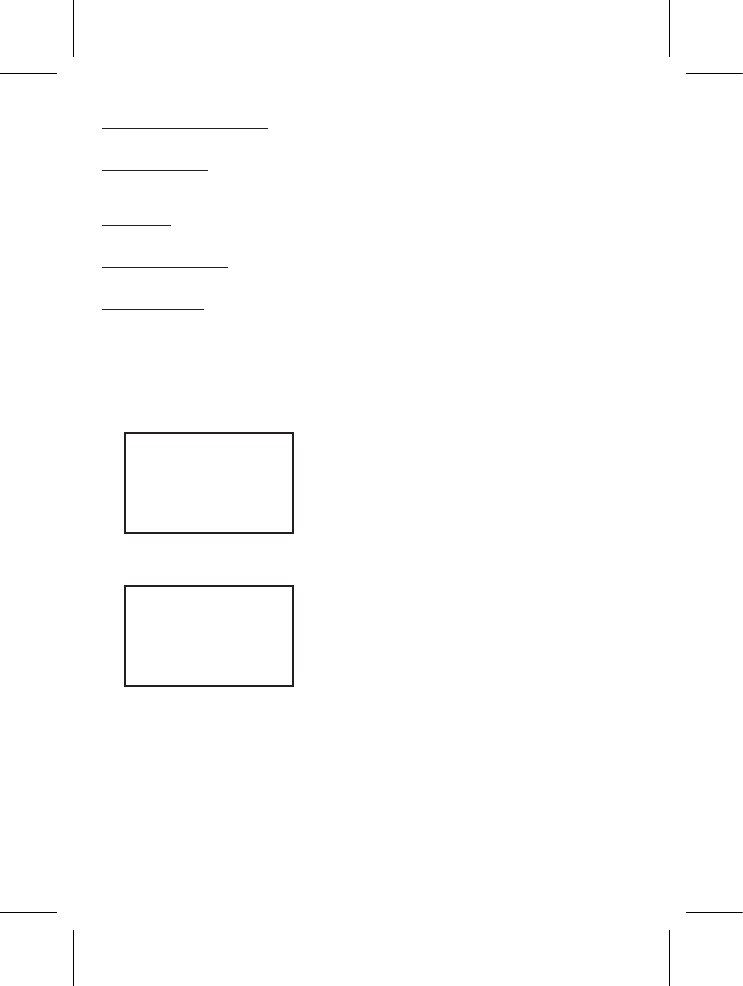
PAIR ID
1. Pair ID for Cam1 …
2. Apăsaţi butonul de cuplare ascuns prin oriciul mic de la baza camerei (1). LED-ul pentru alimentare de
pe cameră va începe să pâlpâie.
3. Operaţiunea de cuplare se va naliza automat pentru camera (1). Pe monitor va apărea:
PAIR ID
1. Pair ID for Cam1 …
Cam1 OK!
4. Repetaţi paşii 2 şi 3 pentru camerele (2); (3) şi (4).
5. Opriţi şi porniţi monitorul pentru a reveni la funcţionarea normală.