Controllo lumonisità LCD
Premere il tasto (+) e (-) posizionato sul lato DESTRO del pannello frontale per aumentare e diminuire la
luminosità del display LCD.
TASTO RESET
Premere il tasto RESET posizionato sul retro dell’unità del monitor per ripristinare le impostazioni originali di
fabbrica.
COLLEGAMENTO (ACCOPPIAMENTO)
ATTENZIONE!!
Il presente prodotto viene già collegato (accoppiato) in fase di produzione; pertanto l’utente NON DEVE
effettuare alcune procedura di collegamento in condizioni normali. Attenersi alle seguenti istruzioni per
ricollegare l’Unità Monitor e l’Unità Videocamera solo quando ASSOLUTAMENTE NECESSARIO:
1. Tenere premuto il tasto (+) di regolazione della luminosità e, allo stesso tempo, accendere l’Unità Monitor.
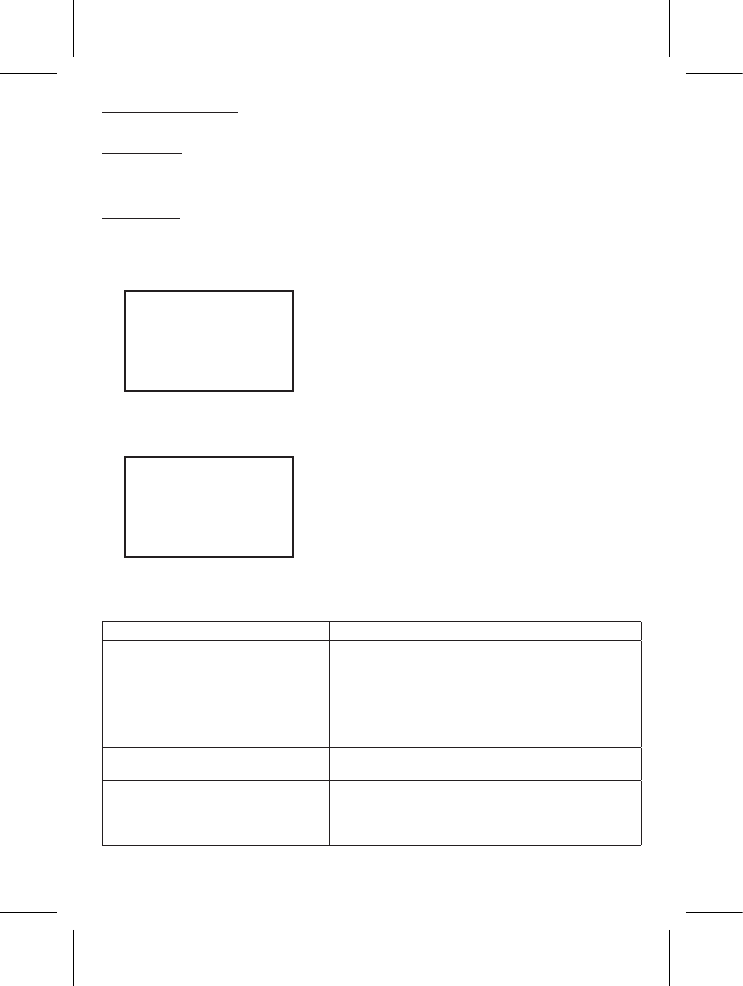
L’LCD mostra:
PAIR ID
1. Pair ID for Cam1 …
2. Premere il tasto nascosto di collegamento (accoppiamento) attraverso il foro piccolo posto sulla base
dell’Unità Videocamera (1). Il LED di alimentazione sull’Unità Videocamera inizia a lampeggiare.
3. L’operazione di collegamento viene automaticamente completata per l’Unità Videocamera (1). Il monitor
visualizza:
PAIR ID
1. Pair ID for Cam1 …
Cam1 OK!
4. Ripetere le fasi 2 e 3 per le videocamere (2), (3) e (4).
5. Spegnere l’Unità Monitor e quindi riaccendere per ritornare al funzionamento normale.
RISOLUZIONE PROBLEMI
Problema Causa possibile – azione/controllo
Mancata ricezione sull'Unità Monitor • L’unità non è stata accesa.
• L’alimentatore AC/DC non è stato collegato.
• La videocamera non è in grado di effettuare la
trasmissione. (L’alimentazione non è accesa o si trova in
modalità di attivazione vocale)
• Canale errato. (Il produttore ha pre-impostato il sistema
al canale “1”)
Vengono visualizzate solo immagini in
bianco e nero
• La videocamera è stata impostata in modalità “visione
notturna a raggi infrarossi”.
Mancata trasmissione dall'Unità
Videocamera
• L’unità non è stata accesa.
• L’alimentatore AC/DC non è stato collegato.
• Vericare se la modalità di attivazione vocale sia
impostata in modalità automatica.