You can always experiment with tweeter
placement before committing to a final mounting
location. Simply connect the rest of the system and
allow plenty of wire length for the tweeters. Using
Velcro™ or similar material, attach the tweeters in
different locations until you find the one where they
perform best.
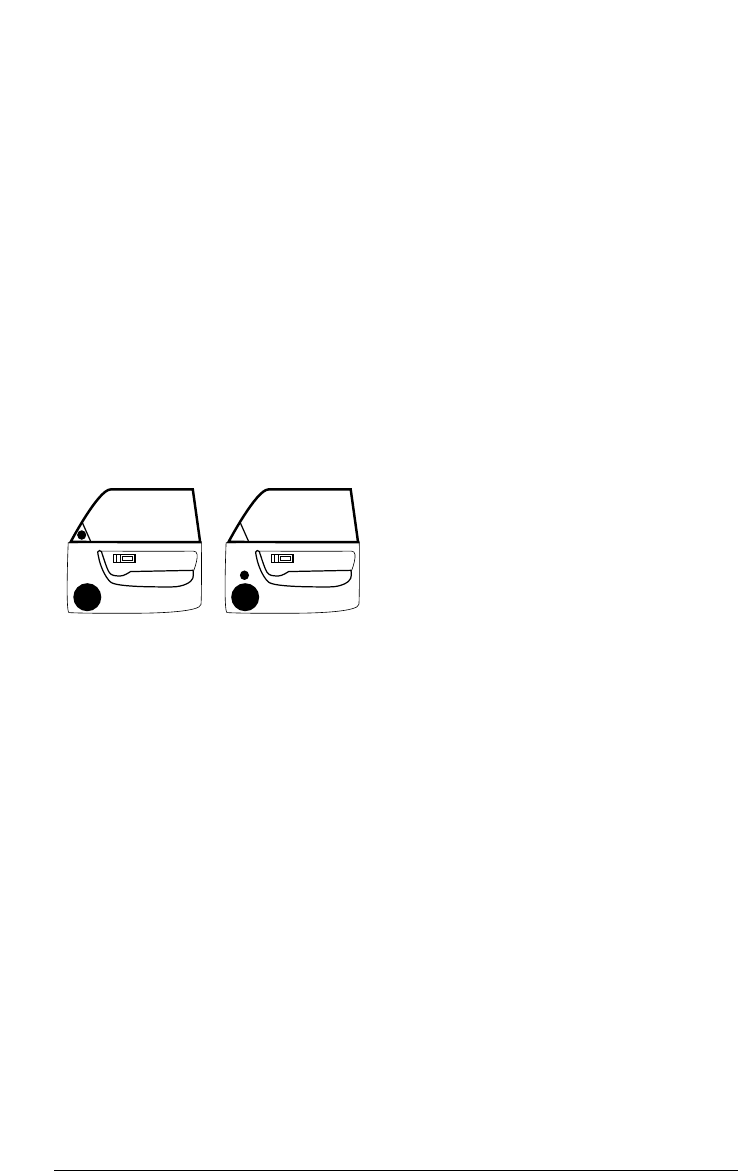
Woofers will usually be placed into factory
speaker locations. If you have some woofer
mounting flexibility, keep the following in mind:
Lower mounting locations, such as the lower front
corner of a door or a kick-panel provide the
greatest path length distances for the sound emitted
by the woofer. For this reason, they are generally
more desirable than higher mounting locations.
Higher mounting locations will usually result in
extreme near-side soundstage bias which
compromises the stereo listening experience.
CROSSOVER NETWORK
INSTALLATION:
The crossover networks supplied with your XR
System should be installed in a dry location of your
vehicle. DO NOT INSTALL THEM INSIDE OF A
DOOR! Doors often get wet on the inside, which
can damage your crossover networks and could
potentially damage your entire sound system.The
crossovers can be screwed into a solid surface via
two holes located under the protective cover of the
case.To access these holes, simply squeeze the sides
of the cover while gently pulling the cover away
from the base. Make sure that your mounting
location will not cause damage to wiring, fuel lines,
brake lines or any other vital component of your
vehicle. Once you have screwed the case in, snap
the protective cover back into place.
If screwing the crossovers networks in is not
possible, you can also run the supplied nylon wire
ties through the mounting holes to attach the
crossovers to a structure in your car. To do so, take
the covers off, attach the wire ties, and then snap
the covers back into place, lining the wire ties up
with the slots on the sides of the protective cover.
Make sure that you do not attach the crossovers to
a moving part or to any part that may interfere with
pedal operation, gear shift operation, steering, or
airbag deployment.
For wiring instructions, refer to the
diagram on page 3 of this manual.
INSTALLING THE WOOFERS IN
FACTORY LOCATIONS:
If you will be using the factory speaker wires, it
may be necessary to change the terminations. This
may be accomplished by using an adaptor plug or
simply by cutting the factory connector off and
using the supplied crimp connectors to terminate
the speaker wires.The large connector is for the
positive terminal and the small connector is for the
negative terminal of each woofer. Keep in mind
that the woofer wires must be connected to the
woofer outputs of the crossovers supplied with
your system as shown in the diagram on page 3.
You may also choose to run new speaker wires...
refer to the custom installation section for details.
Whichever method you choose, observe correct
polarity in your connections. If you are unsure
about any of these issues, contact your
JL Audio dealer for installation assistance.
Your new speakers have been designed to install,
without modifications, into most vehicles that accept
a 6.50-inch (160 mm) speaker. Most factory 6.50-
inch speakers use four mounting screws which will
line up with the mounting holes on your woofers.
Multiple sets of mounting holes are available to
accommodate different vehicles’ factory hole
patterns/orientations. It is absolutely vital that the
speaker frame fits into the mounting hole cleanly.
This must be checked prior to tightening the
screws. Do not force the frame into a hole that is
too small! Do not tighten the speaker onto an
uneven surface! This will damage your speakers. The
speaker should also fit so that no air leaks around
the mounting flange. Air leaks will cause a severe
degradation in sound quality. Seal any air leaks with
silicone, rope caulk or similar sealant material.
JL AUDIO XR650-CSi 5