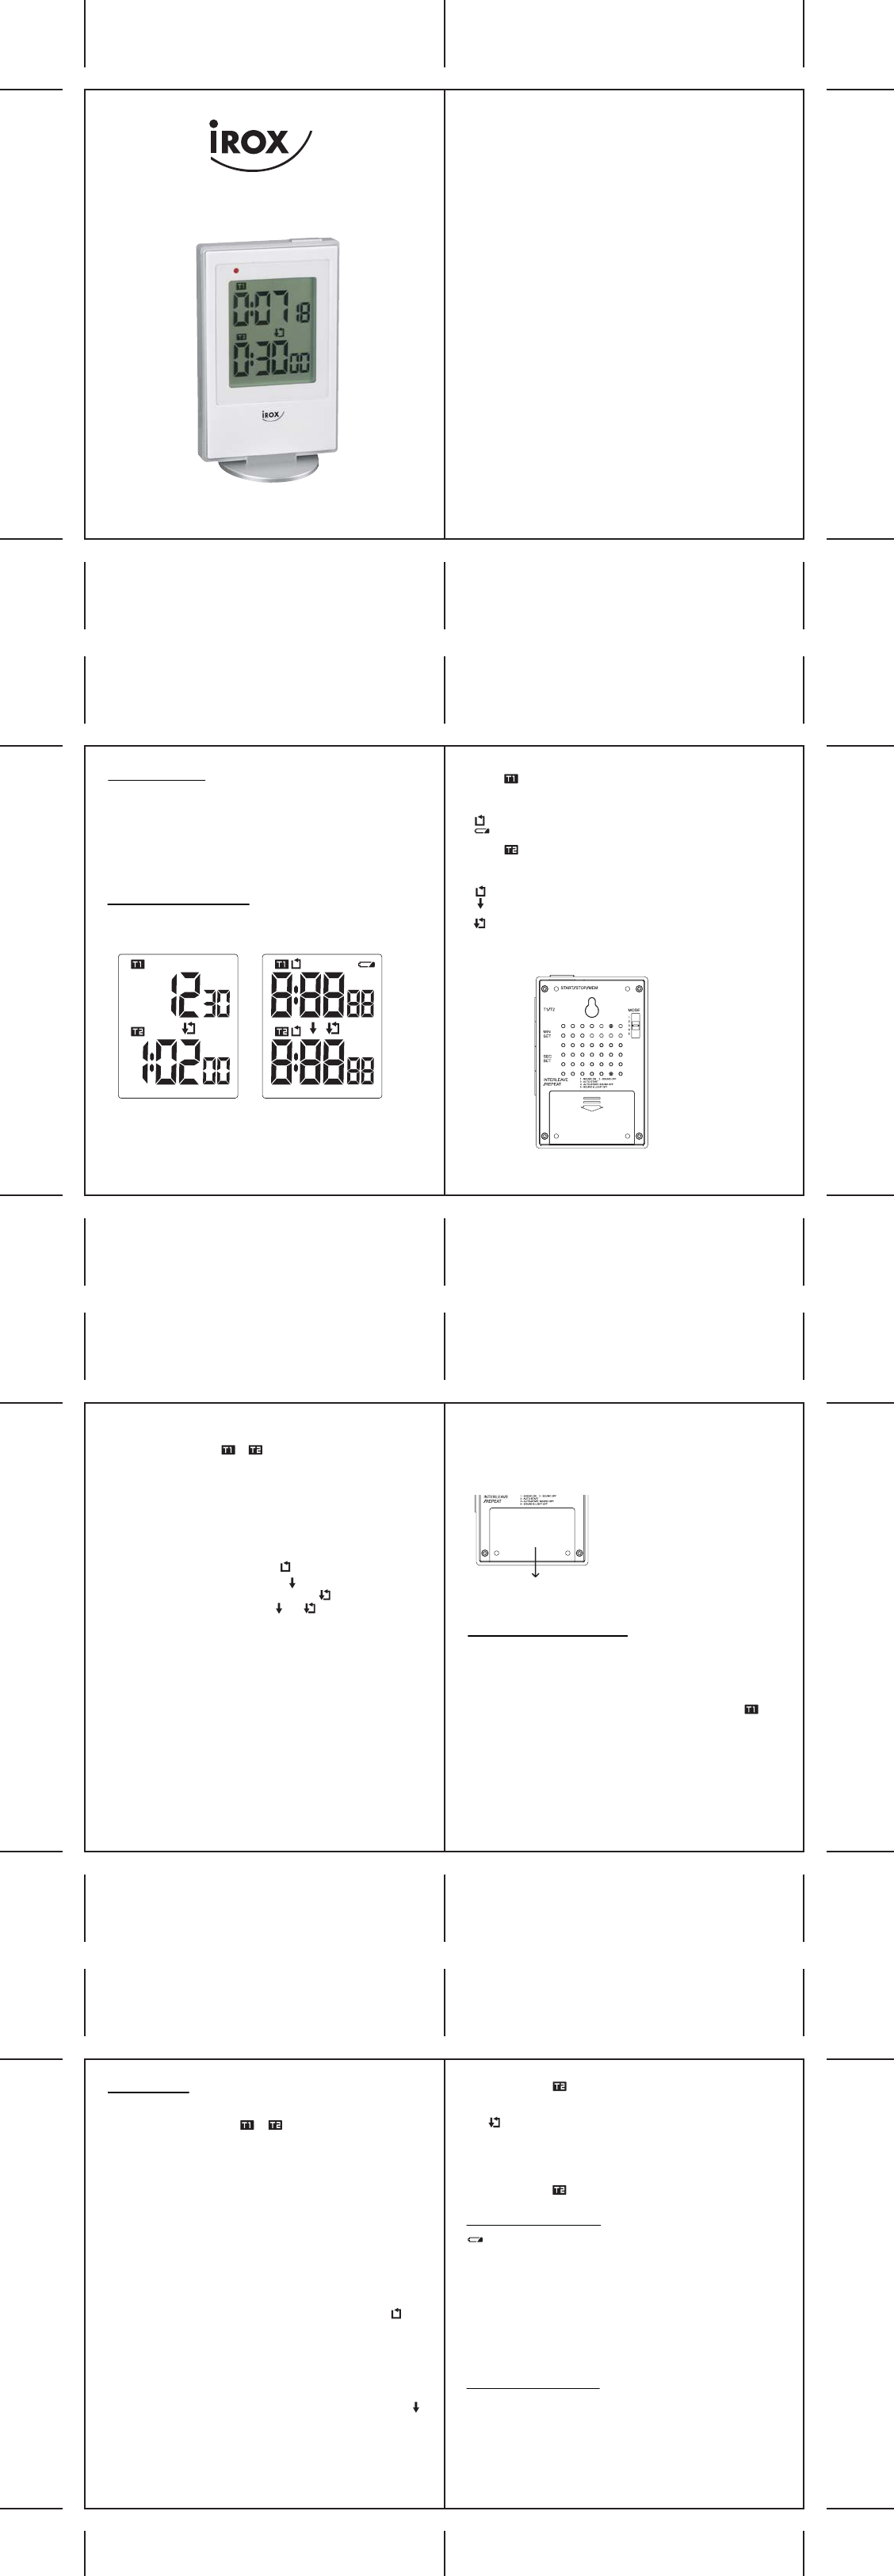
We would like to thank you for selecting the JK-TR1 by IROX. You are
now the owner of one of the markets highest quality timer. It is the result of
Swiss engineering and is manufactured in one of the best factories in
greater Hong Kong.
The JK-TR1 offers absolutely unique features by interlinking two
countdown timers as well as 5 different options in the alarm announcement
and the start logic.
Please read these instructions carefully to benefit fully of all features of
this timer.
1. INTRODUCTION
1. Introduction
2. Operating elements
2.1 LCD Display
2.2 Keys / Switch / Battery
compartment
3. Putting into operation
4. Operation
4.1 Setting of the timer
4.2 Start / Stop / Reset the timer
4.3 Stop the alarm
4.4 Repeat the timer
4.5 Setting an interleave between
T1 and T2
4.6 Setting a continuous interleave
between T1 and T2
5. Change of battery
6. Care instructions
7. Support
8. Technical data
Page 23
Page 23
Page 23
Page 24
Page 26
Page 27
Page 27
Page 27
Page 27
Page 27
Page 27
Page 28
Page 28
Page 28
Page 29
Page 29
2. OPERATING ELEMENTS
2.1 LCD DISPLAY
All functions are depicted on the liquid crystal display (LCD) in two
windows (TIMER 1 and TIMER 2).
Full-segment display
Timer 1
- Display of the programmed value of timer 1
- The timer can be set up to a maximum of 9 hours 59 minutes and 59
seconds
- Indicates when the timer 1 is set to be repeated
- Indicates when the batteries are week
Timer 2
- Display of the programmed value of timer 2
- The timer ca be set up to a maximum of 9 hours 59 minutes and 59
seconds
- Indicates when the timer 2 is set to be repeated
- Indicates when the interleave function between timer 1 and timer 2 is
set
- Indicates when the interleave function between timer 1 and timer 2 is
set to repeat the interleave cycle
2.2 KEYS / SWITCH / BATTERY COMPARTMENT
Rear view
T1/T2
- Press to select the timer
- The selected timer’s icon or will flash on the display.
MIN SET
- Press to set the minutes of the selected timer
- Press and hold 3 seconds to roll the minutes setting
- Press and hold 5 seconds to roll the minutes setting faster
SEC SET
- Press to set the seconds of the selected timer
- Press and hold 3 seconds to roll the seconds setting
- Press and hold 5 seconds to roll the seconds setting faster
INTERLEAVE / REPEAT
- Press to set the repeat timer (T1 or T2 )
- Press to set the interleave function (in T2 )
- Press to set the interleave repeat function (in T2 )
Important note: the interleave functions and can only be set in T2 !
START / STOP / MEM
- Press to start the countdown of the selected timer
- Press to stop the countdown of the selected timer
- Press to show the previous setting of the selected timer (after the
countdown has reached 0:00:00)
- Press and hold for 3 seconds to reset the selected timer to 0:00:00
MODE
JK-TR1 provides 5 alarm modes. It is managed by sliding the switch for
selection:
Pos. 1: SOUND ON – Alarm sound on and the LED light flash above the
display
Pos. 2: SOUND OFF – Alarm sound off and the LED light flash above the
display
Pos. 3: AUTO-START – The countdown will start automatically 5 seconds
after the setting. Alarm sound on and the LED light flash above the
display
Pos. 4: AUTO-START, SOUND OFF – The countdown will start
automatically 5 seconds after the setting. Alarm sound off and the
LED light flash above the display
Pos. 5: SOUND & LIGHT OFF – Alarm sound off and the LED light off
3. PUTTING INTO OPERATION
1. Open the battery compartment of the display device and remove all
insulation strips. If no batteries are in the device, insert the 2 batteries
(AM-4 or ‘AAA’ 1.5 V) in the correct polarity.
2. Now close the battery compartment.
3. Directly after the activation of the batteries, all segments are displayed
for a few seconds on the display. The JK-TR1 then begins with icon
flashing.
Battery compartment
2 x 1.5 batteries of the size AM-4 resp. “AAA”
To open: slide lid in the direction of the arrow (indicated on the lid) after the
stand has been removed.
4. OPERATION
4.1 Setting of the timer
Press T1/T2 to select the timer.
The icon of the selected timer ( or )will flash on the display.
Press MIN SET to set the minutes. Press 3 seconds to roll the digit and
press 5 seconds to roll it faster.
Press SEC SET to set the seconds. Press 3 seconds to roll the digit and
press 5 seconds to roll it faster.
4.2 Start / Stop / Reset the timer
After setting the timer, press START/STOP/MEM to start the countdown.
Press START/STOP/MEM to stop the countdown.
Press START/STOP/MEM to show the pre-set value.
Press and hold the START/STOP/MEM for 3 seconds, the timer will be
reset to 0:00:00.
4.3 Stop the alarm
After the countdown completed, the alarm will be on with the selected
mode (described in section 2.2).
Press any button to stop the alarm.
Without stopping the alarm, it will be off automatically after 1 minute.
4.4 Repeat the timer
After setting the timer, press INTERLEAVE/REPEAT, until the icon
shown on the display of the selected timer.
Press START/STOP/MEM to start the countdown.
The countdown will be repeated continuously.
Press any button to stop the alarm.
Press START/STOP/MEM to stop the countdown
Note: Only one repeat timer can be run at the same time.
4.5 Setting an interleave between T1 and T2
After setting the T1 and T2, press INTERLEAVE/REPEAT, until the icon
shown on the display of T2
Press START/STOP/MEM to start the countdown of T1
Once the countdown of T1 completed, the T2 will start immediately.
Press any button to stop the alarm.
Press START/STOP/MEM to stop the countdown
Note: Even the icon is flashing, the countdown always starts with T1
4.6 Setting a continuous interleave between T1 and T2
After setting the T1 and T2, press INTERLEAVE/REPEAT, until the
icon shown on the display of T2.
Press START/STOP/MEM to start the countdown of T1.
Once the countdown of T1 completed, the T2 will start immediately.
The T1 and T2 will be repeated continuously.
Press any button to stop the alarm.
Press START/STOP/MEM to stop the countdown
Note: Even the icon is flashing, the interleave countdown always
starts with T1
5. CHANGE OF BATTERY
: BATTERY CHANGE DISPLAY
The batteries last for around 8-12 months. Depending on the usage of the
appliance and the batteries used, this time can be slightly shorter or longer.
In order to avoid a surprising and unpleasant interruption of operations, the
battery symbol appears in the window of timer 1.
This means that batteries are becoming too weak and need to be replaced.
To change the batteries, please note Chapter 3 (Putting into operation).
Please only use new batteries and never mix old and new batteries.
Please also remember that used batteries should not be thrown in the
household rubbish bin but handed in at the designated collection points.
The environment will thank you for it!
6. CARE INSTRUCTIONS
- Do not expose the device to extreme temperatures or direct sunlight over
longer periods.
- Avoid blows and shocks of any kind to the device.
- For cleaning use a dry soft cloth that you have moistened with water and
a mild cleaning agent. Never use volatile substances such as benzene,
thinner, cleansing agents in spray cans etc.
- When the device is not being used store it in a dry area and out of the
reach of small children.
1
22
2324
2526
2728
12
12
Need help? Post your question in this forum.
Report abuse
Libble takes abuse of its services very seriously. We're committed to dealing with such abuse according to the laws in your country of residence. When you submit a report, we'll investigate it and take the appropriate action. We'll get back to you only if we require additional details or have more information to share.
Product:
Forumrules
To achieve meaningful questions, we apply the following rules:
First, read the manual;
Check if your question has been asked previously;
Try to ask your question as clearly as possible;
Did you already try to solve the problem? Please mention this;
Is your problem solved by a visitor then let him/her know in this forum;
To give a response to a question or answer, do not use this form but click on the button 'reply to this question';
Your question will be posted here and emailed to our subscribers. Therefore, avoid filling in personal details.
Register
Register getting emails for Irox JK-TR1 at:
new questions and answers
new manuals
You will receive an email to register for one or both of the options.
Get your user manual by e-mail
Enter your email address to receive the manual of Irox JK-TR1 in the language / languages: English as an attachment in your email.
The manual is 0,09 mb in size.
You will receive the manual in your email within minutes. If you have not received an email, then probably have entered the wrong email address or your mailbox is too full. In addition, it may be that your ISP may have a maximum size for emails to receive.
If you have not received an email with the manual within fifteen minutes, it may be that you have a entered a wrong email address or that your ISP has set a maximum size to receive email that is smaller than the size of the manual.
The email address you have provided is not correct.
Please check the email address and correct it.
Your question is posted on this page
Would you like to receive an email when new answers and questions are posted? Please enter your email address.