• The dimmer has a soft start to protect the lifetime of the applied led lamps.
• Programming of the MIN and MAX setting of connected light source(s).
• Memory for last applied dimming level.
• Hotel switch by means of the extra connector on the dimmer. Figure B2 / D (or E)
• N (neutral wire, blue}, not used!
• With the provided Niko mounting ring (part number: NIK001), this dimmer can also be used in some Niko switch lines.
INSTRUCTION FOR INSTALLATION:
• Switch the power off.
• Strip the wires suffi ciently (about 5 mm) and put these in the right connectors of the dimmer (fi gure B1 / B2).
• Connect the dimmer according the applicable drawing; In case of one dimmer switch only, apply fi gure B1 / C. In case of ‘hotel
switch’ apply drawing B2 / D (or E), depending on where the dimmer is placed.
• Fasten the dimmer housing into the wall junction box. Place the ring and fasten the nut (for holding the inlay plate)
temporary tight.
• Adjust with the dimmer knob (1) the minimum and maximum dimming level of the light source (programming B & C).
• Place the window and cover plate on the dimmer (fasten the nut (2) tight) and place the knob.
• Turn the dimmer knob (1) for the desired dim setting and press it (shortly) to switch the dimmer off and on.
• Switch the power on.
PROGRAMMING OF THE DIMMER IMAGE A.:
The programming is important for the optimal dimming range and to create a stable light with the connected light source.
a) Delete (RESET) minimum and maximum light intensity;
• When the connected light source is on, shut off the light!
• Press and hold the dimmer button (1) for 8 seconds until the light source turns on and then off again.
• The full intensity range of the connected light source is available again.
b) Switch on the dimmer;
• Switch on the connected light source by pushing the dimmer knob (1).
• Turn the dimmer knob (1) to get the desired light intensity.
c) Programming (SET) minimum light intensity;
• Set the desired minimum light intensity by turning the dimmer knob (1) counterclockwise.
• Press and hold the dimmer button for 5 seconds until the light source turns off and then on again.
• The minimum light intensity is stored in the memory.
d) Programming (SET) maximum light intensity;
• Set the desired maximum light intensity by turning the dimmer knob (1) clockwise.
• Press and hold the dimmer knob (1) for 5 seconds until the light source turns on and off twice.
• The maximum light intensity is stored in the memory.
The programming can be repeated at any time. If after programming the light of the light source is stable, than the right control
range was found for the connected light source.
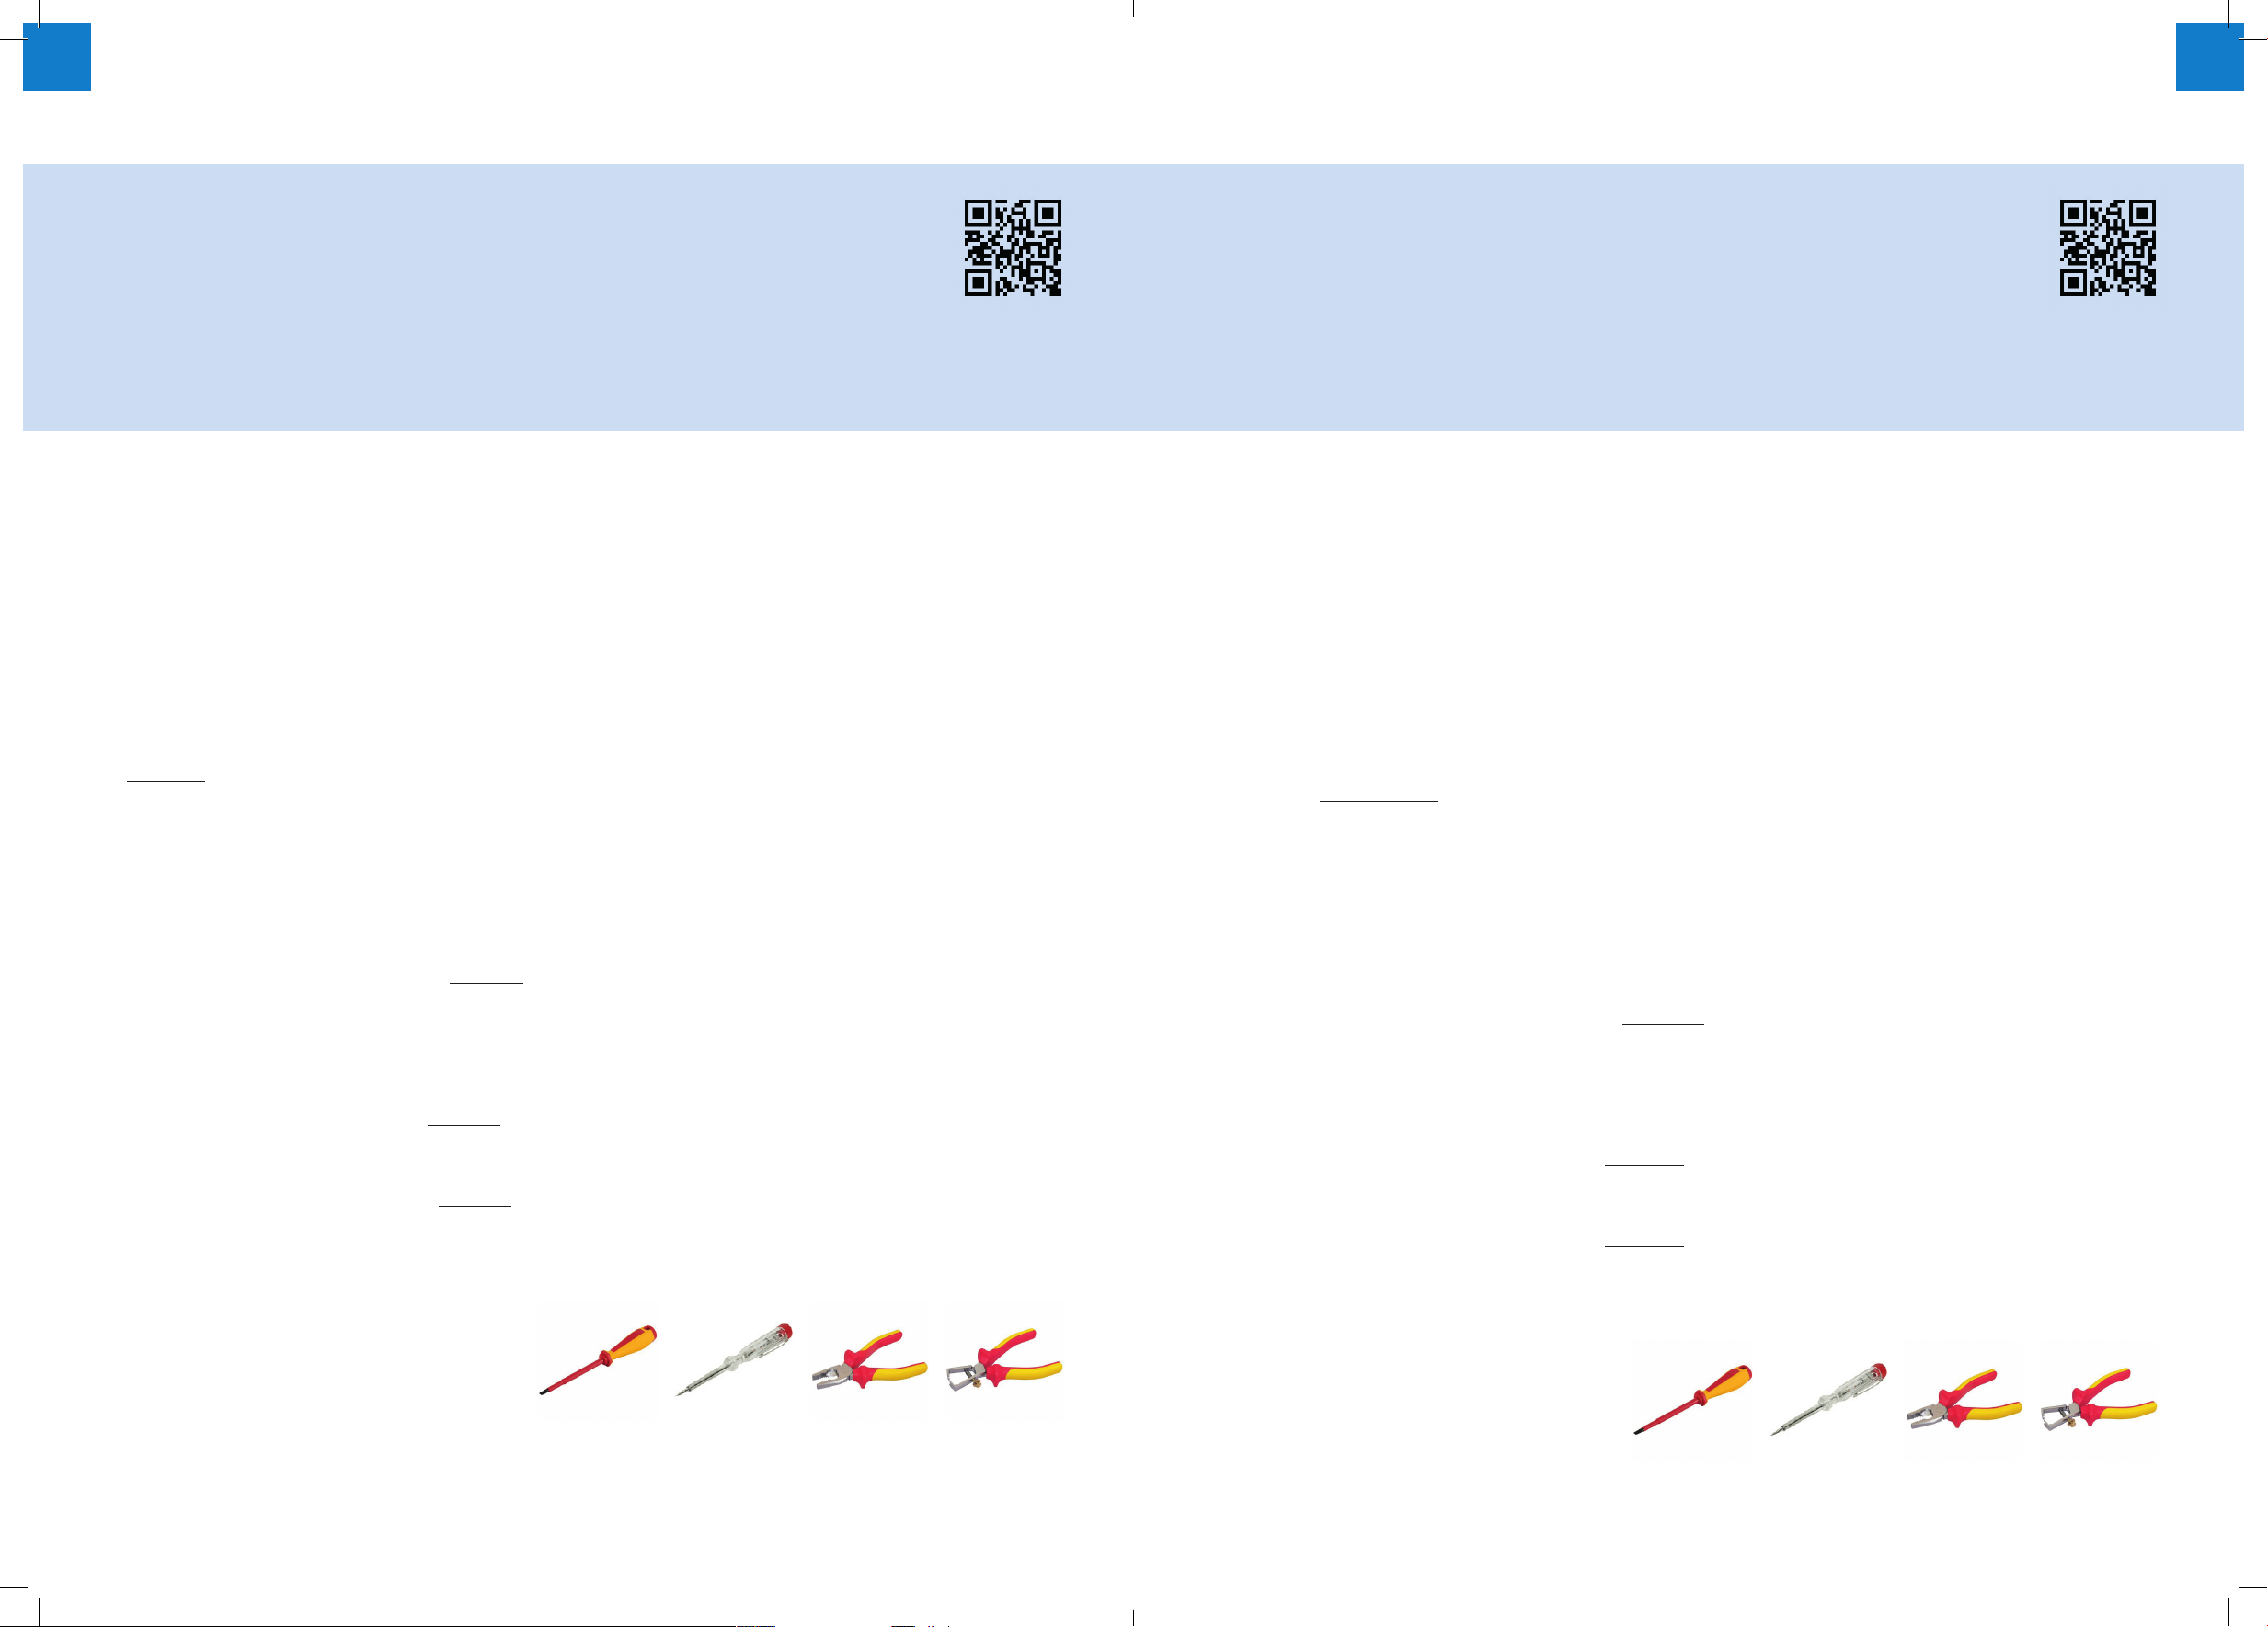
TOOLS:
• Fitting screwdriver/voltage fi nder
• Combination pliers for tightening the nut.
• Stripper, for stripping the wires.
The manufacturer is not responsible for damage, caused by misuse or improper installation of the dimmer. The warranty period is 2 year after date of purchase, to be
demonstrated to your specialist dealer by means of your purchase receipt. Version EN 1.3 (21/01/19) Save this user manual carefully for (re)installation!
FREN
MODE D’EMPLOI - VARIATEUR LED MURAL - 4246891 / 2487HH
ATTENTION !
• Travaillez toujours en toute SÉCURITÉ ; avant l’installation, coupez l’alimentation du secteur.
• Ce variateur n’est PAS ADAPTÉ pour les lampes halogènes 12 V combinées à un transformateur ferro-magnétique.
Dans ce cas, la garantie du variateur n’est pas applicable.
Ce variateur LED mural (230 V CA / 50 Hz, 1-150 W / VA) permet de varier les sources lumineuses suivantes :
• Lampes LED (à fi lament) variables (retrofi t) (230 V, max 100 W).
• Lampes LED basse tension combinées avec des circuits de commande LED variables (120 W max).
• Lampes à incandescence et halogènes (230 V, max 150 W).
• Lampes halogènes 12 V combinées à des transformateurs électroniques variables (120 W max).
CARACTÉRISTIQUES DE CE VARIATEUR LED MURAL :
• Variateur de bord de fuite (‘R, C’).
• Le variateur a un démarrage progressif pour protéger la durée de vie des lampes LED installées.
• Programmation des réglages MIN et MAX des sources lumineuses connectées.
• Mémoire pour le dernier niveau de variation appliqué.
• Commutateur d’hôtel à l’aide du connecteur supplémentaire sur le variateur. Figure B2 / D (ou E)
• N (fi l neutre, bleu), non utilisé !
• Avec l’anneau de montage Niko fourni (référence : NIK001), ce variateur peut également être utilisé dans quelques lignes de
commutation Niko
INSTRUCTIONS POUR L’INSTALLATION :
• Coupez l’alimentation.
• Dénudez suffi samment les fi ls (environ 5 mm) et branchez-les aux connecteurs droits du variateur (fi gures B1 / B2).
• Connectez le variateur conformément au dessin applicable. Dans le cas d’un variateur uniquement, utilisez les fi gures B1 / C. Dans
le cas d’un « commutateur d’hôtel » utilisez les dessins B2 / D (ou E) en fonction de l’emplacement du variateur.
• Fixez le boîtier du variateur dans la boîte de jonction murale. Placez la bague et serrez l’écrou (pour maintenir fermement la plaque
d’incrustation) temporairement.
• Ajustez avec le bouton (1) du variateur le niveau minimum et maximum de variation de la source lumineuse (programmation B & C).
• Placez la fenêtre et l’applique sur le variateur (serrez fermement l’écrou (2)) et placez le bouton.
• Tournez le bouton (1) du variateur pour obtenir le réglage de variation souhaité et appuyez dessus (brièvement) pour allumer et
éteindre le variateur.
• Enclenchez l’alimentation.
PROGRAMMATION DU VARIATEUR IMAGE A. :
La programmation est importante pour la plage de variation optimale et pour créer une lumière stable avec la source de lumière connectée.
a) Supprimer (RESET) l’intensité lumineuse minimale et maximale ;
• Lorsque la source lumineuse connectée est allumée, éteignez la lumière !
• Maintenez le bouton du variateur (1) enfoncé pendant 8 secondes jusqu’à ce que la source lumineuse s’allume et s’éteigne.
• La plage d’intensité complète de la source lumineuse connectée est à nouveau disponible.
b) Allumer le variateur ;
• Allumez la source lumineuse connectée en appuyant sur le bouton (1) du variateur.
• Tournez le bouton du variateur (1) pour obtenir l’intensité lumineuse souhaitée.
c) Programmer (SET) l’intensité lumineuse minimale ;
• Réglez l’intensité lumineuse minimum désirée en tournant le bouton (1) du variateur dans le sens antihoraire.
• Maintenez le bouton du variateur (1) enfoncé pendant 5 secondes jusqu’à ce que la source lumineuse s’éteigne et se rallume une fois.
• L’intensité lumineuse minimum est enregistrée dans la mémoire.
• Réglez l’intensité lumineuse maximum désirée en tournant le bouton (1) du variateur dans le sens horaire.
• Maintenez le bouton du variateur (1) enfoncé pendant 5 secondes jusqu’à ce que la source lumineuse s’éteigne et se rallume deux fois.
• L’intensité lumineuse maximum est enregistrée dans la mémoire.
La programmation peut être répétée à tout moment. Si, après la programmation, la lumière de la source lumineuse est stable, alors
la plage de commande idéale a été trouvée pour la source lumineuse connectée.
OUTILS :
• Tournevis de montage / détecteur de tension
• Pince combinée pour serrer fermement l’écrou.
• Pince à dénuder pour dénuder les fi ls.
Le fabricant n’est pas responsable des dommages résultant d’une mauvaise utilisation ou d’une installation incorrecte du variateur. La période de garantie est de 2 ans à compter de la date
d’achat et doit être démontrée à votre revendeur par le biais de votre facture d’achat. Version FR 1.3 (21/01/19) Conservez ce manuel soigneusement pour une éventuelle (ré)installation !
Libble takes abuse of its services very seriously. We're committed to dealing with such abuse according to the laws in your country of residence. When you submit a report, we'll investigate it and take the appropriate action. We'll get back to you only if we require additional details or have more information to share.
Product:
Forumrules
To achieve meaningful questions, we apply the following rules:
First, read the manual;
Check if your question has been asked previously;
Try to ask your question as clearly as possible;
Did you already try to solve the problem? Please mention this;
Is your problem solved by a visitor then let him/her know in this forum;
To give a response to a question or answer, do not use this form but click on the button 'reply to this question';
Your question will be posted here and emailed to our subscribers. Therefore, avoid filling in personal details.
Register
Register getting emails for Handson 2487HH at:
new questions and answers
new manuals
You will receive an email to register for one or both of the options.
Get your user manual by e-mail
Enter your email address to receive the manual of Handson 2487HH in the language / languages: English, Dutch, French as an attachment in your email.
The manual is 0,91 mb in size.
You will receive the manual in your email within minutes. If you have not received an email, then probably have entered the wrong email address or your mailbox is too full. In addition, it may be that your ISP may have a maximum size for emails to receive.
The manual is sent by email. Check your email
If you have not received an email with the manual within fifteen minutes, it may be that you have a entered a wrong email address or that your ISP has set a maximum size to receive email that is smaller than the size of the manual.
The email address you have provided is not correct.
Please check the email address and correct it.
Your question is posted on this page
Would you like to receive an email when new answers and questions are posted? Please enter your email address.