4. Slowlv turn steam valve knob (7)
counier clockwise to release steam.
IMPORTANT:
The more you turn
the knob, the greater the steam
pressure for frothing.
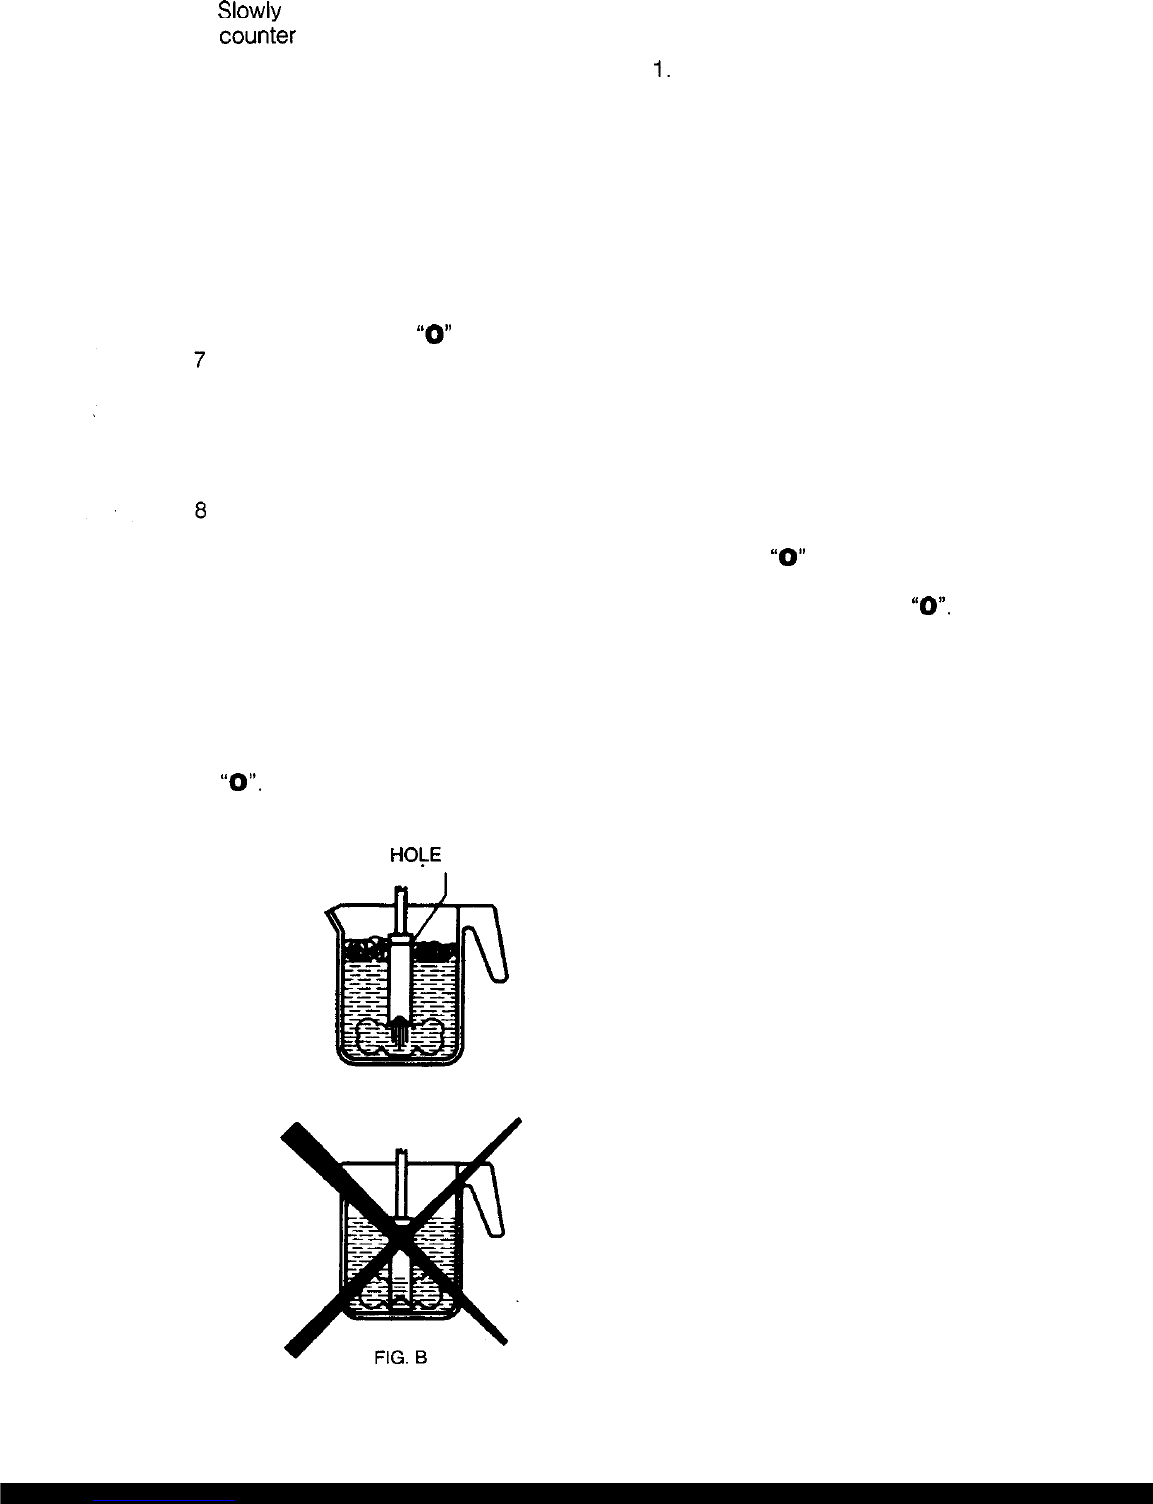
5. Move pitcher in circular motion
keeping the tip of steam nozzle just
under surface of milk as it begins to
froth. Do not let milk come to a boil
since it will not froth.
6. When you have made enough froth,
turn steam knob clockwise to shut
off steam and remove pitcher. Put
steam switch (4) to
“0”
position.
Spoon the froth onto the espresso in
each cup and gently pour the hot milk
along the side of the cup. Top
each cup of cappuccino with a dash
of cinnamon, cocoa, nutmeg or
chocolate shavings. Serve.
NOTE: If you want to make more.
espresso immediately after steaming
milk, the machine’s boiler must be
refilled with water and temperature
brought down to a brewing tempera-
ture. Otherwise, espresso may taste
“burned”. To do this: place an empty
cup on drip plate.
Do not insert filter holder. Turn hot
water/brew switch (3) to “I” letting
cup fill with water. Turn brew switch
“0”.
You many now proceed to make
more espresso.
AIR
HOLE
FIG. A
Making hot water:
1.
2.
3.
4.
5.
6.
7.
Follow the procedure described
under preparation.
Turn the steam switch (4) to “I”.
Allow about 6 minutes for the
machine to reach its proper
operating temperature.
Place a pitcher under the steam
nozzle (8).
Turn the hot water/brew switch (3) to
“I” and slowly turn steam valve knob
(7) counter clockwise to release hot
water.
When you have made the desired
quantity of hot water, turn steam
knob clockwise and hot water/brew
switch to
“0”
to shut off hot water
and remove pitcher.
Put steam switch (4) to
“0”.
NOTE: If you want to make espresso
immediately after making hot water,
the temperature of the machine
boiler must be brought down to a
brewing temperature. Otherwise,
espresso may taste “burned”. To do
this: place an empty cup on drip
plate. Do not insert filter holder. Turn
hot water/brew switch (3) to “I”
letting cup fill with water. Turn brew
switch “0”. You may now proceed to
make espresso.
Keeping it clean:
1.
IMPORTANT:
The steam nozzle
should be cleaned after each use in
order to avoid build up of milk
deposits that are very difficult to
clean. Cleaning is made easy as
can be seen in the Description of
Parts. The outer jacket of nozzle can
be removed by pulling downward.
The steam jet is cleaned by running
a shot of steam through it. A cleaning
needle has been supplied to clear
any obstruction. Outside of steam
pipe can be cleaned with a damp