2 INST
2.1 T
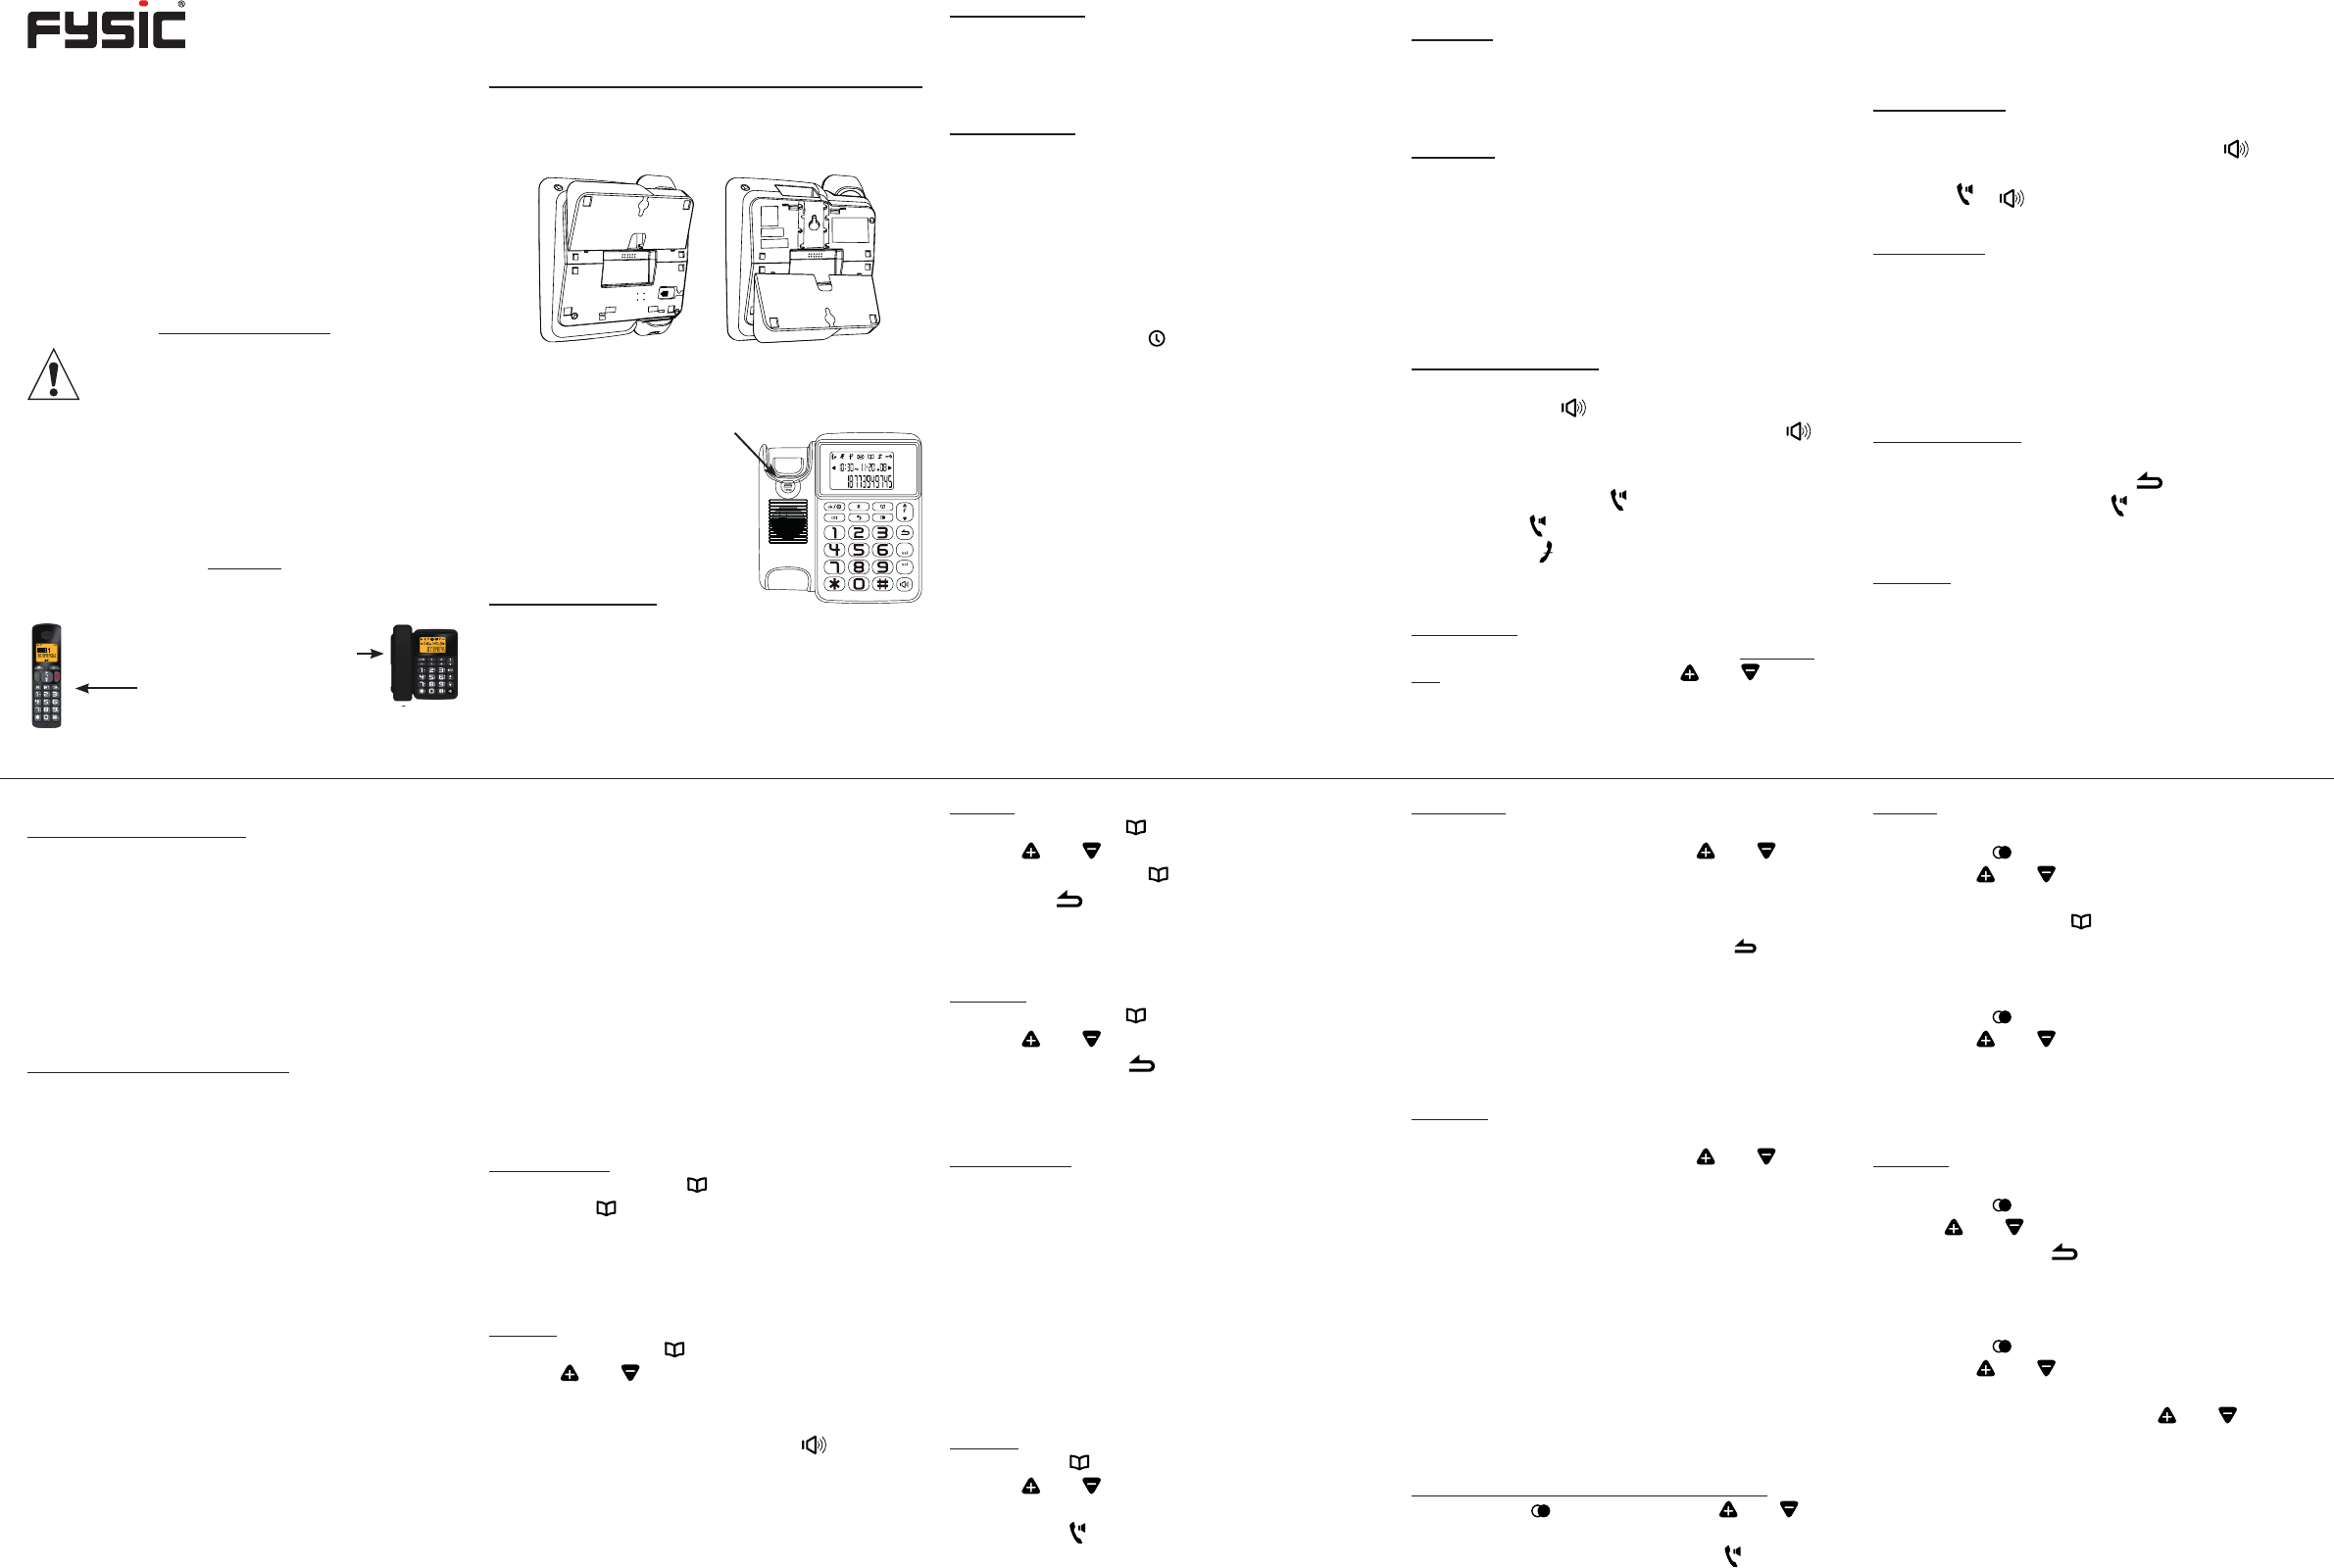
Using the telephone as a desk model or suspended:
Y-
phone in 2 different ways; one way for wall mount-
ing and the other way for using it as a desk model.
T
model, rotate the receiver holder until the word
‘W
used as a desk model, the
word ‘DESK’
Y
suspension holder using a
screwdriver
T
Connect the telephone receiver to the telephone
by clicking one end of the supplied spiral cable into
the receiver and the other side into the bottom left
input of the telephone.
Y
and for calls via the speaker-
main saved in the memory until you change them.
Receiving calls:
The display lights up and you’ll hear the ringtone.
At the telephone the light underneath the
button will also illuminate. Pick up the receiver or
press the or button to answer a call.
Ring volume:
With the telephone on stand-by
and VOL- buttons to set the ring volume of the
telephone. Y
telephone.
See paragraph 7.1 for setting the ring signal of the
handset.
Dialling numbers:
Use the keypad to enter the number (any incorrect
input can be deleted using the button) and pick
up the receiver or press the button to dial this
number
R button:
The R button is used for operating functions of-
fered by the telephone provider
is the ‘Call W
contact your telephone provider
7.2 System Setup for setting the R button.
3.2.1 Intercom:
When using one handset:
Press the INT-
ing.
Incoming call during an intercom conversation: If
you receive an external call during an intercom
conversation, you’ll hear a beep tone in the sound.
End the intercom conversation, wait for the ring-
tone and answer the call in the usual way
When using multiple handsets:
When receiving a call from the telephone, all hand-
sets will start
will be connected with the telephone.
When receiving a call from one of the handsets:
rst press the
for the telephone, press the 1, 2, 3 or 4 button for
the handset you want to call or press the * button
(asterisk) for all handsets.
See chapter 8 for registering multiple handsets on
the FX-5555.
3.2.2 Call-forwarding:
During a call with the outside line, start an intercom
call as described earlier and disconnect the call as
soon as the other party answers. The outside line
will now be forwarded.
3.2.3 Conference call:
During a call with the outside line, start an inter-
com call as described earlier
party answers, press and hold the INT button for
2 seconds to add the outside line to the intercom
conversation.
4 MEMORIES
The telephone has
telephone numbers. The handset has a memory
capacity for 50
memories are not linked to each other and must be
programmed and edited separately
4.1 T
Programming:
1. press and hold the button for 3 seconds
until the symbol illuminates
2. use the keypad to enter the number
(max. 24 digits)
3. press the OK button
Dialling:
1. briey button
2. use and to search for the desired number
(the numbers are stored in the order they were
programmed in)
3. pick up the receiver or press the button the
dial the number
Editing:
1. briey button
2. use and to search for the desired number
3. press and hold the button for 3 seconds
4. use the button to delete the old number
and use the keypad to enter the new number
5. press the OK button
Deleting:
1. briey button
2. use and to search for the desired number
3. briey button
4. press the OK button
4.2 Handset.
Programming:
1.
press the MENU button and then the OK button
2. press the OK button and use the keypad to
enter the name (max. 14 characters)
3. press the OK button and use the keypad to
enter the telephone number (max. 24 digits)
press and hold the # button for 2 seconds to
enter a dialling pause
preferably
area code
4. press the OK button
Dialling:
1. press the button
2. use and to search for the desired number
(memories are stored in alphabetical order)
3. press the button to dial the selected number
Correcting:
1. press the MENU button
2. press the OK button and use and to
select EDIT ENTR
3. press the OK button to search for the desired
contact
4. press the OK button and then the button to
delete the name
5. use the keypad to enter the new name and
press the OK button
6. repeat this for the number and press the OK
button
Deleting:
1. press the MENU button
2. press the OK button and use and to
select DELETE (to only delete the selected
number) or DELETE
3. press the OK button and search for the de-
sired contact
4. press 2x the OK button to delete the selected
contact or all contacts
5 REDIALLING
The telephone and the handset each have their
own last dialled number memory: the telephone
remembers the 5 last dialled numbers while the
handset remembers the
Dialling: (both the telephone and handset)
1. press the button and use the and but-
tons to select the desired last dialled number
2. pick up the receiver or press the button to
redial the number
Saving:
T
1. press the button
2. use the and buttons to select the desired
last dialled number
3. press and hold the button for 3 seconds
4. press the OK button
Handset:
1. press the button
2. use the and buttons to select the desired
last dialled number
3. press 2x the OK button, add the name and
press 2x the OK button again
Deleting:
T
1. press the button
2. use and to search for the desired number
3. briey button
4. press the OK button
Handset:
1. press the button
2. use the and buttons to search for the
desired number
3. press the OK button and use and to
select DELETE (to only delete the selected
number) or DELETE
4. press 2x the OK button to delete the selected
or all last dialled numbers
USER’S MANUAL
1 INTRODUCTION
The FX-5555 is a combination of a wired tele-
phone and a wireless handset. The wired tele-
phone contains the transmitter and receiver for the
connection with the wireless handset. Y
connect multiple wireless handsets to the wired
telephone; for this, see chapter 8.
VERY
During a power outage, you can only use
the receiver of the telephone for calls. The
wireless handset and the speaker function
can no longer be used and also the memory won’t be
accessible (however
During a power outage, any incoming calls will only
be notied on
will not ring in this case.
TERMS:
This user
this device:
the base device, with telephone re-
ceiver and spiral wire: ‘telephone’
The wireless handset is
called ‘handset’
2.3 Handset:
Batteries:
Slide down the battery cover and install the 2 sup-
plied batteries paying attention to the + and -. Slide
the battery cover back onto the handset.
Charging:
Put the adaptor
socket and place the handset onto the charger to
charge the batteries. Charge the batteries continu-
ously for 15 hours.
3 OPERA
3.1 Calling:
Normal or hands-free:
Pick up the telephone’s receiver to make regular
calls or press the button to enable the speaker
function. Put down the receiver or press the
button to disconnect a call.
Press 1x the handset’s button to make regular
calls or press again to enable the speaker func-
tion. Press the button to disconnect the call (or
place the receiver back onto the charger).
Call volume:
Y
call. For this, use the handset’s and buttons
or the VOL+ and VOL- buttons of the telephone.
T
Insert the telephone wire into the TEL.LINE input
at the rear of the telephone and insert the tele-
phone plug into a telephone wall socket.
Power adaptor
Insert the adaptor plug into the POWER 6VDC
input at the rear of the telephone and insert the
adaptor into a
Y
nudge to prevent it from being pulled out of the
telephone by accident.
2.2 Clock setup: (on the telephone)
1. press and hold the button for 3 seconds
until --:-- --
D
/--
M
appears in the display
2. now use the keypad to enter the following in
order: (use 2 digits per input)
• the hours
• the minutes
• the day
• the month
3. press the OK button
The time is automatically transferred to the hand-
set.
Y
handset; this data will then be transferred to the
telephone.
FX-5555
as a desk model as a wall model
+
-