Use low pressure water
to wash the device.
Contact points
Contact marks
Sensor
1
Go to ww for service contact details.
Looking af
T
the water with a tow
If charging or communicating becomes unstable
cradle with a damp cotton swab
Do not use any cleaning products on this device.
Option
Y
• AC adapter Model No
Resett
Y
Hold down all of t / / / ).
The screen is reset and the devic
Initialise the device after restarting.
Setting data and measurement data remain as they w
The time screen wi
re
Goal func
This function allows you to measur
Time r
Allows you t
exercise while checking the elapsed time.
during that time.
Distance race
Allows you t
Y
complete the set distance
1. Display the measurement scr
Press o
once pos
2. Displays the Measur menu.
Hold down on the m
3. Select Mode.
4. Select G.
5. Select whether to set Time or Distance.
6. Set the Time or Distanc.
7. Select OK.
8. Press to start measuring.
When thFinish ” screen is disp
An alarm noti
Set Estimated T” or “Estimated Distanc”screen settings to view and keep track of your
progress
Measure set.
YMeasure set. menu.
TMeasure set. menu, hold down on the measurement screen befor
Setting items Value Explanation (The initial settings are underlined)
Activity T Run , W Select the Activity Type y
Mode Set the Mode to suit the measurements you want to make
Chronograph Chr mode allows you to measure split times and
lap times (section measurement) simultaneously
Interval Interval mode allows you t
or light (recov
distance or time set in advance.
Goal Goal mode measures until the time or distance set in
advance is reached.
A SETTING 01-05
OFF
This function records laps automatically
distance set in advance is reached
distances.
A ON
OFF
This function automatically stops measuring when you stop
running, and resumes when y
T SETTING 01-03
OFF
Set t
sou
tar
HR ON
OFF
YON or OFF .
Alarm T
V
T
(vibration)
OFF
Set the alarm type and time.
Ta
(Only for the
measurement screen)
Lap, Light, Screen
Ch, OFF
Y
the screen while measuring.
GPS - Displays the number of GPS satellites being ac
Screen Screen 1-4
Display Lap Screen
Y
change the screen pattern and the measurement it
displayed for each scr
Y
for the interval function.
Settings
YSettings menu.
T on the time screen.
Setting items Value Explanation
Smart Phone - Register the smartphone to this device.*1
User Settings Height, W, DOB, Gender, HR
Zone
Set the user information.
Sy Language, Units, Clock , DST, Time
Adjust, T, Date F,
Inv, Contrast , A,
A, Alarm , K, Initialize,
Software V
Make settings for the device's system.
*1 F
website. www
9
1
1
1
• How to set a time and distance fInterval function)
• How to set and measure the tarT func
• How to monitor your heart rate (Heart rate function)
• How to communicate with e
• How to set the Ta func
• How to set the device to turn on the light autA function)
F
the following Epson w
w
Installing the Run Connect
This device allows y
View).
to the Internet.
Install Run Connec
1. Access the following website and download Run Connec
URL htt
2. Run the downloaded le and follo
screen.
Creating an A
1. Connect th
installe
2. Place the device in
Check that th
on the crad
Run Connec
3. Click Creat and enter your details
Uploading your recorded Data
Connect your RU
automatically appearLo and Password and click Upload .
View y
1. Click Star on the Run Connec
Or access the fo
URL htt
2. Click the data you w
• For inf
• For inf
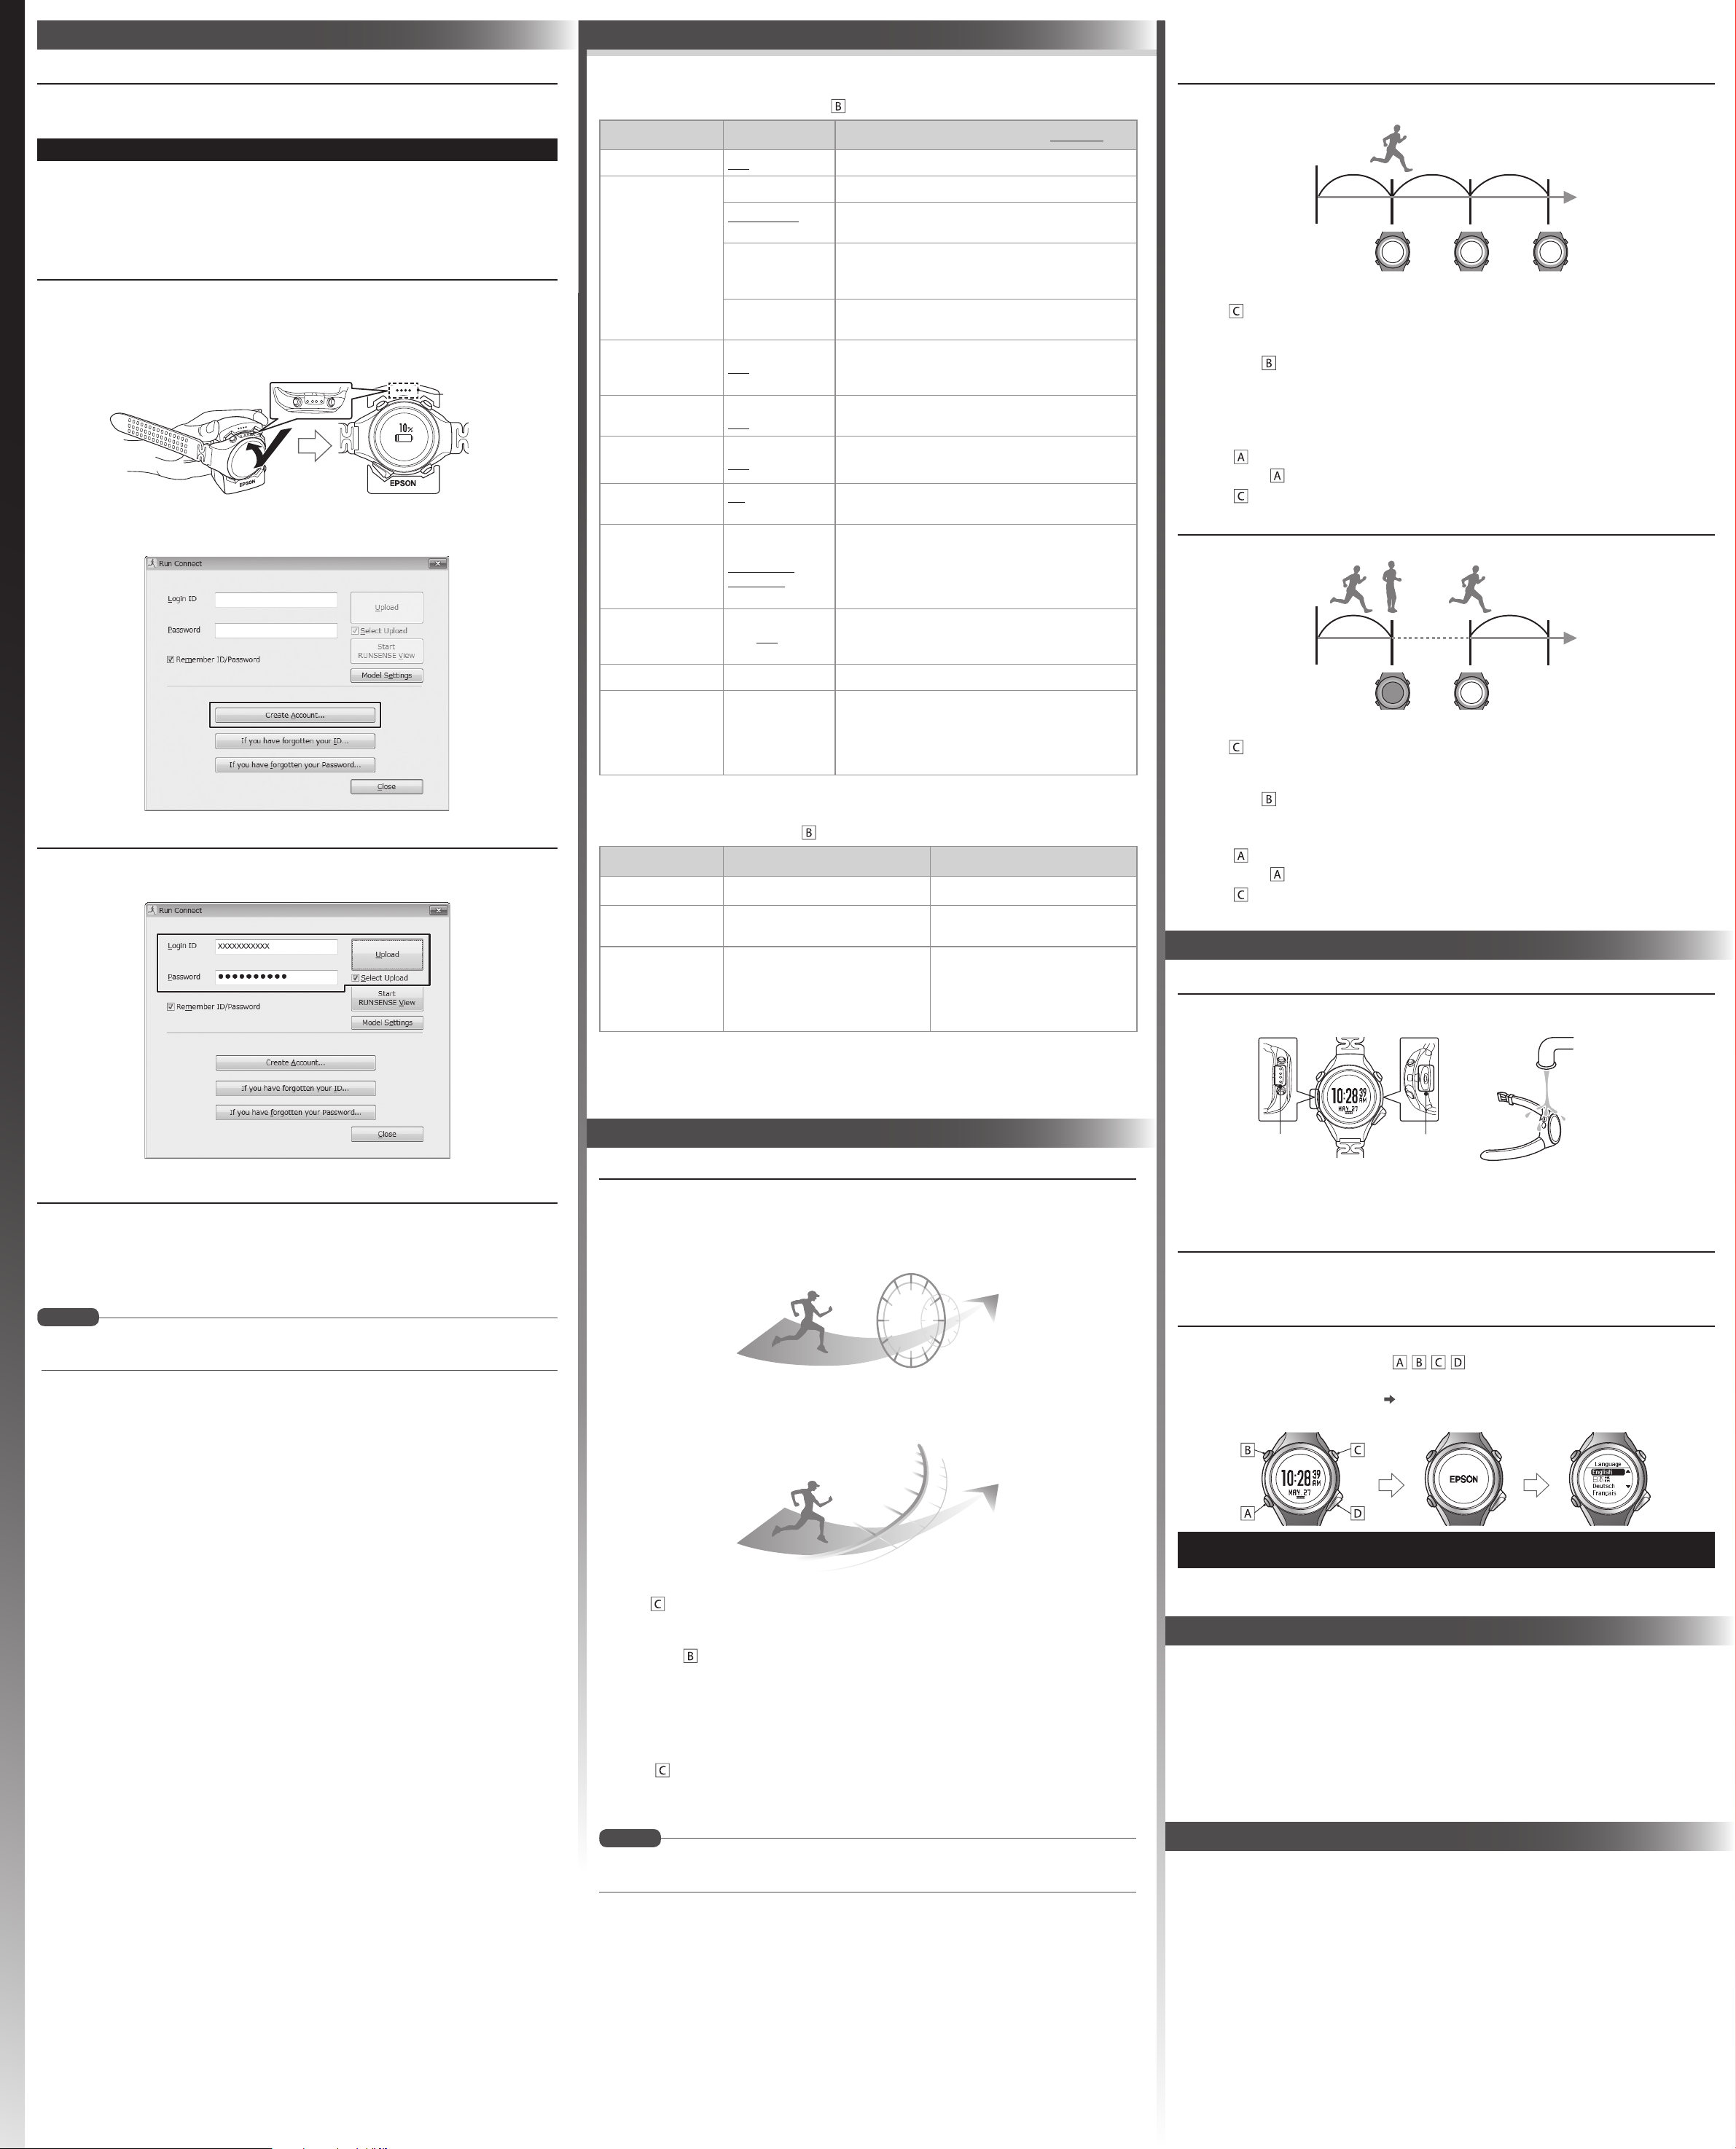
AT
When a time or distance set in advance is r
distance.
1. Display the measurement scr
Press o
once pos
2. Displays the Measur menu.
Hold down on the m
3. Select A.
4. Select one of the No Data from 1 to 5.
5. Select whether to set Time or Distance as the length of the lap
6. Set the Time or Distanc.
7. Press to complete the settings
8. Hold down again to return to the measurement scr
9. Press to start measuring.
AT
Measuring stops automatically when you stop running
1. Display the measurement scr
Press o
once pos
2. Displays the Measur menu.
Hold down on the m
3. Select A.
4. Select ON.
5. Press to complete the settings
6. Hold down again to return to the measurement scr
7. Press to start measuring.
8.
Data Manageme
MEMO
MEMO