9. Battery status indicator (Fig. 3)
The LED (6) indicates the charge state of the built-in
battery. After pressing the pushbutton (5), the LED
(6) will light up green or red.
Red
The battery is 0 - 50% discharged. The battery can
reach this state after jump starting a vehicle, for
example. The battery must be recharged. Continuing
to operate the unit from this point may damage the
battery. In order to preserve the operating life of the
battery, it should be recharged at least once every 3
- 5 months, irrespective of the amount of usage.
10. 12-volt compressor
10.1 Filling tires
Note! Use a tire pressure gauge to check the actual
tire pressure at the nozzle. Observe the information
in the vehicle’s owner manual concerning the filling
of tires.
1. Remove the valve cap from the valve.
2. Push the connector piece of the compressor all
the way down over the valve (Fig. 4/Item 1).
3. Secure the connector piece by flipping back the
locking lever on top of the connector (Fig. 4/Item
2).
10.2 Filling air mattresses, etc.
Important! Because of the material composition of
air mattresses, rubber rafts, etc., obtaining an exact
air pressure read-out is not possible. Therefore, pay
special attention to ensure that you do not overfill
these objects, as they will burst!
쐌 Select the appropriate adapter and insert it into
the connector piece of the air hose.
쐌 Secure the connector piece by flipping back the
locking lever on top of the connector (Fig. 4/Item
2).
10.3 Starting up the compressor
Important! Please read the bulleted items listed
under „1. Important Notes“ prior to starting up the
compressor. Ensure that the compressor cools
down for 30 minutes after it has run for 10 minutes.
쐌 Check the pressure gauge (Fig. 2/Item 13) prior
to switching on.
쐌 To switch on, flip the ON/OFF switch
(Fig. 2/Item 12) to „I“.
쐌 To switch off, flip the ON/OFF switch
(Fig. 2/Item 12) to „0“.
11. Maintenance and care
쐌 Be sure to switch off the energy station and
disconnect all cables from the unit whenever you
perform any cleaning or maintenance work.
쐌 As far as possible, use only a soft dry cloth
without any aggressive solvents to clean the
surface. If absolutely necessary, use a slightly
dampened rag to remove dirt.
12. Repair
Should the tool experience problems beyond those
mentioned above, let only an authorized professional
or a customer service shop perform an inspection.
13. Ordering replacement parts
Please quote the following data when ordering
replacement parts:
앬 Type of machine
앬 Article number of the machine
앬 Identification number of the machine
앬 Replacement part number of the part required
For our latest prices and information please go to
www.isc-gmbh.info
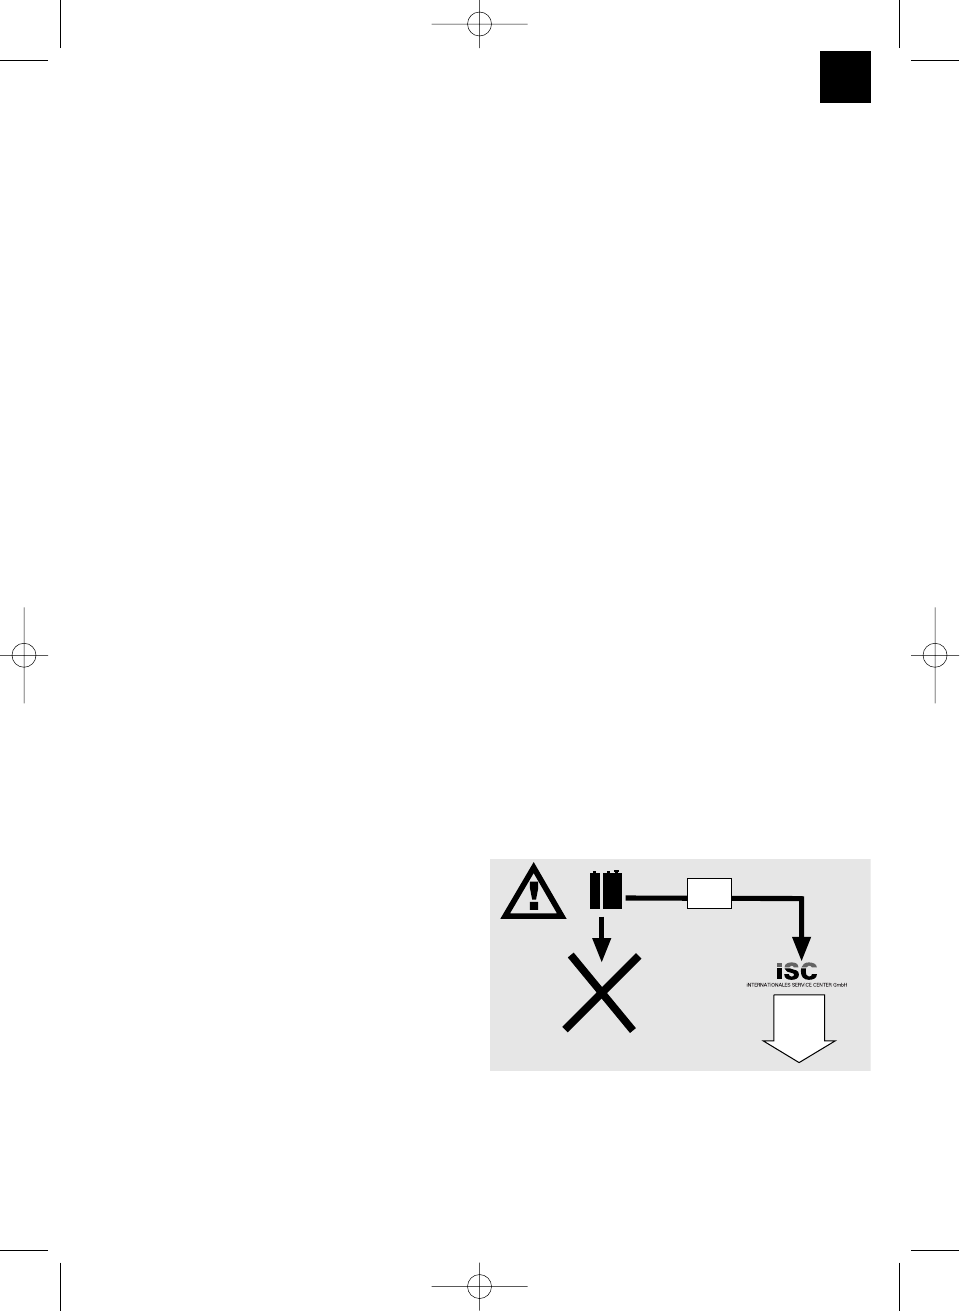
14. Disposal
The tool, accessories and packaging should be
disposed of in an environmentally-friendly fashion.
Plastic parts are coded for purposes of separation
when recycling.
13
GB