Angle selection
So
these discs, the same scene can be viewed from each of these different angles.
Notes:
• This function can only be used for discs on which scenes shot from multiple angles have
been recorded.
• If only one angle is recorded, “
1/
” is displayed.
1. While yo
angles recorded, press the ANGLE button to
view the number of the current angle available.
2. Press the ANGLE button repeatedly to change
the scene to the next recorded angle.
• After approx. two seconds, playback will
continue from the new angle you selected.
• If no button is pressed within 10 seconds,
playback continues without changing the
current angle.
DISPLA
Using DISPLA
ANGLE, A
• While the disc is plaDISPLA b
Elapsed time: Elapsed time from the beginning of the chapter which is currently playing.
Remaining time: Remaining time of the title which is currently playing.
GOTO function
This function allows you to skip directly to any part of the disc while a disc is playing. Press
or button to highlight time.
Note:
• After adjusting the settings, press the DISPLA butto
screen.
Locating a specific title
If a Dcan lo
number.
1 In stop mode, press the GOTO button.
2
or button to highlight a specific field and
press the corresponding number button(s) for the title
you want.
3 Press the ENTER button to confirm. The unit will start
playback about 3 seconds later.
Title/Chapter / - - -- - -
Locating a specific title / chapter / track
If you know the title/chapter/track number for the title/chapter/
track that y
selecting that number.
1GOTO button to search for your desired title/
chapter/track.
2 Press
or button to highlight a title/chapter/track and
press the corresponding number button(s) for the chapter
you want.
3 Press the ENTER button to confirm. The unit will start
playback about 3 seconds later.
DV
Locating a specific time
Y
1 Press the GOTO button.
2 Press or button to highlight time.
3 Press the corresponding number buttons for the setting
point you want.
4 Press the ENTER button to confirm. The unit will start
playback about 3 seconds later.
Programmable memory
The two types of programmed playback provided by this Unit are title programmed playback
and chapter programmed playback.
DV
CD/D
Title / Chapter programmed playback
1MEMORY button while the disc is
stopped.
2 Enter the title numbers in
- -
. Use or
button to highlight your desired chapter and
enter the chapter numbers in
- -
.
3 Use
, , or button to move to another
field.
4
5. Press the
PLAbutto
programmed playback.
Note :
• If you press the
STOP button twice, the programmed selections will be cleared.
Title Chapter
T
1 Press the MEMORY button while the disc is
stopped.
2
- - -
.
3 Use
, , or butto
field.
4
5. Press the
PLAb
programmed playback.
CD
Y
(Title repeat, chapter repeat, A-B repeat)
Repeating a chapter
Y
1 While the disc is plaREPEA buttountil the “
Repe
” indicato
displays o
Repeating a title
Y
2REPEA button until the “
Repeat Title
” indicato
displays o
T
3 While the disc is plaREPEA button until the “
Off
” indicato
on the screen.
Y
Repeating a single track
Y
1 While the disc is plaREPEA buttountil the “
Repe
” indicato
displays o
Repeating a whole disc
2REPEA bu
Repeat All
” indicato
displays o
T
3REPEA button until the “
Off
”
CD
Repeating a specific section
Y
1REPEA butto
((
Rep A-
) is displa
2REPEA butto
Re
) is displayed).
3
T
4REPEA button until the “
Off
” indicatodispla
on the screen.
This unit can play MP3 and Picture files recorded on CD-R and CD-RW discs.
Playing an MP3/Picture file disc
1OPEN switch to open the disc door.
2
push it onto the spindle with the label side facing up
you until you hear a “click”.
3. Close the disc door.
4. The unit will load the disc and automatically display the
contents of the disc on the screen, while also beginning
to play the first MP3 file or Picture files. These files will
then be played back one by one.
5
, , or CURSOR button to view and
select the files that you want to listen to, then press the ENTER button to confirm the
selected file.
PLA
Single
Car
Calender
1/117 00:00:35
(Root)
CD-ROM
2
3
4
5
6
7
8
Folk
Rock
Flower
Map
Modern
1
Notes:
• Y
II
P butto PLA butto
to resume playback.
• YGOfunctio
number and quickly select any image.
• Press the ANGLE button on the remote control to rotate the picture orientation by 90°.
Playable files
The ability of this unit to read MP3 discs is dependent on the following:
•
The Bit Rate must be within 64 - 256 kbps.
•
The total number of files on the disc should not exceed 254.
•
The maximum number of directories should not exceed 32.
•
The maximum depth level of directories should not exceed 4.
•
File names should be named using 7 or fewer letters and/or numbers, and must incorporate
the “MP3” file extension. EXAMPLE: *******.MP3 where each * is a letter or number.
•
Use only letters and / or numbers in file names. If you use special characters, the file
and/o
•
When recording on CD-R discs, use 74-minute (650MB) discs.
•
The CD-R or CD-RW discs should be “finalized” on the computer using “single session
format”.
• See your CD/MP3 creation software for more information.
LANGUAGE setting
1SETUP button in stop mode.
2 Use
or button to select a language, then press the
ENTER button. The screen will change to your selected
language immediately
3 T
press the RETURN button.
VIDEO setting
1SETUP button in stop mode.
2 Use
or bVideo , then press the ENTER
button.
3 Use or button to select the options (TV Shape, Brightness
or Edges) to be adjusted by pressing
or button, then
press the ENTER button. (The screen will change to your
desired setting).
4
5 T
screen, press the RETURN button.
Notes :
• The visible picture size is preset o
the playbac
to the picture size you select.
• When yo
the playback picture will always appears in the 4:3 aspect
ratio regardless of the TV shape setting.
RA
D
co
disc to disc. For example, if the disc allows, you could lock-out violent scenes unsuitable
for children or you could lock out playback of the disc altogether.
Note :
It takes 3-5 seconds to reset the unit to the factory
default.
1SETUP button in stop mode.
2 Use
or button to select Rating , press the ENTER
button.
3 Use or button to select parental lock and then
press the ENTER button repeatedly to set the parental
lock level.
4 Use
or button to shift and select Password,
enter your 4-digit security code and then press the
ENTER button.
Y
level you selected unless you cancel the parental
lock function.
The parental lock levels are equivalent to the following
ratings.
Level 1 : Kid Safe Level 5 : PG-R
Level 2 : G Level 6 :
Level 3 : PG Level 7 : NC-17
Level 4 : PG-13 Level 8 : Adult
T
Notes:
• A-B repeat can only be used within the same title. If the start and end of the section to
be repeated are in different titles, A-B repeat is cancelled.
• The A-B repeat function does not operate in scenes where different camera angles are
recorded.
Indicates Parental
lock is NOT active.
The Parental lock is
active.
If you forget the password,
you can erase your current
password by pressing
number button 8 on the
remote four times, then
press the ENTER button to
confirm the setting
(P
Cleaning Disc
A defective or soiled disc inserted into the unit can cause sound to drop
out during playback.
Handle the disc by holding its inner and outer edges.
• Do NOT touch the surface of the unlabeled side of the disc.
• Do NOT stick paper or tape on the surface.
• Do NOT expose the disc to direct sunlight or excessive heat.
• Clean the disc before playback. Wipe the disc from the center outward with a cleaning cloth.
• NEVER use solvents such as benzine or alcohol to clean the disc.
• Do NOT use irregular shape discs (example : heart shaped, octagonal, etc.). They may cause
malfunctions.
Cleaning the unit
• Be sure to turn the unit off and disconnect the AC adapter before maintaining the unit.
• Wipe the unit with a dry soft clo
which has been dipped in a weak so
with a dry cloth.
• Never use alcohol, benzine, thinner, cleaning fluid or other chemicals. Do NOT use compressed
air to remove dust.
Important Note
Before transporting the unit, remove any disc from the disc compartment.
MAINTENANCE
Specifications and external appearance are subject to change without notice.
Need More Help?
DO NOT RETURN THIS TO THE STORE
Please visit online help at
http://www
Printed in China 81127091-190
PORTABLE DVD
PLAYER
OWNER’S MANUAL
SYMPTOM CUSE (AND REMED
• The region number of the disc doesn't match the region number of
this unit.
• Clean the disc.
• The disc is scratched.
The picture is
not clear
No picture
• Mak
• The system is in pause mode
PLAbutto
normal play mode.
• The unit is in fast-f
PLA
button to return to normal play mode.
• Make sure that AUDIO / VIDEO output connections are correct.
• The DTS D
• The unit is too hot, shut off the unit for 30 minutes to cool it down.
The remote
control does
not function.
• Check that the AC adapter is connected.
• The unit is not turned on.
No power.
DVD
No sound or
only a very low-
level sound is
heard.
• The plugs and jacks are dirty
with alcohol.
• Clean the disc.
• There is no disc inside ("No Disc" appears on the screen).
• Insert the disc correctly with the playback side facing down.
• Clean the disc.
• A non-NTSC disc has been inserted. The unit and disc region number
are incompatible.
• Condensation may have formed inside the unit due to a sudden
change in temperature. Wait about an hour for it to clear and try
again.
The disc does
no
Severe hum or
noise is heard.
• Remove any obstacles between the remote and the unit.
• Use the remote near the unit.
• Point the remote at the remote sensor on the unit.
• Replace all the battery in the remote with new ones.
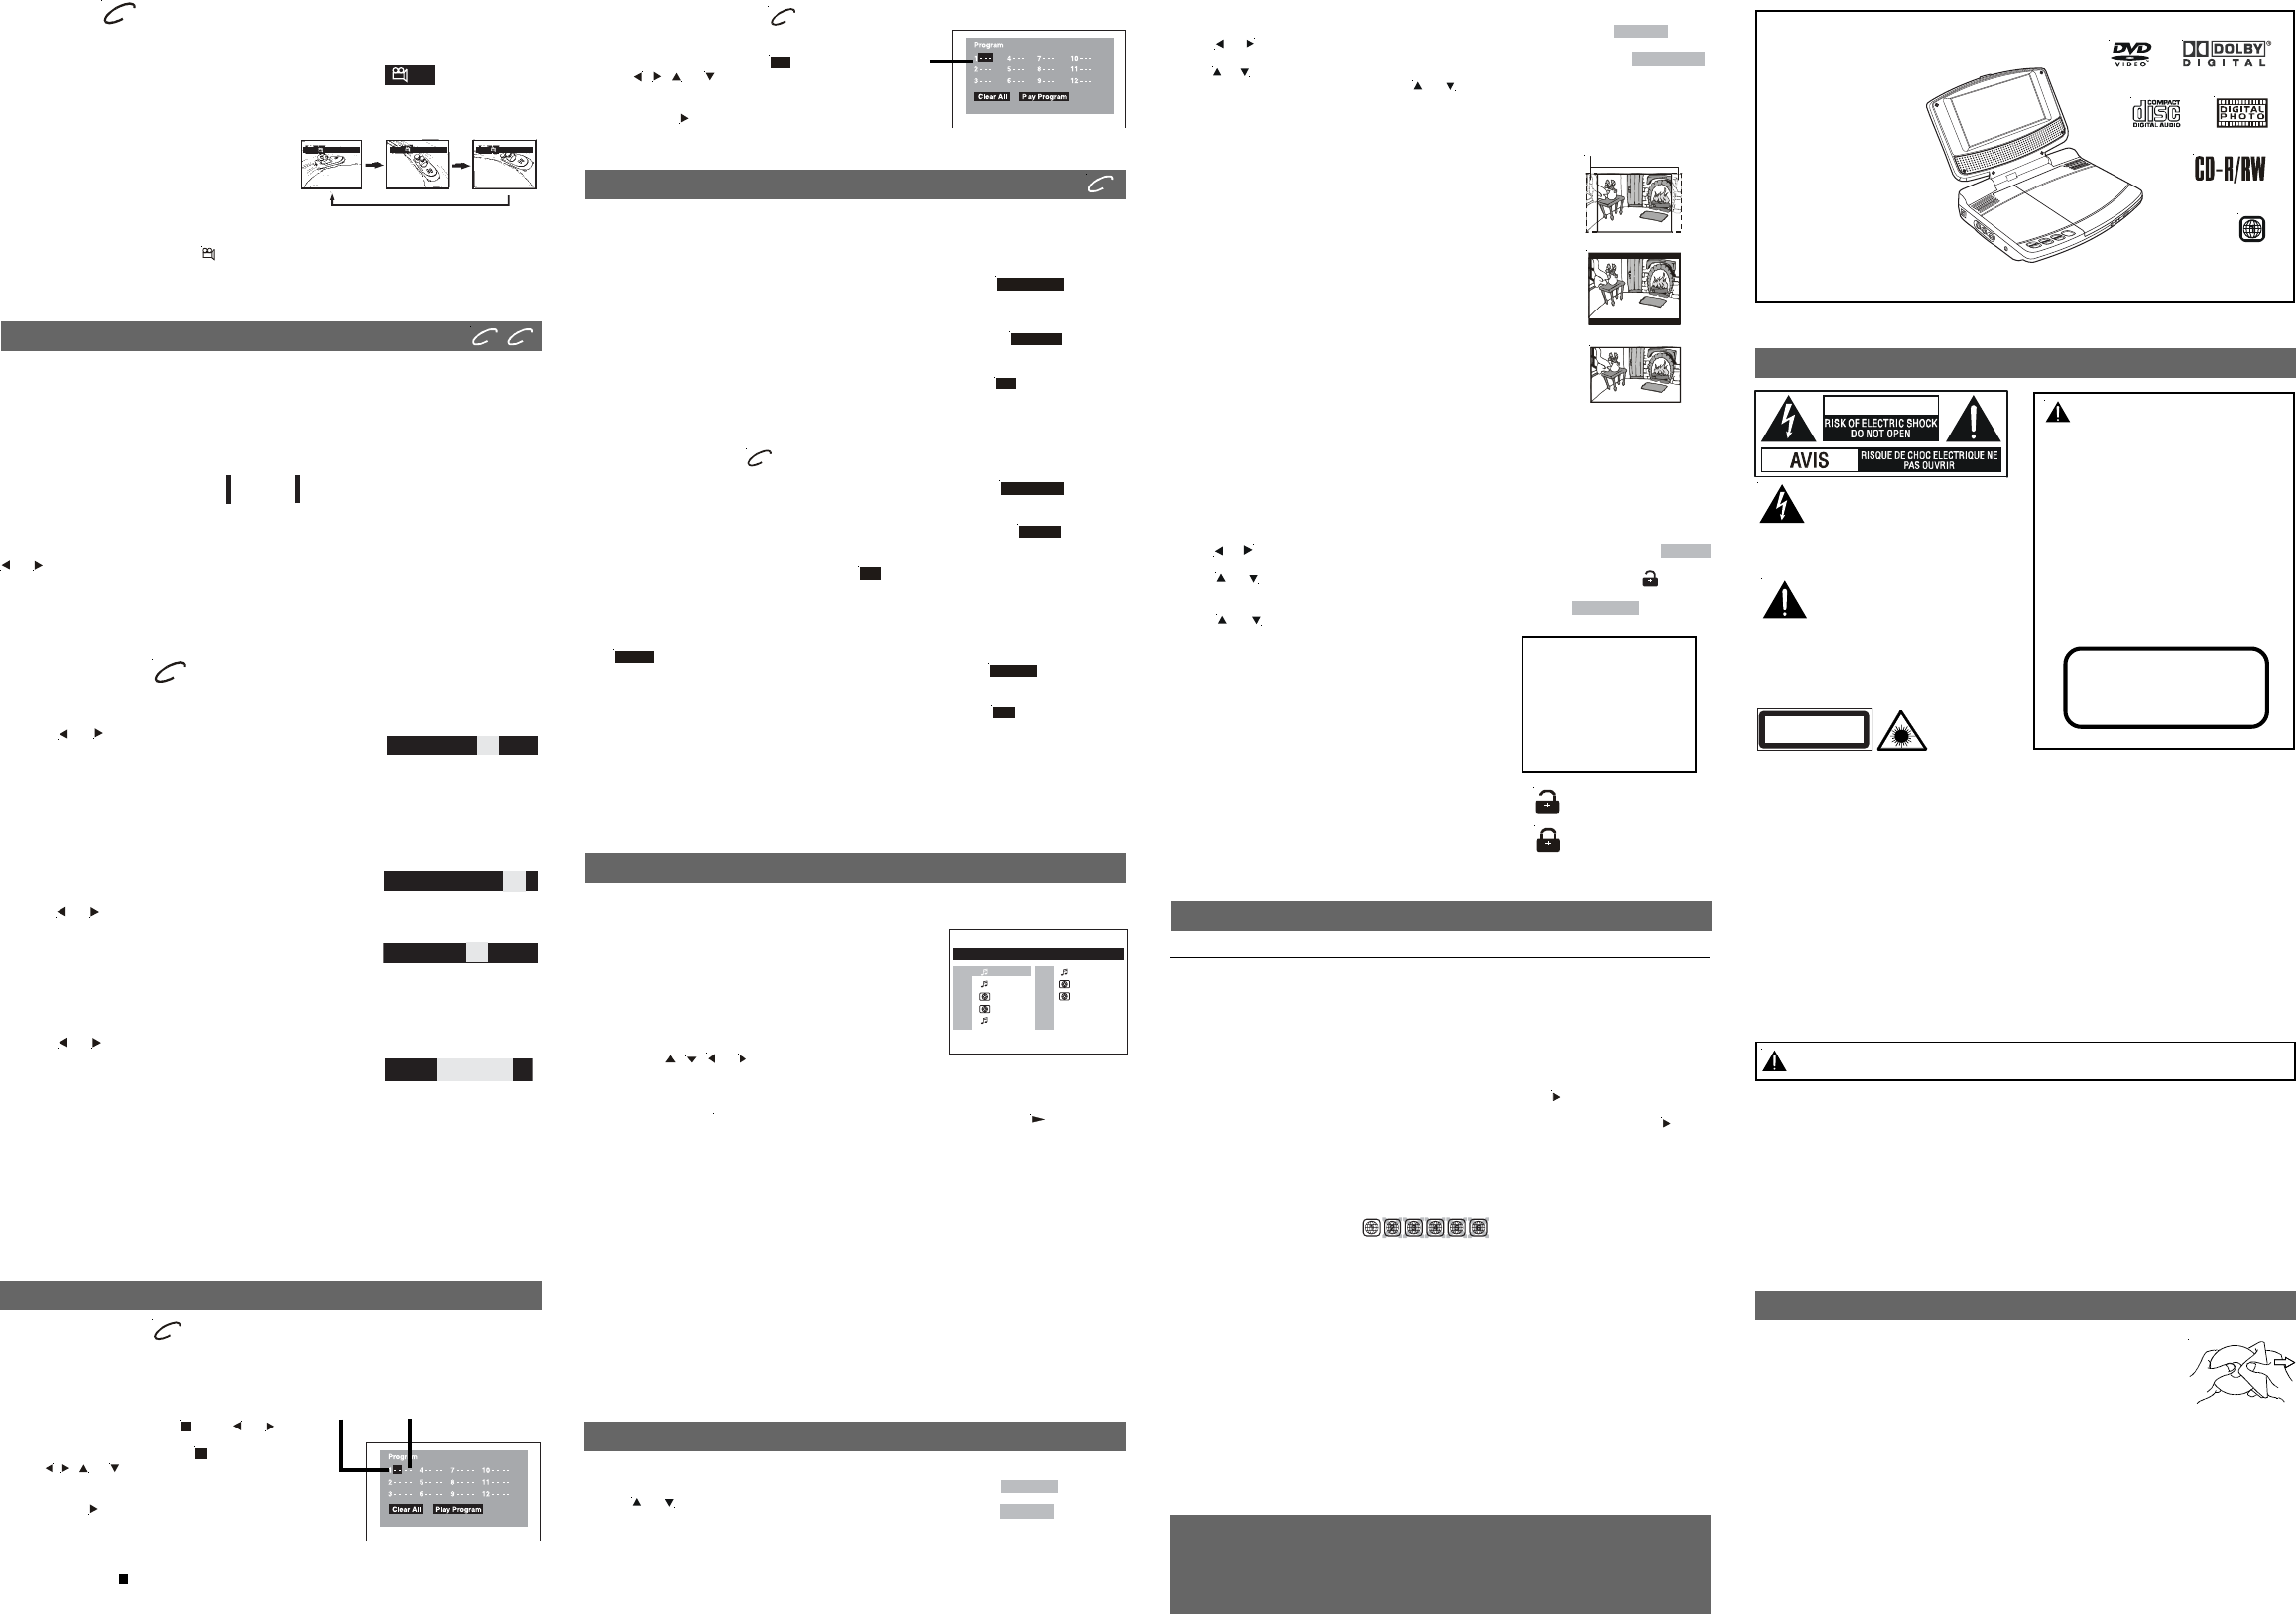
Pan Scan
• When wide-screen video is played, this mode clips the right and left
sides of the image so that it can be viewed on a conventional screen.
• So
are automatically played in letterbox mode (black bands top and
bottom).
Letter Box
• When wide-screen video is played in this mode on a conventional
screen, black bands appear at the top and bottom of the screen.
Wide-screen
• This is the correct mode for playing wide-screen videos on a wide-
screen.
Cut off when a wide-screen
video image is played.
Pan Scan
Letter Box
Wide-screen
DVD
REPEA
CUST
TROUBLE SHOOTING GUIDE
E - 1 E - 7
DV
CAUTI
CAUTION
INVISIBLE LASER RADIATION
WHEN OPEN AND
INTERLOCKS DEFEATED.
AVOID EXPOSURE TO BEAM.
SAFETY PRECA
The exclamation point within the
equilateral triangle is intended to
alert the user to the presence of
important operating and maintenance
(servicing) instructions in this owner manual.
The lightning flash with an
arrowhead symbol, within the
equilateral triangle, is intended to
alert the user to the presence of
uninsulated "dangerous voltage" within the
product's enclosure that may be of sufficient
magnitude to cause an electric shock.
* SEE BOTTOM OF UNIT FOR GRAPHIC
SYMBOLS *
This product
contains a low
power laser device.
On Placement
• Do not use the unit in places which are extremely hot, cold, dusty, or humid.
• Do not restrict the air flow of the unit by placing it in a place with poor air flow, by covering
it with a cloth, or by placing it on carpeting.
FCC Information
This device complies with Part 15 of FCC Rules.
Operation is subject to the following two conditions:
(1
(2
undesirable operation.
On Safety
• When connecting or disconnecting the AC adapter, grip the plug and not the cord itself.
Pulling the cord may damage it and create a hazard.
• When you are not going to use the unit for a long period of time, disconnect the AC adapter.
On Condensation
• When left in a heated room where it is warm and damp, water droplets or condensation
may form inside the unit. When there is condensation inside the unit, the unit may not
function normally. Let the unit stand for 1 to 2 hours before turning the power on, or gradually
heat the room up and dry the unit before use.
Rating Plate Location
• The rating plate is located on the bottom of unit.
Notes on Copyright
It is forbidden by law to copy, broadcast, show, broadcast on cable, play in public, rent
copyrighted material without permission.
Apparatus Claims of U.S. Patent Nos. 4,631,603; 4,577,216; 4,819,098 and 4,907,093
licensed for limited viewing uses only.
DVD video discs are copy protected, and any recordings made from these discs will be
distorted. This product incorporates copyright protection technology that is protected by
method claims of certain U.S. patents and other intellectual property rights owned by
Macrovision Corporation and other rights owners. Use of this copyright protection technology
must be authorized by Macrovision Corporation, and is intended for home and other limited
viewing uses only, unless otherwise authorized by Macrovision Corporation. Reverse
engineering or disassembly is prohibited.
WSho
to a qualified technician.
WARNING: TO REDUCE THE RISK OF
ELECTRIC SHOCK, DO NOT REMOVE COVER
(OR BACK). NO USER-SERVICEABLE PARTS
INSIDE. REFER SERVICING TO QUALIFIED
SERVICE PERSONNEL.
WARNING:
TO PREVENT FIRE OR SHOCK HAZARD, DO
NOT EXPOSE
MOISTURE. DO NOT PLACE OBJECTS FILLED
WITH LIQUIDS ON OR NEAR
CAUTION:
DANGER OF EXPLOSION IF B
INCORRECTL
WITH
Notes :
• Some discs may not respond to this process.
• Some scenes may not be located as precisely as you specified.
• This method for accessing specific locations is available only within the current title of
the D
Language
English
Deutsch
Français
Español
Italiano
Svenska
Português
Rating
Pas
Parental
Factory Set
- - - -
8. Adult
No
Time - - : - - : - -
DVD CD
SPECIAL FUNCTIONS
Basic playback
Sequence of angle shots
(Example)
1/2
Angle BitRate
1/3
Angle BitRate
2/3
Angle BitRate
3/3
00:09:29 01:25:27
Elapsed Time Remaining Time
DVD
Title/Chapter - - - / - - -
CD
Tr - - -
Language
TV Shape
Brightness
Edges
Letter Bo
Off
Off
Video
CLASS 1 LASER PRODUCT