163914
3
Zoom out
Zoom in
Previous page
1/10
Next page
GE3
53mm
182mm
3
2
182mm
53mm
1
2
1
3
4
Biegen Sie
diese Klemmen ggfs. um
INSTALLATION
VORSICHTSMASSNAHMEN
Wählen Sie die Stelle, an der Sie das Gerät anbringen so aus, dass die normalen Fahrfunktionen
des Fahrers nicht gestört werden.
Installieren das Gerät nicht dort, wo es hohen Temperaturen ausgesetzt sein könnte, zum
Beispiel direkter Sonneneinstrahlung oder warmer Luft aus der Heizung bzw. nicht dort, wo es
Staub, Schmutz oder starken Vibrationen ausgesetzt sein könnte.
Verwenden Sie ausschließlich die mitgelieferte Haltevorrichtung für eine sichere Installation.
Entfernen Sie die Frontabdeckung, bevor Sie das Gerät installieren.
HINWEIS: Der Neigungswinkel für die Installation des Autoradius darf 30°
nicht überschreiten, da sich die Frontabdeckung sonst nicht öffnen lässt.
Hinweis: Bewahren Sie die Auslösetaste an einem sicheren Ort auf, da Sie diese benötigen, wenn
Sie das Gerät später aus dem Auto ausbauen möchten.
ISO ANSCHLUSS
RCA Ausgangsbuchse: RCA Eingangsbuchse:
: Rot (rechts) : Rot (rechts)
: Weiß (links) : Weiß (links)
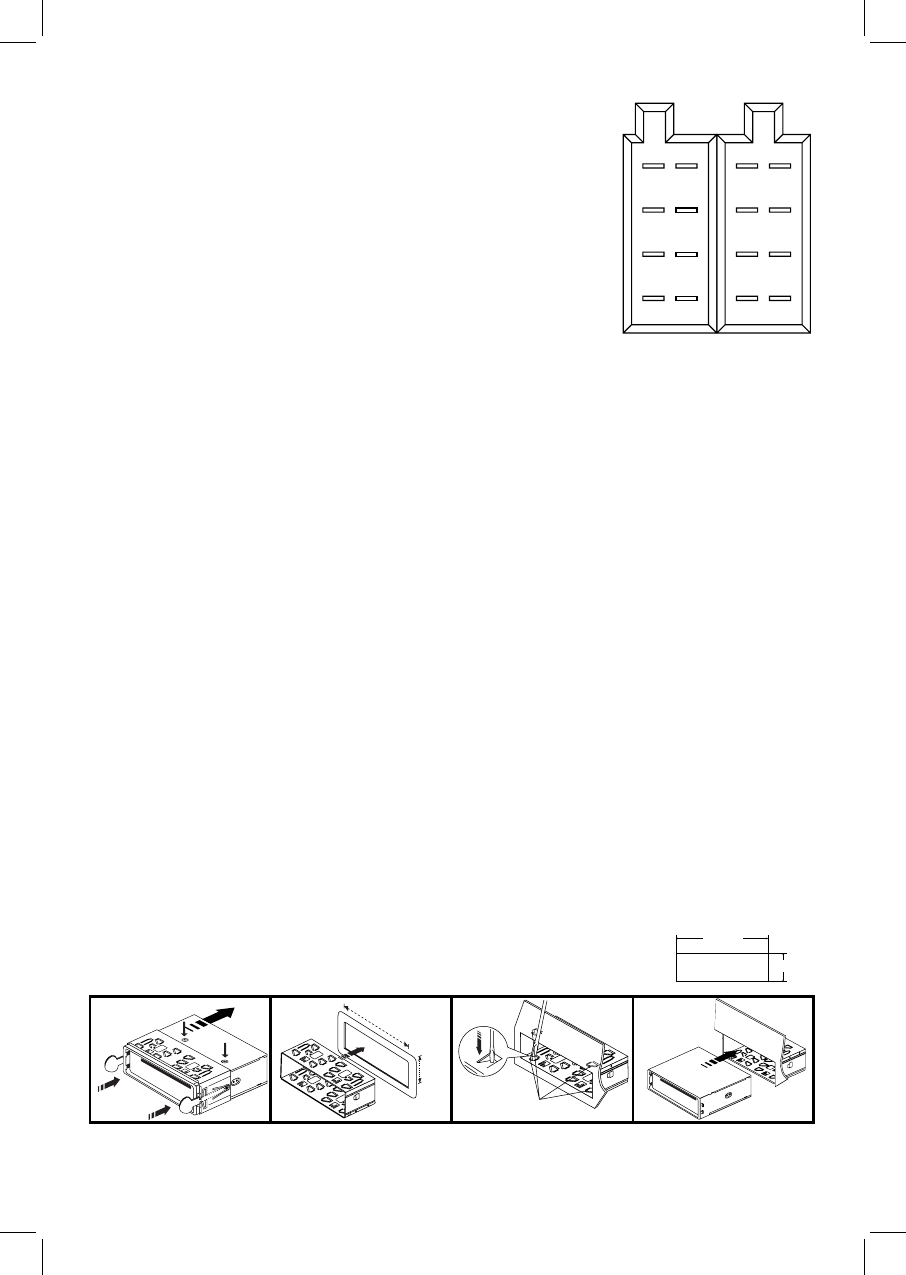
ANSCHLUSS A
1.
2.
3.
4. SPEICHER +12 V
5. AUTO ANTENNENAUSGANG
6.
7. +12 V (AN ZIGARETTENANZÜNDER)
8. ERDE
Hinweis: (Anschluss A Nr. 7) muss an den Zigarettenanzünder angeschlossen werden, damit
die Leistung der Autobatterie nicht nachlässt, wenn der Wagen über einen längeren Zeitraum
nicht benutzt werden sollte.
ANSCHLUSS B
1. HINTERER RECHTER LAUTSPRECHER (+)
2. HINTERER RECHTER LAUTSPRECHER (+)
3. VORDERER RECHTER LAUTSPRECHER (+)
4. VORDERER RECHTER LAUTSPRECHER (+)
5. VORDERER LINKER LAUTSPRECHER (+)
6. VORDERER LINKER LAUTSPRECHER (+)
7. HINTERER LINKER LAUTSPRECHER (+)
8. HINTERER LINKER LAUTSPRECHER (+)
Wartung
SICHERUNGEN AUSTAUSCHEN
Wenn die Sicherung nicht arbeitet, überprüfen Sie bitte den Stromanschluss und tauschen die Sicherung
aus. Sollte die Sicherung nach dem Austausch noch immer blockieren, könnte eine interne Fehlfunktion
vorliegen. Suchen Sie in diesem Fall die nächst gelegene Werkstatt auf.
Warnung
Verwenden Sie für jedes Kabel die genannte Sicherung. Die Verwendung von Sicherungen für höhere
Stromstärken kann zu schwerwiegenden Schäden führen.
B
12
34
56
78
12
34
56
78
A
lösen Sie die Schraube und
die Halterung
CAD370 (deu).indd 3 1/16/07 4:19:52 PM
3


Need help? Post your question in this forum.

Forumrules


Report abuse

Libble takes abuse of its services very seriously. We're committed to dealing with such abuse according to the laws in your country of residence. When you submit a report, we'll investigate it and take the appropriate action. We'll get back to you only if we require additional details or have more information to share.

Product:

For example, Anti-Semitic content, racist content, or material that could result in a violent physical act.

For example, a credit card number, a personal identification number, or an unlisted home address. Note that email addresses and full names are not considered private information.

Forumrules

To achieve meaningful questions, we apply the following rules:

Register

Register getting emails for Denver cad-370 at:


You will receive an email to register for one or both of the options.


Get your user manual by e-mail

Enter your email address to receive the manual of Denver cad-370 in the language / languages: German as an attachment in your email.

The manual is 1,33 mb in size.


You will receive the manual in your email within minutes. If you have not received an email, then probably have entered the wrong email address or your mailbox is too full. In addition, it may be that your ISP may have a maximum size for emails to receive.

Others manual(s) of Denver cad-370

Denver cad-370 User Manual - English - 10 pages


The manual is sent by email. Check your email

If you have not received an email with the manual within fifteen minutes, it may be that you have a entered a wrong email address or that your ISP has set a maximum size to receive email that is smaller than the size of the manual.

The email address you have provided is not correct.

Please check the email address and correct it.

Your question is posted on this page

Would you like to receive an email when new answers and questions are posted? Please enter your email address.


Info