ENGLISH
19
10
SETTING UP THE SYSTEM
• Once all connections with other AV components have been completed as described in “CONNECTIONS” (see pages 9 to 17), make the
various settings described below on the display.
These settings are required to set up the listening room’s AV system centered around the this unit.
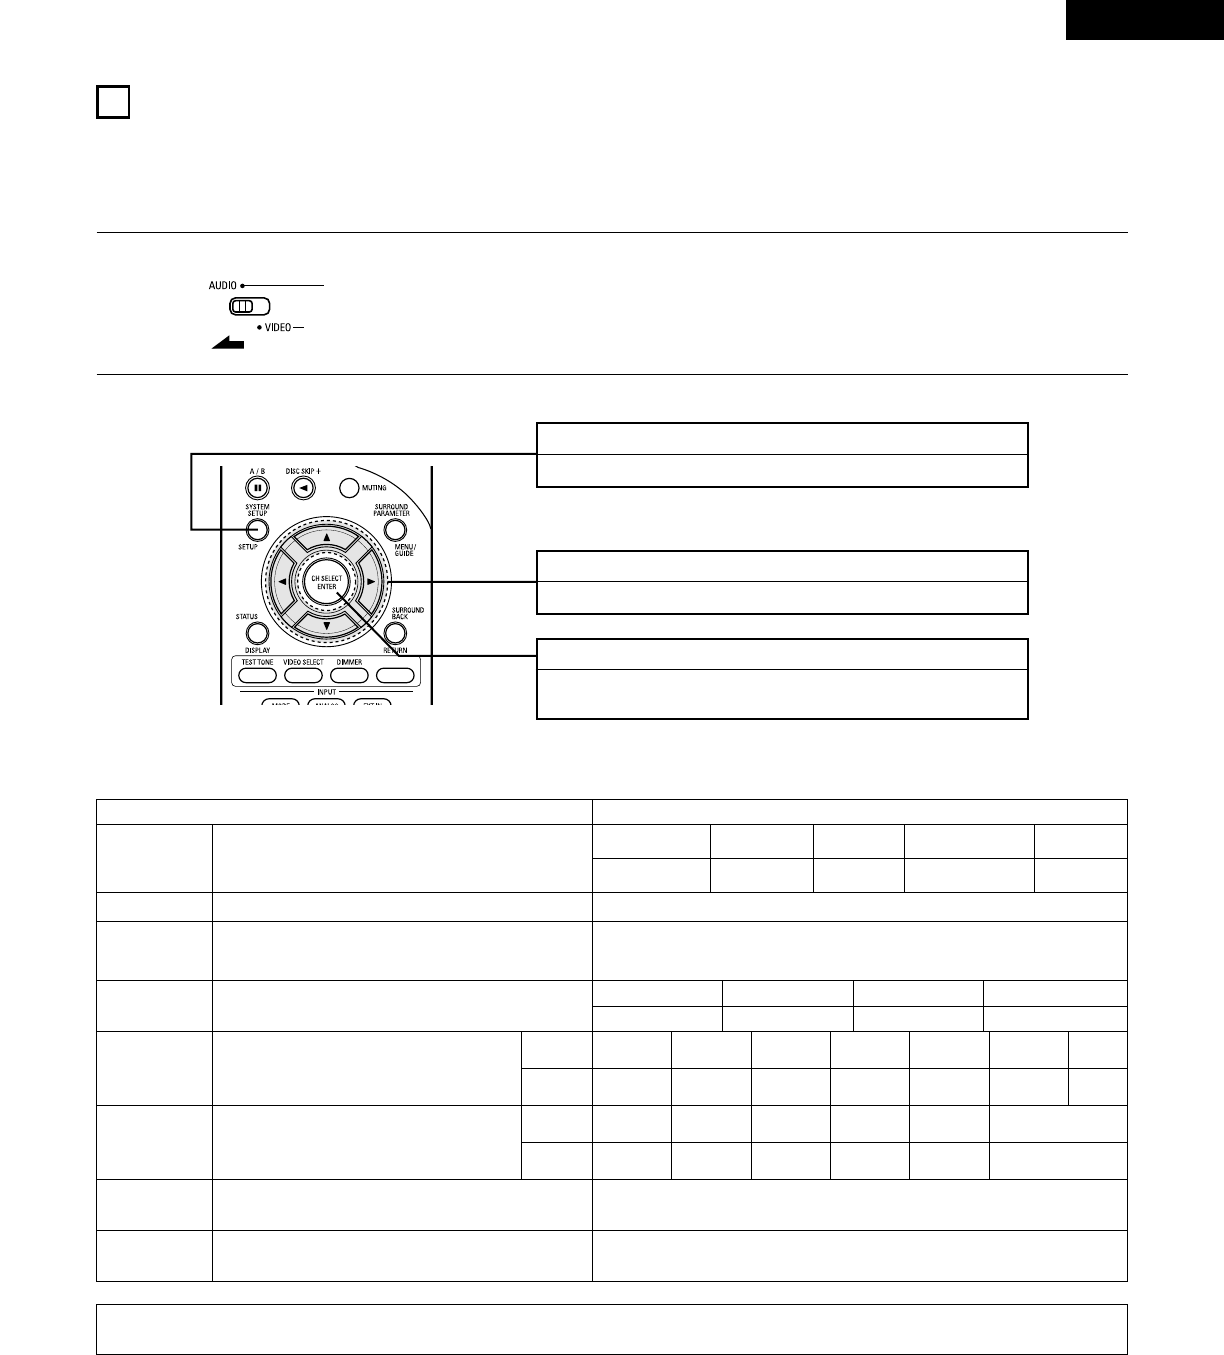
• Use the following buttons to set up the system:
SYSTEM SETUP button
Press this to display the system setup on the display.
CURSOR buttons (•, ª, 0, 1)
Press this change what appears on the display.
ENTER button
Press this to switch the display.
Also use this button to complete the setting.
1
Set the slide switch to “AUDIO”.
2
Use the following buttons to set up the system:
• System setup items and default values (set upon shipment from the factory)
NOTE:
• The system setup is not displayed when “HEADPHONE ONLY” is selected.
System setup Default settings
Speaker
Configuration
Subwoofer mode
Digital In
Assignment
Auto Surround
Mode
Input the combination of speakers in your system and their
corresponding sizes (SMALL for regular speakers, LARGE for full-
size, full-range) to automatically set the composition of the signals
output from the speakers and the frequency response.
This selects the subwoofer speaker for playing deep bass signals.
This assigns the digital input jacks for the different
input sources.
Auto surround mode function setting.
Input
source
Digital
Inputs
Front Sp.
Large
Center Sp. SubwooferSurround Sp.
Small YesSmall
Normal
Front & Subwoofer Center Surround L & R
12 ft (3.6 m) 12 ft (3.6 m) 10 ft (3.0 m)
CD DVD/VDP TV/DBS
VCR-1
VCR-2 CDR/TAPE
—
COAXIAL OPTICAL 1 OPTICAL 2 OFF OFF OPTICAL 3 —
Auto Surround Mode = ON
Surround Back Sp.
Small
Delay Time
This parameter is for optimizing the timing with which the audio
signals are produced from the speakers and subwoofer according to
the listening position.
Surround Back
10 ft (3.0 m)
Crossover
Frequency
Set the frequency (Hz) below which the bass sound of the various
speakers is to be output from the subwoofer.
80 Hz
Video In
Assignment
This assigns the component video input jacks for the
different video input sources.
Input
source
Component
Inputs
DVD/VDP TV/DBS
VCR-1
VCR-2 V. AUX —
VIDEO 1 VIDEO 2 OFF OFF OFF —
Ext. In SW Level Set the Ext. In Subwoofer channel playback level. Ext. In SW Level = +15 dB