FUNZIONE AUTOMATICA SLEEP
La funzione automatica SLEEP è ideale per le ore notturne in quan-
to consente, all’interno della modalità di climatizzazione corrente
(condizionamento, deumidificazione, ventilazione o FULL AUTO), di
ridurre progressivamente il funzionamento del climatizzatore fino al
suo completo spegnimento. Per selezionare la funzione SLEEP pro-
cedere come segue:
Premere il tasto per l’accensione del climatizzatore.
Un beep segnalerà l’avvio del climatizzatore e sul display lampeg-
gerà il simbolo .
Poi premere più volte il tasto MODE, finché apparirà sul display il sim-
bolo della funzione desiderata.
Selezionare quindi la temperatura desiderata premendo i tasti
.
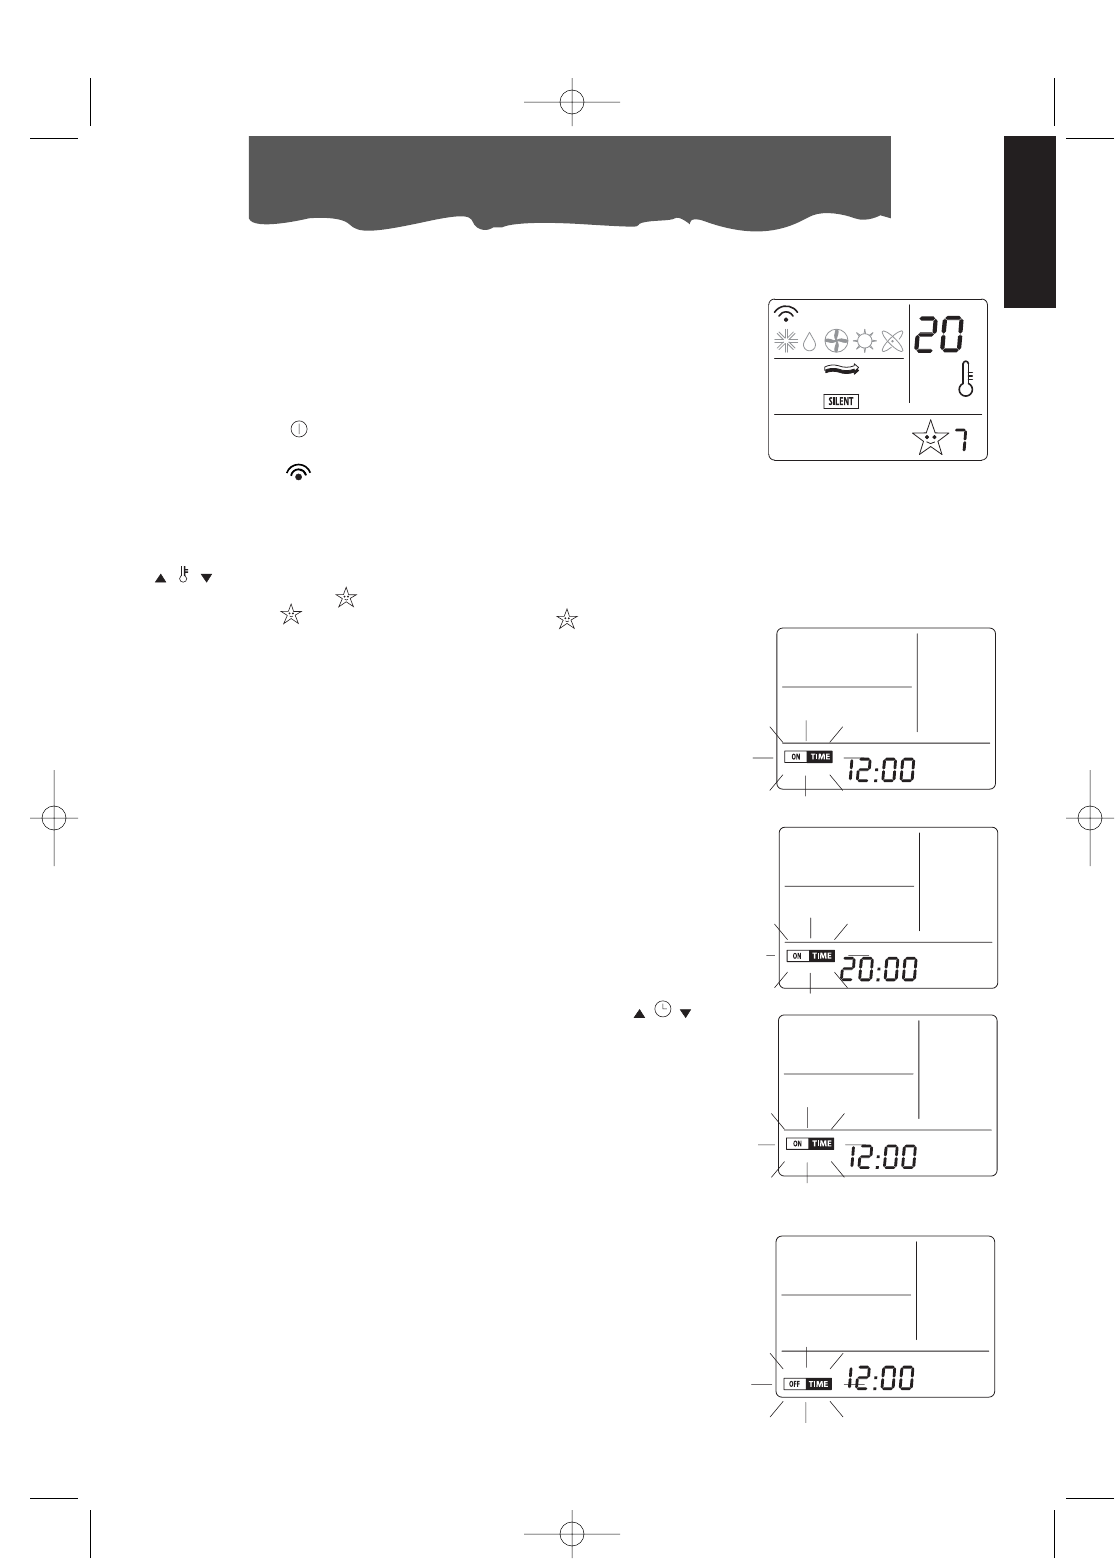
Ora premere il tasto per impostare la funzione notte: si accen-
derà il simbolo . Premendo più volte il tasto fino al numero di
ore desiderate (da 1 a 7) deciderete l’ora di spegnimento del cli-
matizzatore. Con questa funzione, il ventilatore funziona a bassa
velocità (silent).
La funzione notte consente di mantenere l’ambiente alla temperatura ottimale evi-
tando un eccessivo innalzamento o abbassamento della temperatura con funzio-
namento silenzioso. Il flusso d’aria diminuisce, mentre la temperatura dell’ambien-
te varia gradualmente seguendo le esigenze di benessere: aumenta di 1°C dopo
60 minuti e di 2°C dopo 2 ore.
PROGRAMMAZIONE DEL TIMER
Programmazione dell’accensione
A climatizzatore acceso, premere il tasto ON: inizierà a lampeggia-
re il simbolo ON TIME e l’orologio segnerà le ore 12:00.
Va ricordato che il timer avvia il climatizzatore reimpostando tutte le
funzioni e le modalità attive prima dell’ultimo spegnimento.
•Per impostare l’orario di accensione, utilizzate i tasti .
• L’incremento o il decremento sarà di 10 minuti, ad ogni singola
pressione dei tasti, mentre tenendoli premuti, gli spostamenti
saranno più veloci.
• La scritta ON TIME continuerà a lampeggiare. Ripremendo il
tasto SET, verrà confermata l’impostazione del timer per l’ac-
censione.
• Per cancellare la programmazione, premere il tasto ON: il sim-
bolo ON TIME lampeggerà visualizzando l’ora di accensione.
•A questo punto, selezionare il tasto CANCEL: l’orologio segnerà
l’ora corrente.
Programmazione spegnimento
Il procedimento di programmazione spegnimento e cancellazione,
è simile al precedente: la differenza consiste unicamente nel pre-
mere il tasto OFF anziché il tasto ON.
15
ITALIANO
Selezionare le funzioni