GB
27
Installation
Softening the water
Filling the container with
regenerating salt (fig. 5)
Filling with salt is essential for the regeneration
of the resins that soften the water so removing
the hardness from it, except if the water supply
is already sufficiently soft. (see “Adjusting the
water softener).
You should fill just before starting the
programme.
1 - Unscrew and remove the salt container cap.
2 - Use a funnel to pour: fill the container with
regenerating salt
specially designed for
dishwashers.
3 -
The first time, fill up with water
Screw down the salt container cap again
properly.
Important:
If adjusting the water softener does
not require the addition of regenerating salt
(Wash light on),
you should nevertheless fill
the salt container with water before using.
Never pour detergent into the container,
you will destroy the water softener
Only use “special dishwasher” rege-
neration salt
. Do not use table salt, cooking
salt, etc. These salts can contain insoluble
elements and will cancel out the effect of the
softener.
Identifying the regenerating salt
level
A light on the control band tells you to add
regenerating salt.
If you move or your water supply changes,
adjust the water hardness settings. Check with
your local water company.
Adjusting the water softener
The water softener should be properly
adjusted to optimise salt consumption and for
best washing results.
• Check the hardness of the water using the
water-testing strip provided.
• Adjust the water softener following the
instructions with the strip and using the table
opposite.
•
Consult your fitter for water that is more
than 28° (position 5)
Hardness of your
water supply (in
British (clarke
degrees)
> à 28°
*
22° to 28°
14° to 21°
10.5° to 14°
7° to 10.5°
0° to 7°
YES
YES
YES
YES
YES
NO
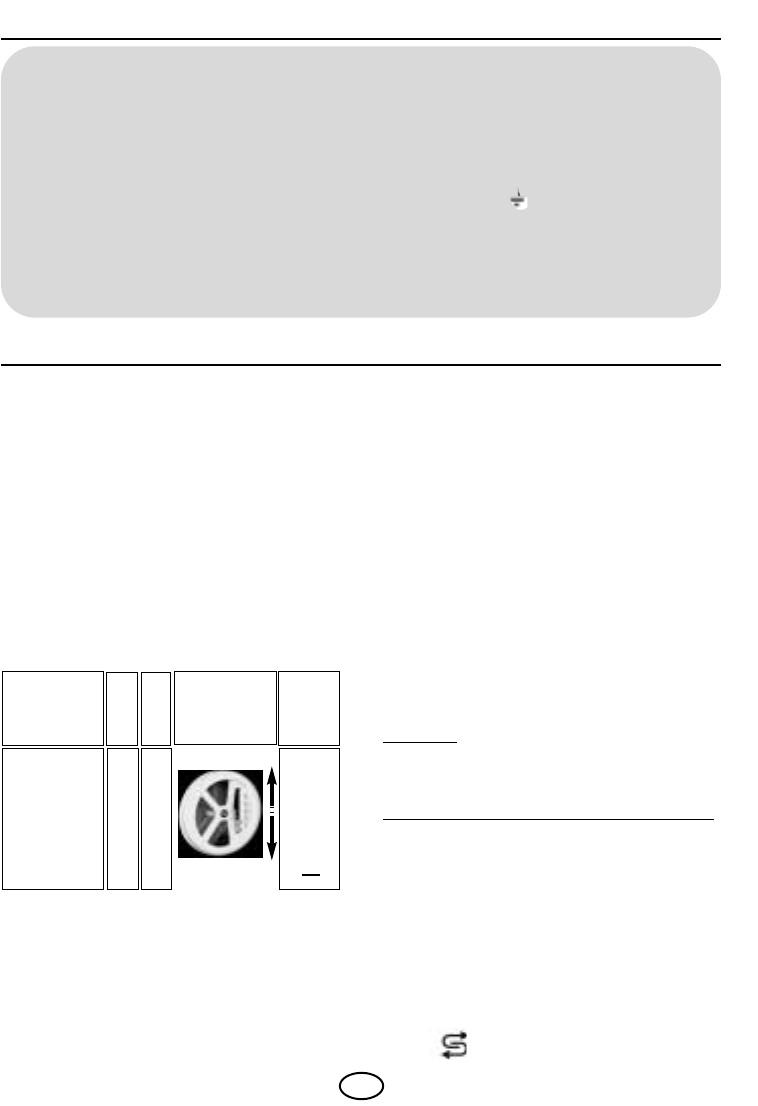
Adjust the cursor
depending on the
result to the
adjustment position
on the left of the tub.
5
4
3
2
1
1
salt
requirements
Position
Number of
washes
between
two fills
(about)
20
30
50
120
Important : The cursor must be in front of a figure
IMPORTANT for the dishwasher without plug.
The wires in this mains lead ar coloured in accordance the following code :
Green & Yellow Earth
Blue Neutral
Brown Live
As the colours of the wires in the mains lead of this appliance may not correspond with the terminal
in your plug, proceed as follows ; The wire which is coloured Green and Yellow must be connected to
the terminal which is marked with the letter «E» or by the earth symbol or coloured Green end
Yellow.
The wire which is coloured Blue must be connected to the terminal which is marked with the letter
«N» or coloured Black.
The wire which is coloured Brown must be connected to the terminal which is marked with the letter
«L» or coloured Red.