Safety precautions
SIMPLIFIED EU DECLARA
OF CONFORMITY
Hereby
radio equipment type Danfoss Ally™ is
in compliance with Directive 2014/53/
EU.
of conformity is available at the follo
internet address: www.danf
The Danfoss Ally™ Room Sensor is not
intended for children and must not be used
as a toy
where children may be tempt
with them, as this is extremely dangerous.
Do not attempt to dismantle the gateway
as it contains no user-serviceable parts.
014R0002 | A
C
C
IT’S
ALL
B
1
EN: Before mounting the sensor
choose correct location in the room
following the next recommenda-
tions:
•
the floor surface.
•
to the doors and windows.
Please note, av
sor in direct sunlight!
DE: Wählen Sie v
des Sensors den korrekten Ort im
Raum nach den unten genannten
Empfehlungen aus:
•
fläche.
•
ren und F
Bitte beachten Sie, dass Sie den Sen-
sor nicht in direktem Sonnenlicht
platzieren!
DK: Før du monter
du vælge korrekt sted i rummet
efter de flg. anbefalinger:
• 1,5 m minimumshøjde fra gulvfladen.
•
og vinduerne.
Bemærk venligst, undgå at placere
føleren i direkt
FR: Avant de fix
sez un emplacement en respectant
ces recommandations:
• hauteur minimale 1,5 m du sol
• distance minimale 0,5 m des portes
et fenêtres
Veuillez not
la sonde à la lumière directe
du soleil!
ITPrima di montare il sensore,
scegliere la posizione corretta nella
stanza seguendo le seguenti racco-
mandazioni:
•
cie del pavimento
•
porte e alle finestre.
Si prega di notare, evitar
sizionare il sensore alla luce dir
del sole!
PL: Przed montażem czujnika
wybierz poprawną lokalizację
w pokoju zgodnie z następnymi
zaleceniami:
•
wierzchni podłogi.
•
do drzwi i ok
Uwaga: Unikaj umieszczania
czujnika w bezpośrednim świetle
słonecznym!
CZ: Před montáží snímač
správné umístění v místnosti podle
dalších doporučení:
•
podlahy
•
od dveří a oken.
Upozornění: vyvarujte se umístění
senzoru na přímém slunečním
světle!
UA: Перед т
датчик у кімнаті, виберіт
правильне розташування згідно
наступних рекомендацій:
•
поверхні підлоги.
•
дверей та вікон.
Зверніть увагу
розміщення датчика під прямим
сонячним світлом!
SE: Val a
sensor enligt följande rekommen-
dationer:
•
•
och fönster
OBS! undvik att placera sensorn
i direkt solljus.
RU: Перед монтажом дат
выберите правильное
расположение в комнат
следующим рекомендациям:
•
от поверхности пола.
•
до дверей и окон.
Обратите внимание, необ
исключить попадание прямого
солнечного свет
EN: Remove the battery insulation
plastic once the sensor is mounted
on the wall.
after power up
DE: Entfernen Sie den Batterie-
Isolation-Streifen, sobald der Sensor
an der
blinkt nach dem Einschalten.
DK: Fjern batteriets isolerings-
strimmel, når føleren er mont
på væggen. LED’
opstart.
FR: Retirez le plastique isolant
de la pile une fois que le capteur
est monté sur le mur
clignotera après la mise sous
tension.
ITR
della batteria una volta montato
il sensore sulla parete
lampeggerà dopo l’accensione
PL: Zdejmij zabezpieczenie baterii,
gdy czujnik zostanie zamontowan
na ścianie. Dioda LED będzie migać
po włączeniu zasilania.
CZ: Vyjměnte izolační pásku
z baterie, po nainstalování senz
na zeď. LED dioda začně po zapnutí
blikat.
UA: Після монтажу датчика
на стіну
ізолюючий елемет
почне блимати після подачі
живлення від батареї.
SE: Avlägsna plasten som isolerar
batteriet när sensorn är monterad
på väggen. Ly
uppstart.
RU: После монтажа датчика
на стену
изолирующий элемент
Светодио
подачи питания о
3
EN: Click the Gateway tile, then
subdevice”
Ally™ Room Sensor from the list.
Follo
the installation process. P
when the sensor is successfully
added, immediately assign it to
the certain room before finishing
the installation!
DE: Klicken Sie auf die Gateway-
Kachel, dann
und wählen Sie den Danfoss Ally™
Raumsensor aus der Liste. Befolgen
Sie die Anweisungen, um den
Installationsvorgang abzuschließen.
Bitte beachten Sie, w
erfolgreich hinzugefügt wurde,
ordnen Sie diesen gleich dem
entsprechenden Raum zu, bevor Sie
die Installation beenden!
DK: Klik på Gateway icon, og
derefter
Danfoss Ally™ Rumføler fra list
Følg instruktionerne f
installationsprocessen. Bemærk
venligst, når føleren er tilf
skal du straks tildele den til det
bestemte rum, inden du afslutter
installationen!
FR: Cliquer sur la passerelle,
pour ajouter un sous-dispositif
et choisissez sonde d’ambiance
Danfoss Ally™ dans la liste. Suiv
les instructions pour terminer le
processus d’
l’ajout de cette sonde , attribuez la
immédiatement à certaines pièces
avant de terminer l’
ITFare clic sulla piastrella del
gateway
Sottodevice”
stanza Danfoss Ally™ dall’
Seguire le istruzioni per completare
il processo di installazione. Si pr
di notare, quando il sensore viene
aggiunto con successo
immediatamente alla certa stanza
prima di finire l’
PL: Kliknij k
następnie “Dodaj
podrzędne ”
Ally™ Czujnik Pokojowy z listy
Postępuj zgodnie z instrukcjami, ab
zakończyć proces instalacji. Uwaga,
gdy czujnik zostanie pomyślnie
dodany
go do określonego pokoju przed
zakończeniem instalacji!
CZ: Klikněte na Gateway dlaždici,
pak
Senzor Danfoss Ally™ ze seznamu.
Postupujte podle pokynů pro
dokončení instalačního procesu.
Upozornění: po úspěšném přídání
senzoru, jej okmažitě přidejte
do určité místnost ještě před
dokončením instalace!
UA: У до
іконку шлюзу
підпристрій» та виберіть кімнатний
датчик Danfoss Ally™ зі списку
тримуйтесь інструкцій, щ
шити процес встановлення. Бу
ласка, зверніть увагу, щ
датчик успішно до
призначте йог
перш ніж закін-чити установку!
SE: T
sedan
Danfoss Ally™ rumsensor från listan.
Följ an
installationsprocessen. Observera,
när sensorn har lagts till, ansluts
den till det visade rummet innan
du avslutar installationen!
RU: В приложении Danfoss Ally™
нажмите на иконку шлюза, зат
«Добавить подустройство» и выбе-
рите дат
Следуйте инструкциям для
завершения процесса установки.
Обратите внимание, к
успешно добавлен, немедленно
назначь
комнату перед завершением
установки!
2
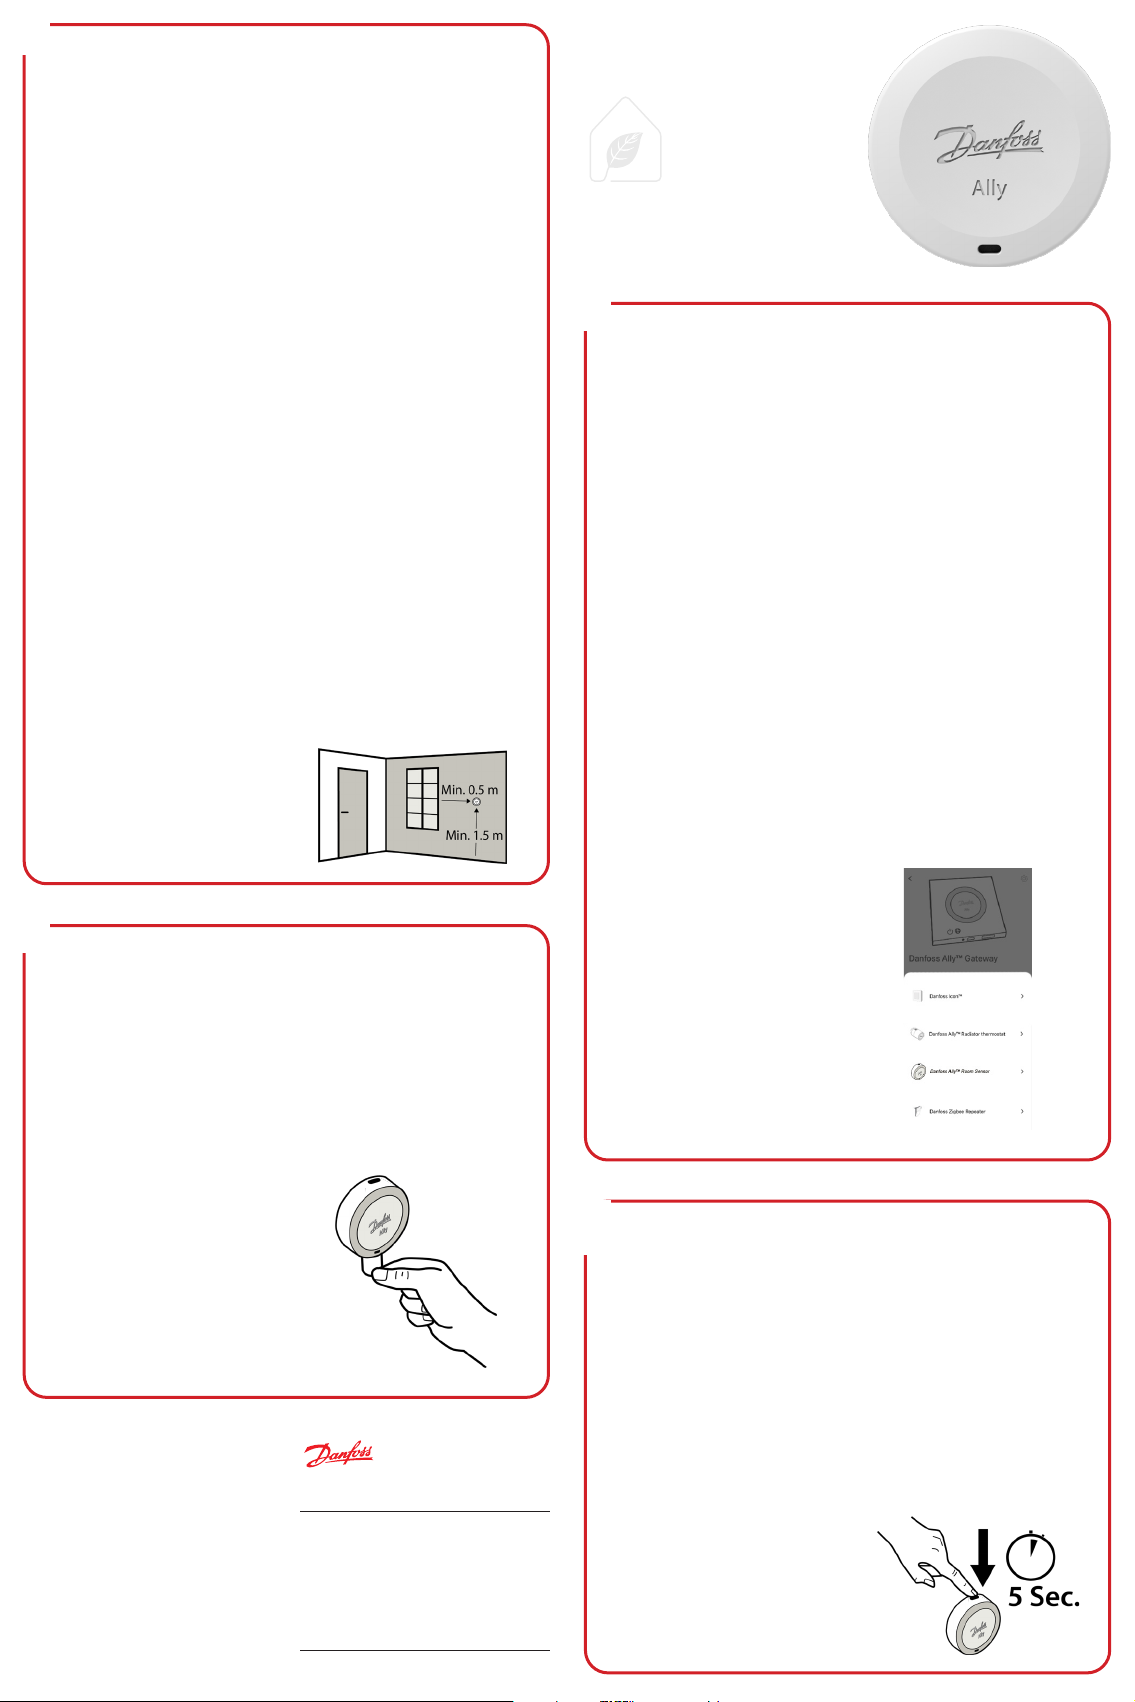
EN: Press and hold the installation
button for at least 5 sec. P
note, reset pr
automatically
DE: Halten Sie die Installation-
staste für mindestens 5 Sekunden
gedrückt. Bitte beachten Sie, dass
das Zurücksetzen danach automa-
tisch erfolgt.
DK: Pres og hold
installationsknappen nede i mindst
5 sek. Bemærk at nulstilling
efterfølgende sker automatisk.
FR: Appuyez sur le bouton
d’installa
5 secondes.
la procédure de r
se déroule automatiquement.
ITPremere e tenere premut
il pulsante di installazione per
almeno 5 secondi. Nota, ripristinare
automaticamente la proc
procede.
PL: Naciśnij i przytr
przycisk instalacji przez co
najmniej 5 sekund. Pamiętaj
procedura reset
automatycznie.
CZ: Stiskněte a podržte instalační
tlačítko po dobu alespoň 5 sekund.
Poznámka: Pr
probíhá automaticky
UA: На
кнопку встановлення
щонайменше 5 сек. Зверніть
увагу
автома
SE: T
och håll kvar nedtryckt i minst
5 sekunder
återställningsprocedur
automatiskt.
RU: Нажмите и у
кнопку установки не менее 5 сек.
Обратите внимание, чт
прибор буде
сброшен.
4
AN38985538661801
© Danfoss 09/21
Homepage:
ww
Danfoss Ltd.
Ox
United Kingdom
Caps
Buckhamshire
Danf
cat
res
This also
that s
tial c
agre
respecti
Danfoss and the Danfoss
Danfoss A/S.
All ri