CLOCK
SETTING THE CONTROL
HOW TO SET THE OVEN CONTROLS
Tips: • Be sure to read the cookbook' s introduction before operating the oven.
•
Also remember to read this operating instruction for proper safety information and instruction before using the oven.
• See the cookbook for specific recipes.
• Prior to setting the controls, place one cup of water in the oven, in a heat-proof glass measuring cup,
for testing purposes.
• When setting the controls, everytime a button is pressed, a beep can be heard.
• If you don't take off the food after end cooking, buzzer will sound as 1 minute.
7 8
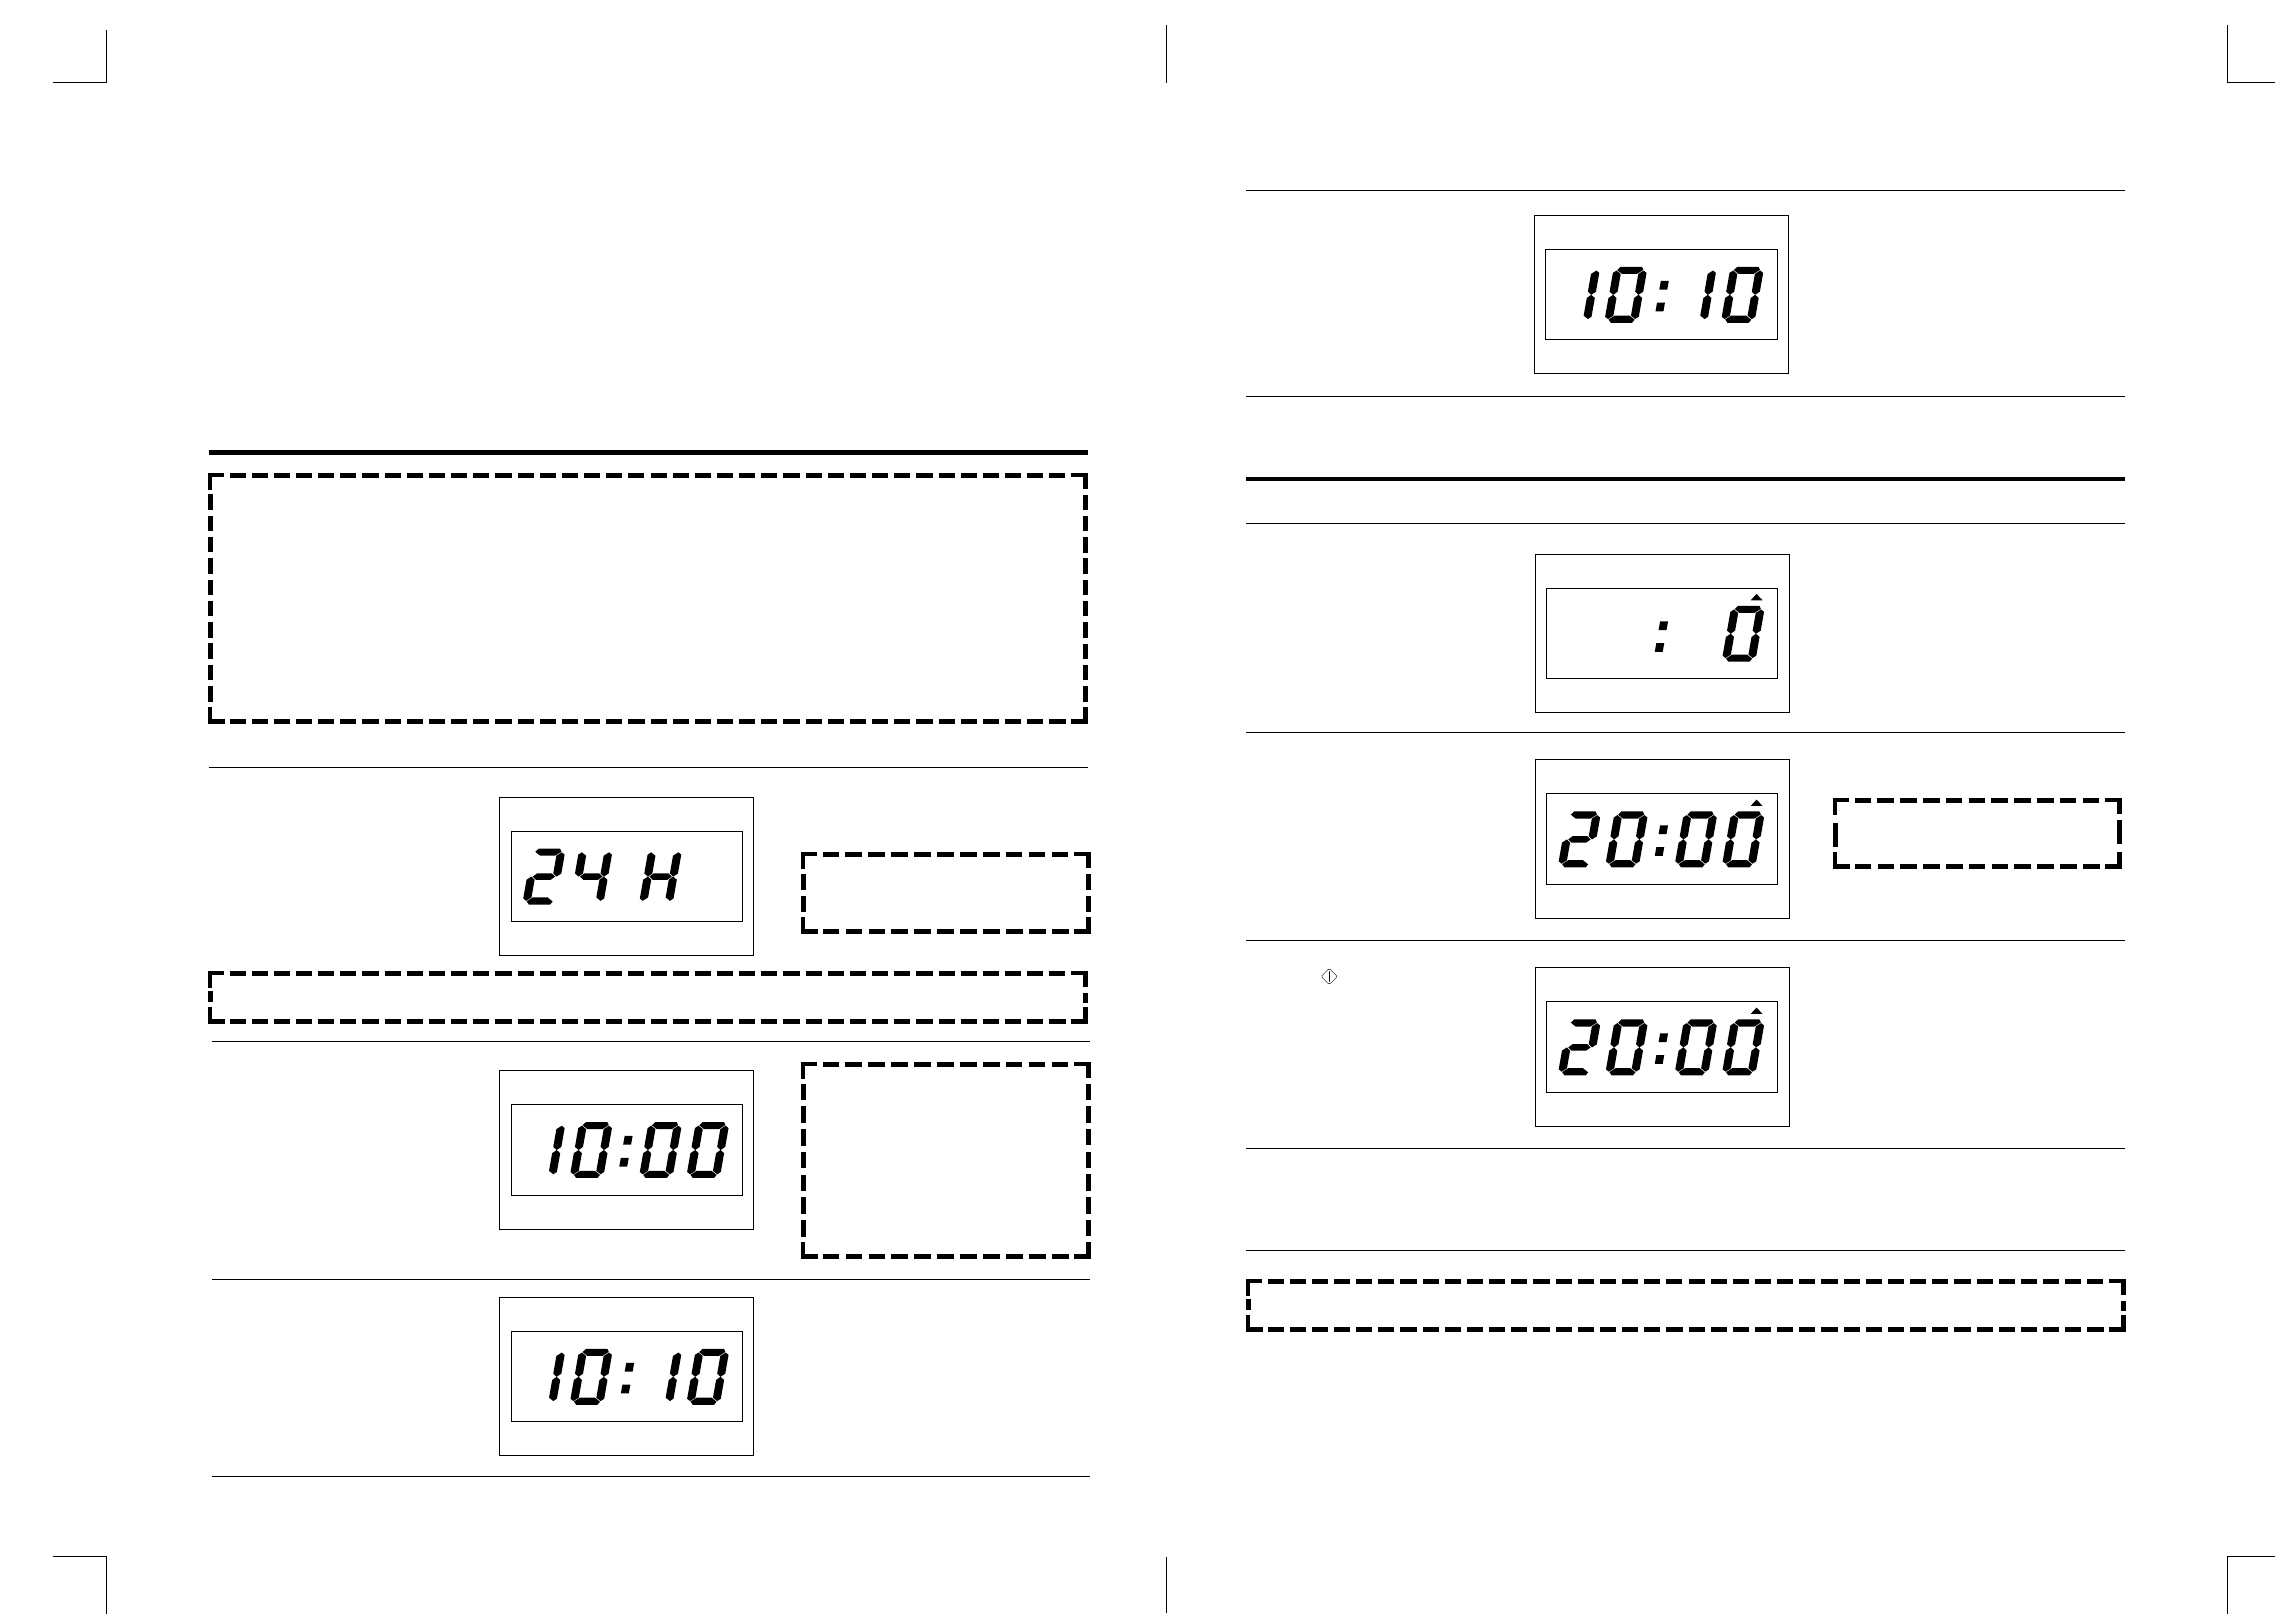
This example is 24 hour clock
system.
1. Press CLOCK button.
If you push the CLOCK
button once again, you can
select 12 hour clock
system.
Then guide lamp will starts
blinking.
2. Turn left the DIAL KNOB for
hour you want.
3. Turn right the DIAL KNOB
for minute you want.
NOTE: This oven is multiple
clock system.
NOTE:
• If you selected 12 hour clock
system, this digital clock allows
you to set from 1:00 to 11:59.
• If you selected 24 hour clock
system, this digital clock allows
you to set from 0:00 to 23:59.
• The colon will stop blinking.
NOTE: If you are not setting current time for 3 seconds, display return to old time.
NOTE: • When the oven is plugged in, “0:00”appears in the display window.
• The two dots between the hour and minute are the clock indicator lights. They will start to flash
on and off.
• The time of day will be displayed at all times, except when the oven is operating.
• In the oven of a power failure or if the oven is unplugged, the clock will have to be reset for the
proper time. Once power is restored or oven is plugged in, the display will show “0:00”.
• To reset the time of day, repeat the steps given below.
• To check the time of day while the oven is operating, press the CLOCK button, then the time will
be displayed for 3 seconds.
•
When you turn DIAL KNOB, minutes are increased by to turn right and hours are increased as to
turn left.
SETTING THE CONTROL
The TIME DEFROST indicator light
will light up.
20:00 will show in the display.
The TIME DEFROST indicator light
will start blinking to show the oven
is in TIME DEFROST mode.
The display will show present time,
and the colon starts blinking.
This digital clock allows you to set
to “10:10”
1. Press DEFROST button
twice.
2. Turn the DIAL KNOB for
the desired defrosting time.
For example: 20 minutes.
3. Press button.
4. Buzzer will sound at the end of the cooking time. The indicator light will go off. The display panel will return
to the time of day. The oven light will turn off and the turntable will stop turning.
NOTE: Time can be set up to 60
minutes.
NOTE: During the defrosting operation, turn over after buzzer sound for completed defrosting.