E-96
To change the illumination duration
1. In the Timekeeping Mode, pull out the crown.
2. Press
B
four times. This will cause
LIGHT
to appear on the digital display, along with a fl
(
1
or
3
) indicating the current illumination duration setting.
3. Rotate the crown to select either
1
(1.5 seconds) or
3
(three seconds) for the illumination duration.
4. After the setting is the way you want, push the crown back in.
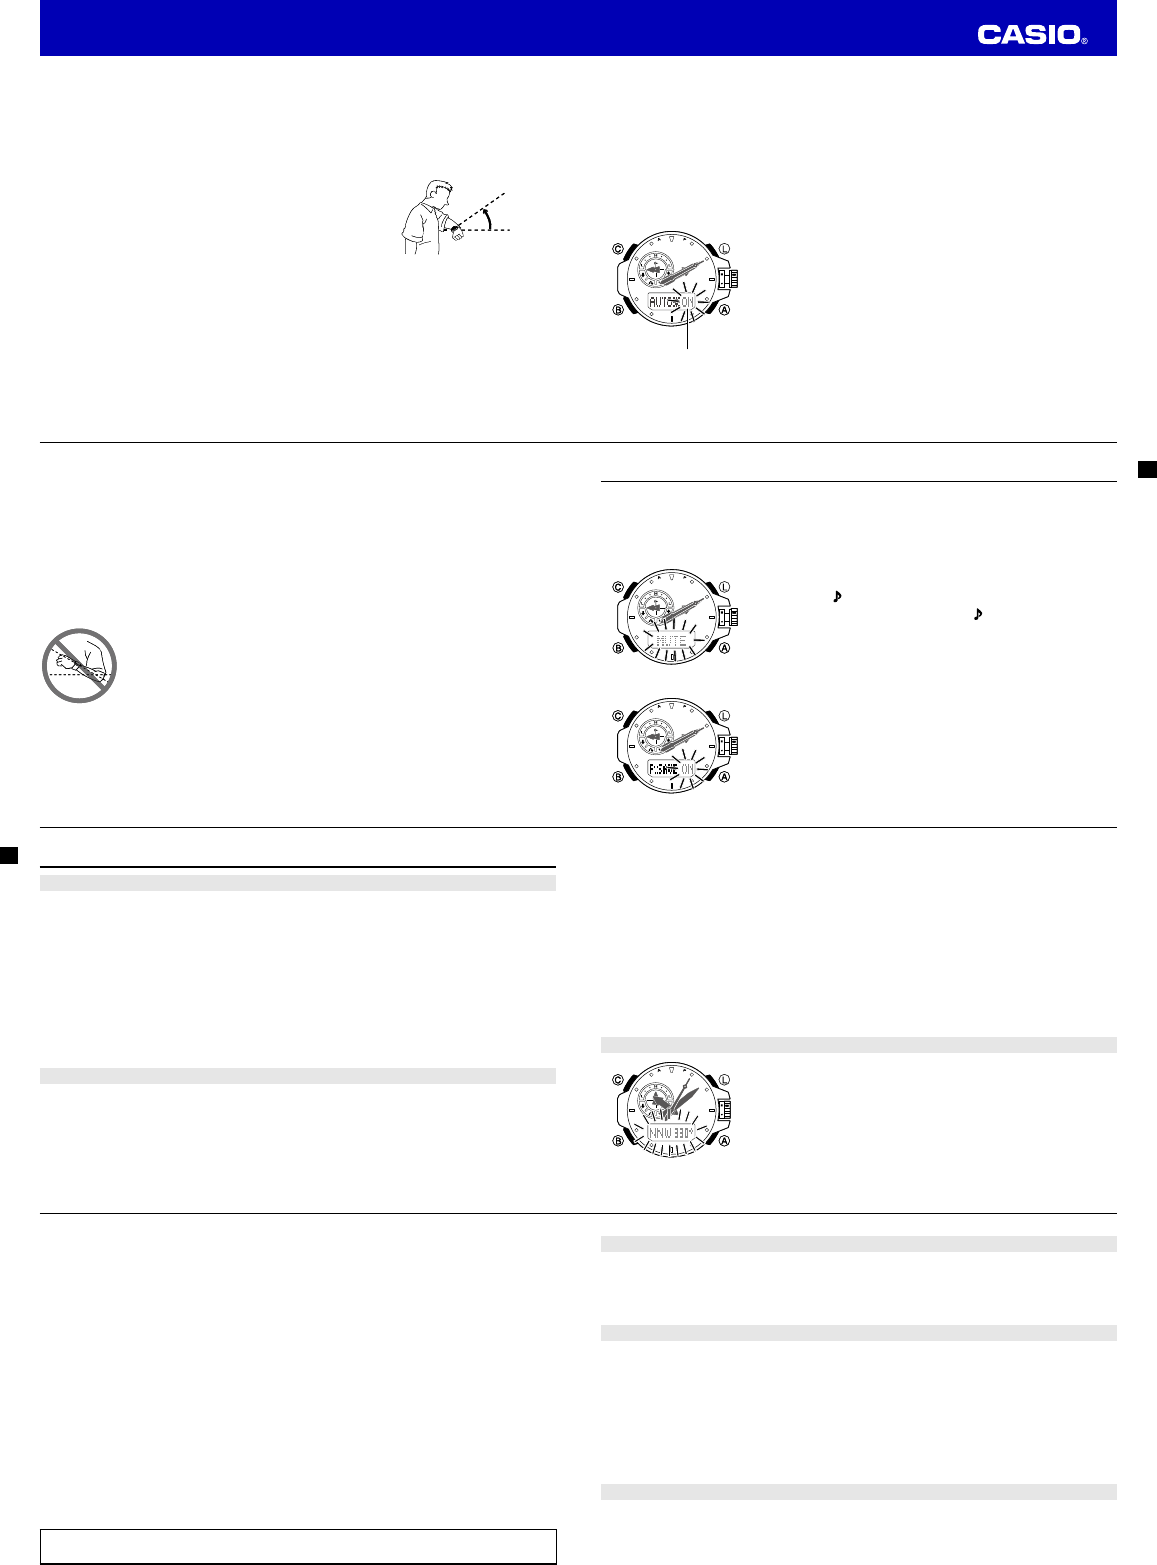
About the Auto Light Switch
Turning on the auto light switch causes illumination to turn on,
whenever you position your wrist as described below in any mode.
Moving the watch to a position that is parallel to the ground and
then tilting it towards you more than 40 degrees causes
illumination to turn on.
Warning!
•
Always make sure you are in a safe place whenever you are reading the display of the watch
using the auto light switch. Be especially careful when running or engaged in any other activity
that can result in accident or injury. Also take care that sudden illumination by the auto light
switch does not startle or distract others around you.
•
When you are wearing the watch, make sure that its auto light switch is turned off before riding
on a bicycle or operating a motorcycle or any other motor vehicle. Sudden and unintended
operation of the auto light switch can create a distraction, which can result in a traffi c accident
and serious personal injury.
More than
40°
Wear the watch on the
outside of your wrist
More than
40°
Wear the watch on the
outside of your wrist
E-97
Note
• This watch features a “Full Auto Light”, so the auto light switch operates only when available light is
below a certain level. It does not illuminate the display under bright light.
• The auto light switch is always disabled, regardless of its on/off setting, when any one of the following
conditions exists.
While the watch is in the Digital Compass Mode
While a receive operation is in progress
While a hand movement operation is in progress
• If you have Auto Light enabled, display illumination may be delayed if you angle the watch towards
your face while a barometric pressure, altitude, or temperature reading operation is being performed.
To enable or disable the auto light switch
1. In the Timekeeping Mode, pull out the crown.
2. Press
B
three times. This will cause
AUTO
to appear on the left of the
digital display, along with the fl
(
ON
or
OFF
) on the right.
3. Rotate the crown to select either enabled (
ON
) or disabled (
OFF
) for
the auto light switch setting.
4. Push the crown back in.
• Auto Light is automatically disabled whenever battery power drops to
Level 4 (page E-15).
Auto light switch on
indicator
Auto light switch on
indicator
E-98
Illumination Precautions
• The LED that provides illumination loses power after very long use.
• Illumination may be hard to see when viewed under direct sunlight.
• Illumination turns off automatically whenever an alarm sounds.
• Frequent use of illumination runs down the battery.
Auto light switch precautions
• Wearing the watch on the inside of your wrist, movement of your arm, or vibration of your arm can
cause frequent activation of the auto light switch and illumination of the display. To avoid running down
the battery, turn off the auto light switch whenever engaging in activities that might cause frequent
illumination of the display.
• Note that wearing the watch under your sleeve while the auto light switch is turned on can cause
frequent illumination of the display and can run down the battery.
• Illumination may not turn on if the face of the watch is more than 15 degrees above
or below parallel. Make sure that the back of your hand is parallel to the ground.
• Illumination turns off after the preset illumination duration (page E-96), even if you
keep the watch pointed towards your face.
• Static electricity or magnetic force can interfere with proper operation of the auto
light switch. If illumination does not turn on, try moving the watch back to the
starting position (parallel with the ground) and then tilt it back towards your face
again. If this does not work, drop your arm all the way down so it hangs at your
side, and then bring it back up again.
• You may notice a very faint clicking sound coming from the watch when it is shaken
back and forth. This sound is caused by mechanical operation of the auto light
switch, and does not indicate a problem with the watch.
E-99
Other Settings
The button operation tone sounds any time you press one of the watch’s buttons. You can turn the button
operation tone on or off as desired.
• Even if you turn off the button operation tone, the alarm, Hourly Time Signal, barometric pressure
change indicator, and Countdown Timer Mode alarm all operate normally.
To turn the button operation tone on or off
1. In the Timekeeping Mode, pull out the crown.
2. Press
B
twice. This will cause the current button operation tone
setting (
KEY
or
MUTE
) to fl
3. Rotate the crown to select either on (
KEY
) or off (
MUTE
) for the
button operation tone setting.
4. Push the crown back in.
To turn Power Saving on or off
1. In the Timekeeping Mode, pull out the crown.
2. Press
B
six times. This will cause
P.SAVE
to appear on the digital
display, along with the fl
ON
or
OFF
).
3. Rotate the crown to select either on (
ON
) or off (
OFF
) for the Power
Saving setting.
4. Push the crown back in.
E-100
Troubleshooting
Time Setting
See “Radio Controlled Atomic Timekeeping” (page E-20) for information about adjusting the time setting
according to a time calibration signal.
■
The current time setting is off by hours.
Your Home City setting may be wrong (page E-34). Check your Home City setting and correct it, if
necessary.
■
The current time setting is off by one hour.
If you are using the watch in an area where time calibration signal reception is possible, see “To confi
Home City and summer time settings” (page E-34).
If you are using in the watch in an area where time calibration signal reception is not possible, you may
need to change your Home City’s standard time/daylight saving time (DST) setting manually. Use the
procedure under “To change the current time and date settings manually” (page E-36) to change the
standard time/daylight saving time (DST) setting.
Altitude Readings
■
Altitude readings produce different results at the same location.
■
Readings produced by the watch are different from the elevation and/or sea level altitude
indications in my area. (Negative sea level altitude values are produced in a location where the
indicated elevation is a positive value.)
E-101
■
I can’t get correct altitude readings.
Relative altitude is calculated based on changes in barometric pressure measurement by its pressure
sensor. This means that barometric pressure changes can cause readings taken at different times at the
same location to be different. Also note that the value displayed by the watch may be different from the
actual elevation and/or sea level elevation indicated for the area where you are located.
When using the altimeter of this watch for mountain climbing or other activities, it is highly recommended
that you check a map, local altitude indications, or some other source for your current correct altitude and
regularly calibrate the altimeter with the latest information.
For more information, see “To specify a reference altitude value” (page E-66).
■
Following a relative altitude reading, the watch’s second hand points to 9 o’clock.
• The reading value is outside of the allowable measurement range.
Specify the reference altitude value so it is within the allowable measurement range (page E-66).
• This could indicate sensor error. If
ERR
(error) is on the digital display, refer to “Direction, Altitude,
Barometric Pressure, and Temperature Readings” page E-103) for more information.
Taking Direction Readings
■
Abnormal magnetism detection is indicated.
• Move away from any potential source of strong magnetism and try
taking a reading again.
• If abnormal magnetism is detected again when you retry, it could mean
that the watch itself has become magnetized. If this happens, continue
to keep away from the source of strong magnetism, perform
bidirectional calibration, and then try taking a reading again. For more
information, refer to “To perform bidirectional calibration” (page E-57)
and “Location” (page E-60).
E-102
■
ERR appears on the digital display during sensor reading operations.
There is something wrong with the sensor. This could be due to nearby strong magnetic force. Contact
your original retailer or CASIO service center See “Location” (page E-60).
■
ERR appears following bidirectional calibration.
If the screen displays hyphens (
- - -
) followed by the
ERR
(error) indicator, it could mean there is
something wrong with the sensor.
• Wait for about one second for the
ERR
indicator to disappear from the display, and then calibrate the
sensor again.
• If
ERR
continues to appear even after multiple attempts to calibrate, contact your original retailer or
CASIO service center.
■
The direction information indicated by the watch is different from that indicated by a backup
compass.
• Move away from and potential source of strong magnetism, perform bidirectional calibration, and then
try taking a reading again. For more information, refer to “To perform bidirectional calibration” (page
E-57) and “Location” (page E-60).
■
Direction readings produce different results at the same location.
• Move away from any potential source of strong magnetism and try taking a reading again. See
“Location” (page E-60).
■
I am having problems taking direction readings indoors.
• Move away from any potential source of strong magnetism and try taking a reading again. See
“Location” (page E-60).
Whenever you have a sensor malfunction, take the watch to your original retailer or nearest authorized
CASIO distributor as soon as possible.
E-103
Barometric Pressure Readings
■
Following a relative barometric pressure reading, the watch’s second hand points to 9 o’clock.
• The reading value is outside of the allowable measurement range. See page E-44.
Calibrate the pressure sensor (page E-51).
• There may be a problem with the sensor. If
ERR
(error) is on the digital display, refer to “Direction,
Altitude, Barometric Pressure, and Temperature Readings” for more information.
Direction, Altitude, Barometric Pressure, and Temperature Readings
■
ERR appears on the digital display during sensor reading operations.
This indicates that there is a problem with the sensor, making sensor readings impossible.
• If the error is indicated while a reading operation in progress, restart the operation. If
ERR
appears
again, it could mean there is something wrong with the sensor.
• If
ERR
appears frequently, it could mean that the sensor is faulty. Contact your original retailer or
CASIO service center
■
I can’t change the temperature, barometric pressure, and altitude display units.
When
TYO
(Tokyo) is selected as the Home City, the altitude unit is set automatically to meters (m), the
barometric pressure unit to hectopascals (hPa), and the temperature unit to Celsius (°C). These settings
cannot be changed.
World Time Mode
■
The time for my World Time City is off in the World Time Mode.
This could be due to incorrect switching between standard time and daylight saving time. See “To
confi
Operation Guide 5371