E-24
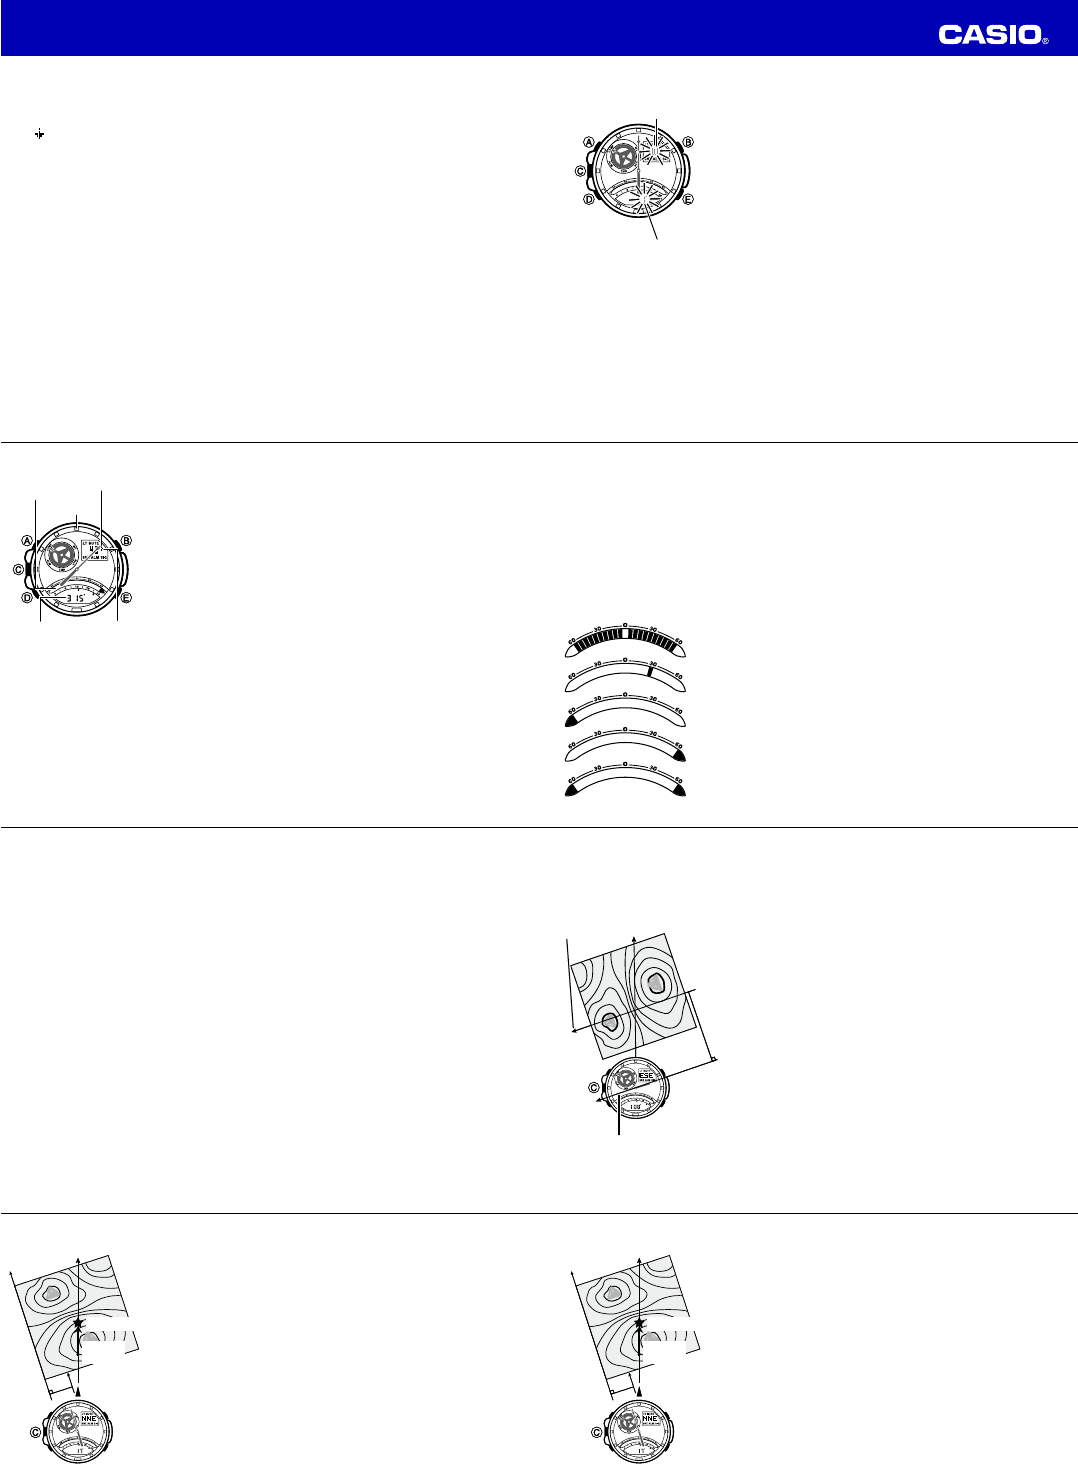
2. Place the watch on a level surface facing any direction you want, and press
C
to calibrate the fi rst
direction.
• --- will be s
caliOK will ap
to
. The l-2- . Th
second direction.
3. Rotate the watch 180 degrees.
4. Press
C
again to calibrate the second direction.
• --- will be d
• AfOK an
Digi
• ERR will app
auto
A
is hel
dow
E-25
To perform magnetic declination correction
1. In the Digital Compass Mode, hold down
A
.
• The s
cali
2. Press
D
to enter the magnetic declination correction mode.
• The u
direc
decl
3. Use
E
(East) and
B
(West) to change the settings.
•
Th
settings.
OFF
: No magnetic declination correction performed. The magnetic
declination angle with this setting is 0°.
E
: When magnetic north is to the east (east declination)
W
: When magnetic north is to the west (west declination)
• Y
• You can turOFF ) mag
E
and
B
at the s
• The i
sel
4. When the setting is the way you want, press
A
to exit the setting screen.
Magnetic declination direction
(E, W, or OFF)
Magnetic declination
angle value
Magnetic declination direction
(E, W, or OFF)
Magnetic declination
angle value
E-26
Using Bearing Memory
Bearing Memory lets you temporarily store and display a direction
reading so you can use it as a reference as you take subsequent digital
compass readings. Accessing the Bearing Memory data displays the
direction angle for the stored reading in the lower display, along with an
indicator in Digital Meter A (page E-27) that shows the stored bearing.
If you perform a digital compass operation while Bearing Memory data is
displayed, the direction angle of the current digital compass reading (as
read from the 12 o’clock position of the watch) will be shown in the lower
display and the stored Bearing Memory direction reading will be shown in
the upper display.
To store a direction angle reading in Bearing Memory
1. Press
C
to start a digital compass operation (page E-20).
• Thi
sec
• If a bea
the l
in Be
E
to cle
Me
performing the above
2. During the 20 seconds that digital compass readings are being taken, press
E
to store the current
reading in Bearing Memory.
• The B
store
Me
12 o’clock
position
Bearing Memory
Pointer
North pointer
Direction angle
of current
reading
Bearing Memory Data
Bearing memory
direction angle
value
12 o’clock
position
Bearing Memory
Pointer
North pointer
Direction angle
of current
reading
Bearing Memory Data
Bearing memory
direction angle
value
E-27
• You can pres
C
at any ti
20
that t
disa
• The d
– During the fi
– During a direction reading operation triggered by pressing
C
while Bearing Memory data is
displayed in the upper display
• Pressing
E
whil
Me
Bearing Memory Pointer
Digital Meter A indicates the bearing stored for a Bearing Memory record.
Bearing straight ahead
Bearing display area (Indicates a bearing within ±60° of 0.)
Bearing outside of display area (Bearing more than 60° left of 0.)
Bearing outside of display area (Bearing more than 60° right of 0.)
Bearing straight back
E-28
• To position yourself to move in the direction of the recorded bearing, move around until the Bearing
Memory Pointer points straight ahead of you, as shown above.
Using the Digital Compass While Mountain Climbing or Hiking
This section shows three actual examples of how to use the watch’s digital compass.
• Setting a map and fi
Having an idea of your current location is important when mountain climbing or hiking. To do this, you
need to “set the map”, which means to align the map so the directions indicated on it are aligned with
the actual directions of your location. Basically what you are doing is aligning north on the map with
north as indicated by the watch.
• Finding the bearing to an objective
• Determining the direction angle to an objective on a map and heading in that direction
E-29
To set a map and fi
1. With the watch on your wrist, position it so the face is horizontal.
2. While in any mode (except a setting mode), press
C
to take a compass reading.
• Dire
3. Rotate the map without moving the watch so the northerly direction
indicated on the map matches north as indicated by the watch.
• If the wa
map’s mag
bee
the m
“Ca
• This will position
4. Determine your location as you check the geographic contours around
you.
N
N
North indicated
on the map
North indicated by
north pointer
N
N
North indicated
on the map
North indicated by
north pointer
E-30
To fi
1. With the watch on your wrist, position it so the face is horizontal.
2. Set the map so its northerly indication is aligned with north as indicated
by the watch, and determine your current location.
• Se
info
3. Next, set the map so the direction you want to travel on the map is
pointed straight in front of you.
4. While in any mode (except a setting mode), press
C
to take a
compass reading.
• The re
seconds.
5. Still holding the map in front of you, turn your body until north as
indicated by the watch and the northerly direction on the map are
aligned.
• This will position
so th
N
N
Objective
Current
location
12 o’clock
position
N
N
Objective
Current
location
12 o’clock
position
E-31
To determine the direction angle to an objective on a map and head in that direction (Bearing Memory)
1. Set the map so its northerly indication is aligned with north as indicated
by the watch, and determine your current location.
• Se
info
2. As shown in the illustration to the left, change your position so you (and
the 12 o’clock position of the watch) are pointed in the direction of
objective, while keeping the northerly direction indicated on the map
aligned with north as indicated by the watch.
• If you fi
ever
pos
abo
the map.
N
N
Objective
Current
location
12 o’clock
position
N
N
Objective
Current
location
12 o’clock
position
Operation Guide 5302