20
FR
IT
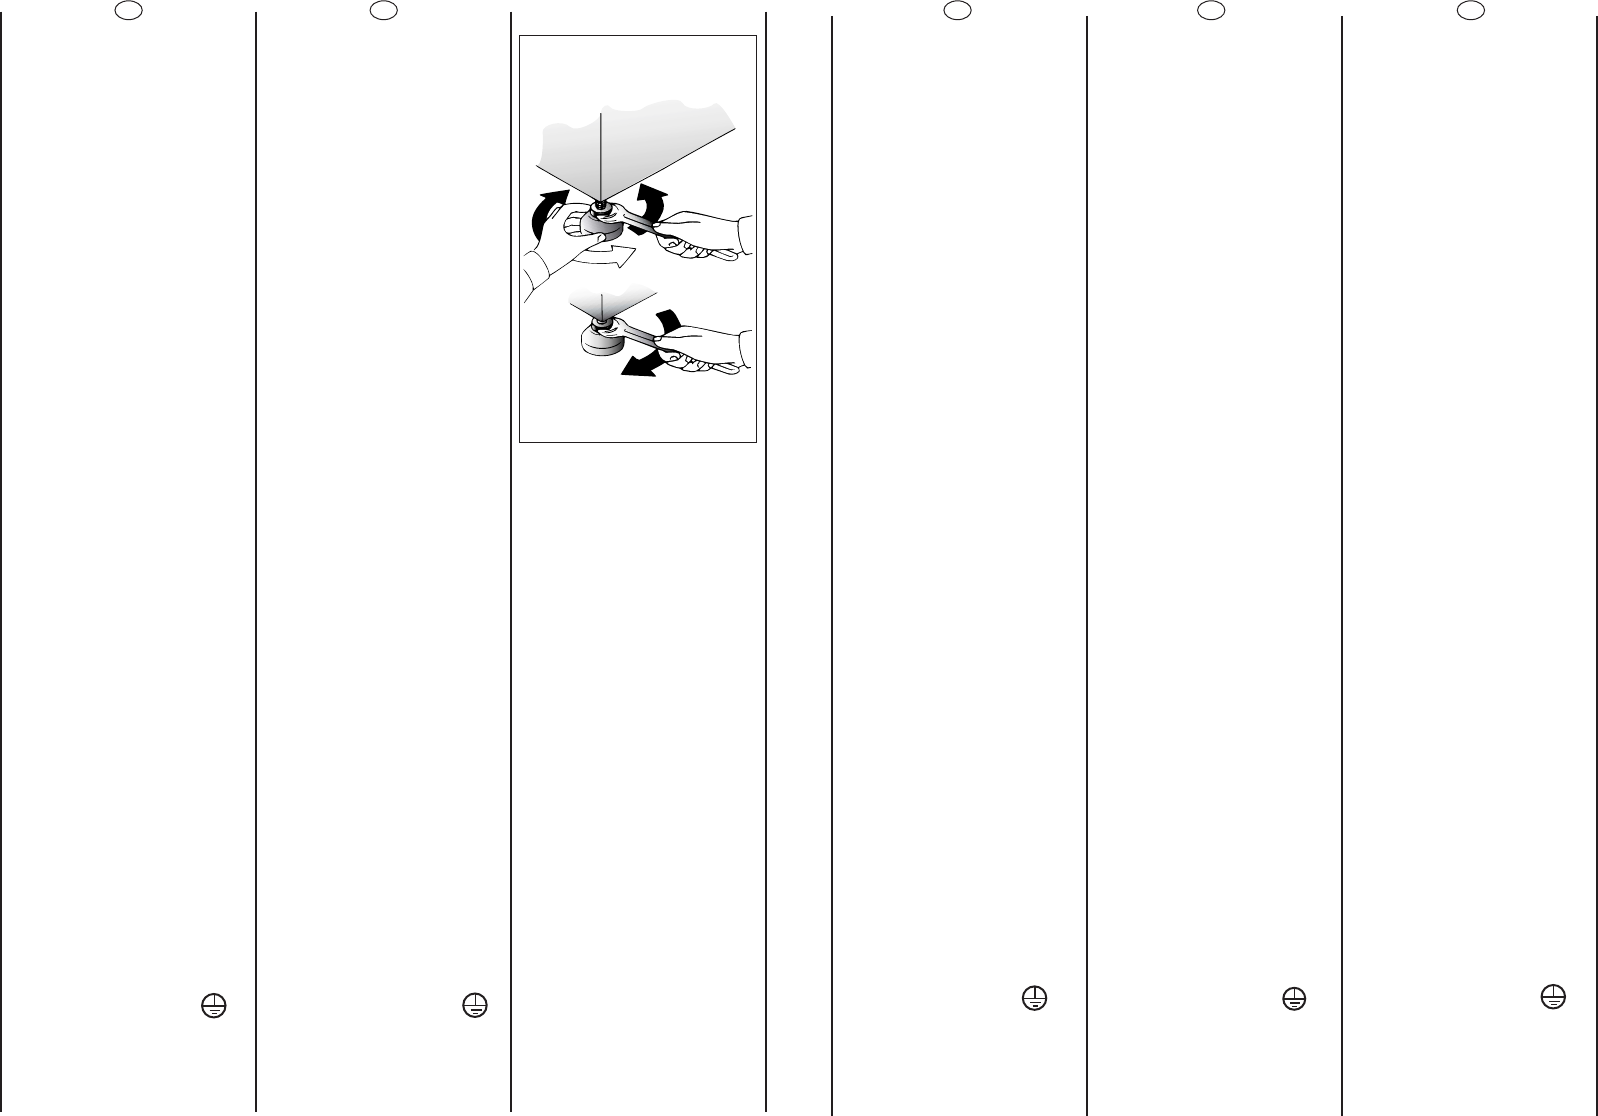
Mettre la machine à niveau
en reglant les 4 pieds:
a) Tourner dans le sens des
aiguilles d’une montre
l’écrou de façon à
dévérouiller la vis du pied.
b) Tourner le pied et le faire
monter ou descendre
jusqu’à obtenir une parfaite
adhérence au sol.
c) Enfin bloquer le pied en
revissant l’écrou dans le sens
inverse des aiguilles d’une
montre et le faire adhérer au
fond de la machine.
Vérifier que la manette soit
sur la position “OFF” et que le
hublot soit fermé.
Brancher la prise.
ATTENTION:
Au cas où il serait nécessaire
de remplacer le cable
d’alimentation, assurez vous
de respecter les codes-
couleur suivants dans le
branchement de chacun
des fils:
BLEU - NEUTRE (N)
MARRON - PHASE (L)
VERT-JAUNE - TERRE ( )
Une fois l'appareil installé, la
prise électrique doit rester
accessible.
Livelli la macchina con i 4
piedini:
a) Girare in senso orario il
dado per sbloccare la vite
del piedino.
b) Ruotare il piedino e farlo
scendere o salire fino ad
ottenere la perfetta
aderenza al suolo.
c) Bloccare infine il piedino
riavvitando il dado in senso
antiorario, fino a farlo aderire
al fondo della lavatrice.
Si assicuri che la manopola
sia in posizione “OFF” e l’oblò
sia chiuso.
Inserisca la spina.
ATTENZIONE:
nel caso si renda necessario
sostituire il cavo di
alimentazione, assicurarsi di
rispettare il seguente
codice-colore durante il
collegamento dei singoli fili:
BLU - NEUTRO (N)
MARRONE - FASE (L)
GIALLO-VERDE - TERRA ( )
L’ a pparecchio deve essere
posto in modo che la spina
sia accessibile ad
installazione avvenuta.
21
DE
Richten Sie das Gerät mit
den 4 Verstellfüßen
waagerecht aus:
a) Kontermuttern im
Uhrzeigersinn lösen.
b) Standfuß einregulieren, bis
das Gerät genau
ausgerichtet ist (möglichst
mit der Wasserwaage
justieren!).
c) Kontermuttern (gegen
den Uhrzeigersinn) festziehen.
Wichtig: Sollte das Gerät auf
einen Sockel aufgestellt
werden,ist es durch eine
Sockelbefestigung zu sichern.
Erkundigen Sie sich bitte
hierfür im Fachhandel.
Der Hersteller haftet nicht für
unsachgemäße Aufstellung
und Installation.
Sicherstellen, daß der
Schalter auf “OFF” steht, und
das Bullauge geschlossen ist.
Stecker einstecken.
ACHTUNG:
Falls das Netzkabel
ausgetauscht werden sollte,
achten Sie beim Anschluss
der einzelnen Kabel
unbedingt auf die folgende
Farbenbelegung:
BLAU - NULLLEITER (N)
BRAUN - PHASE (L)
GELB-GRÜN - ERDE ( )
Nach der Installation muß der
Anschluß zugänglich sein.
EN
Use the 4 feet to level the
machine with the floor:
a) Turn the nut clockwise to
release the screw adjuster of
the foot.
b) Rotate foot to raise or
lower it until it stands firmly on
the ground.
c) Lock the foot in position
by turning the nut anti-
clockwise until it comes up
against the bottom of the
machine.
Ensure that the knob is on the
“OFF” position and the load
door is closed
Insert the plug.
ATTENTION:
should it be necessary to
replace the supply cord,
connect the wire in
accordance with the
following colours/codes:
BLUE - NEUTRAL (N)
BROWN - LIVE (L)
YELLOW-GREEN - EARTH ( )
After installation, the
appliance must be
positioned so that the plug is
accessible.