SETTING UP
This section provides information on connecting your DAB300 to other
hi-fi equipment and connecting an aerial. All components must be
switched off when connecting the DAB300.
CONNECTING TO AN AMPLIFIER
The signal from your DAB300 must be passed to an amplifier, which
then feeds loudspeakers to create sound.
Connect a high quality interconnect cable to the DAB300's "Output"
sockets on the rear panel of the DAB300 - white/black to the "L" output
and the red to the "R" output.
Connect the other end of the cable to your amplifier's "Tuner" inputs,
again making sure the white/black plug goes the to the "L" input and the
red to the "R" input.
CONNECTING AN ADDITIONAL TUNER OR AUXILIARY SOURCE
You can connect your old FM/AM tuner, or another auxiliary source, to
your amplifier through the DAB300 to reduce connections to your
amplifier.
Locate the "Input" sockets on the rear panel of the DAB300 and the
"Output" sockets on the auxiliary device.
Using a high quality interconnect cable, connect the "L" sockets to the
white/black plugs and the "R" sockets to the red plugs.
The auxiliary device signal will now be passed through the analogue
outputs to your amplifier when your DAB300 is switched off.
CONNECTING TO DIGITAL DEVICES
The DAB300 is equipped to provide a high quality digital audio output
for connection to digital loudspeakers, amplifiers and other digital
devices such as a MiniDisc or CD Recorder featuring the appropriate
SPDIF digital input connector.
Connect the SPDIF sockets on the DAB300 to the "Digital-in" socket on
your digital device using a high quality digital cable.
Connect either the optical or phono connection , NOT both.
CONNECTING YOUR AERIAL
You need to connect either the supplied indoor aerial or other aerial to
receive radio broadcasts.
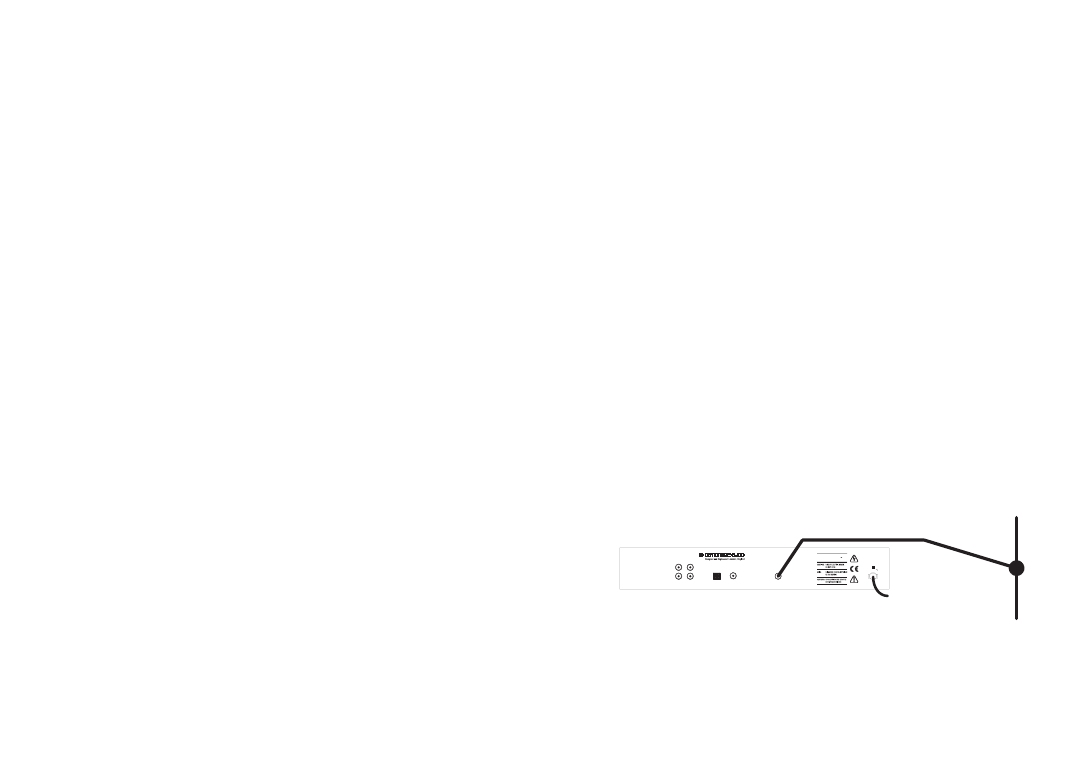
Locate the aerial socket on the rear panel of the DAB300. Insert the
aerial into the socket.
If using the indoor aerial, attach the main run horizontally to a wall and
extend the arms vertically, forming a sideways figure T (see diagram
below).
Please see the section later in the manual, "Improving Your Reception",
if you find reception is poor or no stations are found.
ONCE YOU HAVE MADE THE CONNECTIONS PLUG THE POWER
CORD INTO AN APPROPRIATE POWER SOCKET.
DAB300